


I’ve come to quite like Manker flashlights. Their designs are innovative, and the lights themselves are as bright as the nearest competition. In keeping with that impressive tradition, I present to you, the Manker MK34.
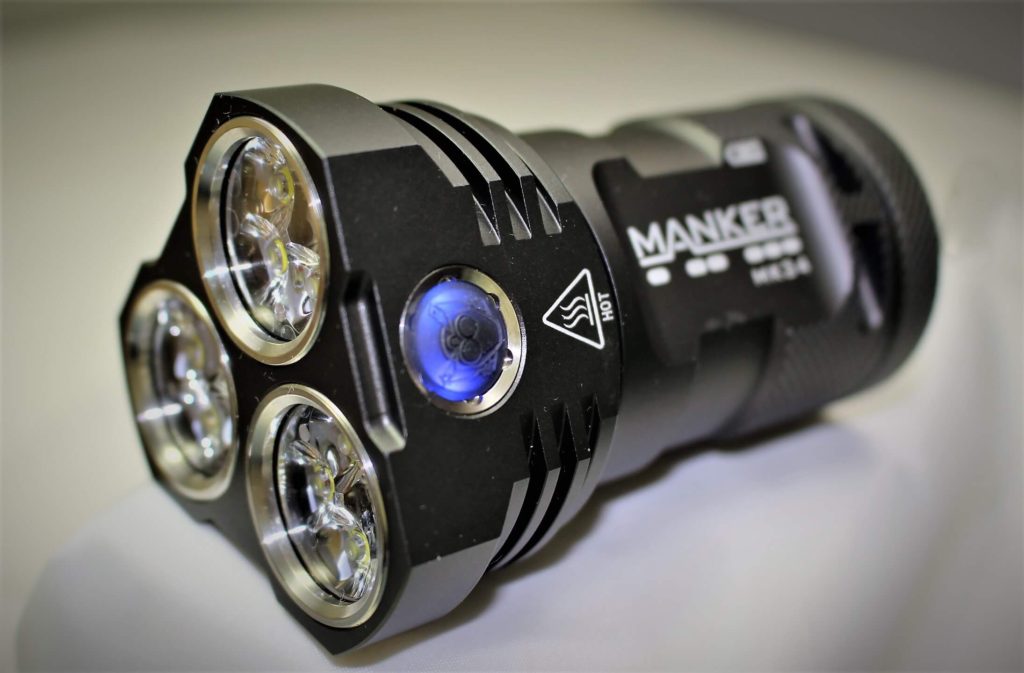
This is a light of grandeur proportions! Read on to find out why.
The Package
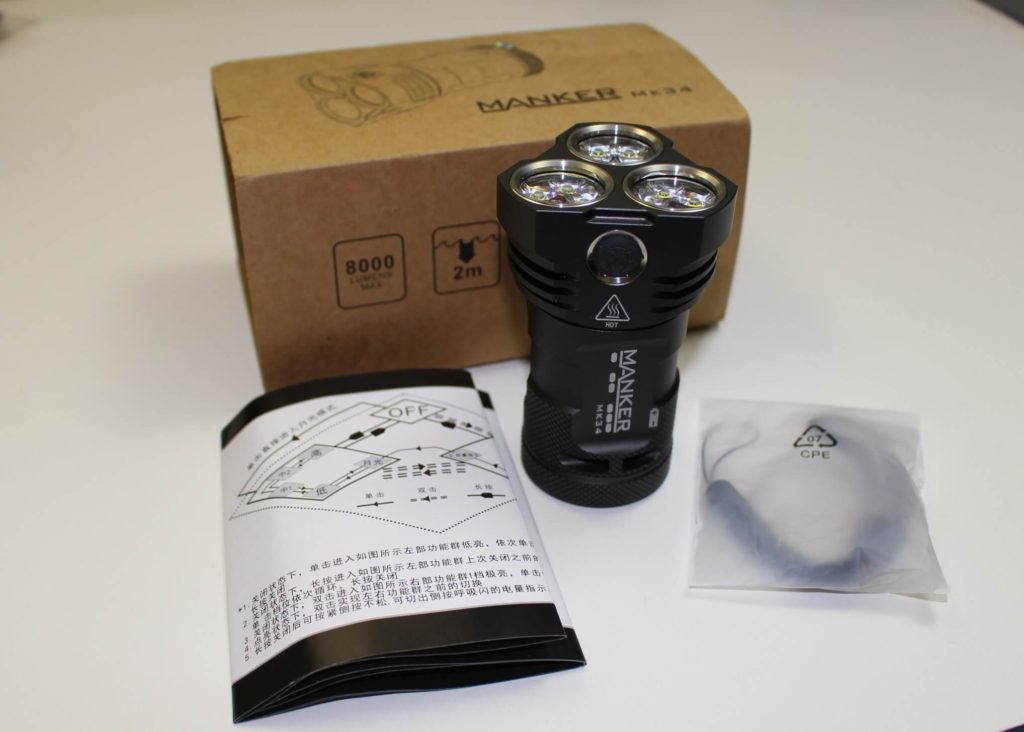
So here’s what you’re looking at. The MK34, an user manual, and a small package containing an adjustable lanyard and a spare o-ring.
Let’s Talk Specifics
- Flashlight length — 3.9″
- Width (at the head) — 2.4″
- Weight (w/batteries) — 391 g/13.82 oz
- LED’s — “12” Cree XP-G3’s
- Batteries; 3 (three) 3.7v 18650’s

Inside the tube

Batteries installed

Battery contacts in head
Output and Runtime
- Moonlight — 0.1 to 30 lumens (user selected – see below) 2 months or 5 days
- Low — 120 lumens – 30 hours
- Medium1 — 500 lumens – 7.5 hours
- Medium2 — 1000 lumens – 3.5 hours
- High — 2500 lumens – 2 hours
- Turbo — 8000 lumens – (no runtime given)
- There are 3 emergency modes — strobe – SOS – location beacon
Features
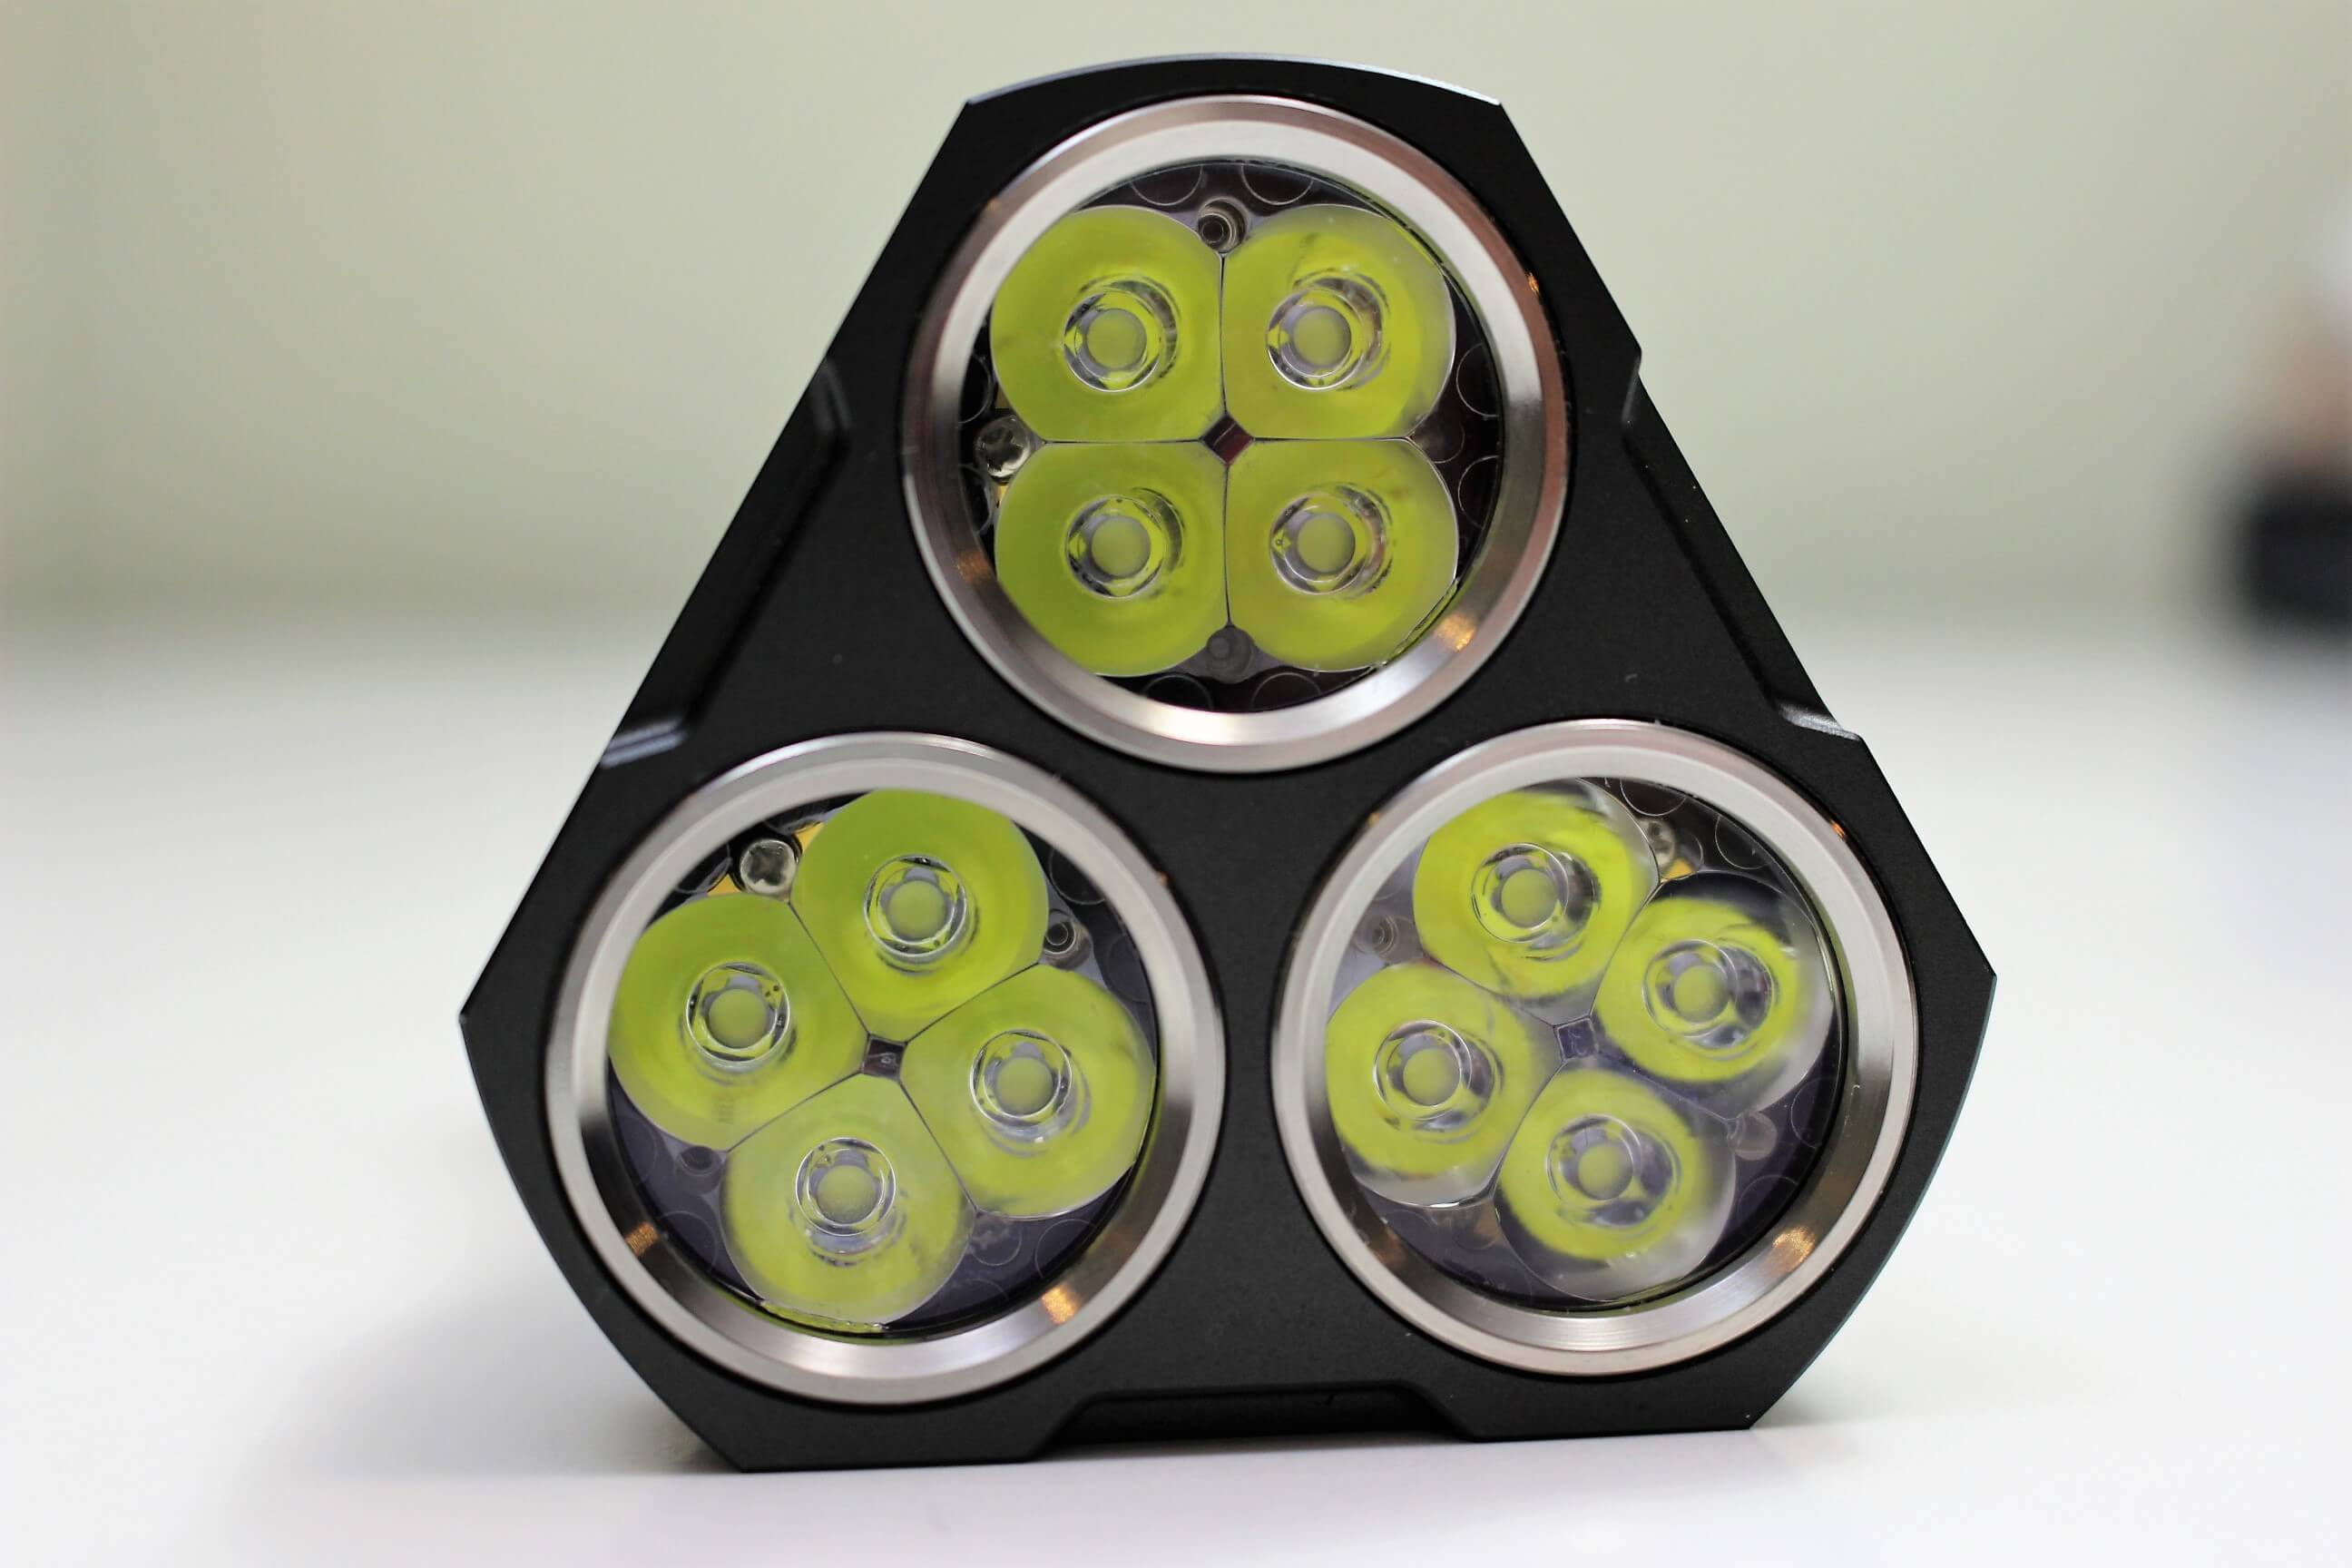
The LED’s
- Waterproof (IPX-8) submersible to 2 meters
- Mode memory recalls the last mode used
- Impact resistant to 1.5 meters
- Beam distance to 280 meters
- Toughened ultra-clear glass lens
- Aircraft-grade aluminum alloy body
Two Versions
The Manker MK34 comes in two distinctively different versions. THIS is the “cool white” edition. The other version is with 12 Nichia 219B LED’s. It’s a much lower color temperature, which will produce a warmer light. Turbo on the Nichia version is 6500 lumens… still bright as hell!
Modus Operandi a la Manker MK34

The operational flowchart
Like all of Maker’s lights, the user manual features a confusing schematic diagram regarding its basic operation. As a public service, I will sort it out for you, hopefully relieving you of the added stress!
There’s only one switch…on the head. Beneath the switch is an LED which serves as a battery voltage indicator. Blue means over 75%. Purple, 50%. Red…less than 20%.
Actually, it’s simpler to operate than a couple of their previous lights. For moonlight mode, give the switch a quick press. To recall the last mode used (other than moonlight) give the switch a long press. Once on (in any mode) a short press will advance to the next. To turn it off, a long press is required.
To access TURBO and the flashing modes, DOUBLE-CLICK the switch either from off, or while in any regular modes. The sequence in that set is as follows; turbo>strobe>SOS>location beacon>battery indicator/breathing light. Once you’re in any of those modes, a single click will only advance to the next one. A holding press is therefore required to switch it off.
One interesting note regarding the mode sequence. As I mentioned, as long as you continue pressing the button, the light will sequence from moonlight to high. BUT, unlike MOST flashlights, after it reaches high, the sequence continues… but in the opposite direction! For example; moonlight>low>med1>med2>high…then…med2>med1>low>moonlight. Get it? So if you were to continue pressing the buitton, it goes from low to high, then high to low and back again. Pretty cool! 😉
Engineering Mode
I don’t what that name is supposed to mean… but what it does is something I’ve never seen before. This is where you can select one of TEN different outputs for moonlight mode!

Tail cap

Beneath the cap
The way to activate it, is a tad tricky.
- Step 1; The light has to already be ON.
- Step 2; Turn it OFF by holding down the switch.
- Step 3; CONTINUE holding the button after the light shuts off…because within about 1 second of turning off, the BLUE switch indicator will turn ON.
- Step 4; The second you see the blue indicator, click the switch FOUR TIMES. You’ll know if this was done correctly, because it will be IN moonlight mode after the fourth click. If it’s NOT in moonlight… then you either didn’t click four times, or you waited too long after the blue indicator came on.
- Step 5; One you’re in moonlight, start pressing the switch. With each press, moonlight will get brighter and brighter until it reaches 30 lumens. There should be TEN levels in all. When it arrives on the level you want… turn it off… and the next time you activate moonlight, it will be THAT level you’ll see. To change to a different level, repeat the procedure from step 1.
Lock Out Mode
To prevent accidental activation, lock it out. To achieve this, you need to click the switch (in succession) 1x – 2x – 3x. Once this is done, the only thing that works is the blue indicator. To release the lock, perform the clicks once again the same way. In order for the sequence to work, there needs to be a split second pause between each set.
Check Out That Beam! (“holy flashlight Batman”)
As always, clicking each image will enlarge it to page size.
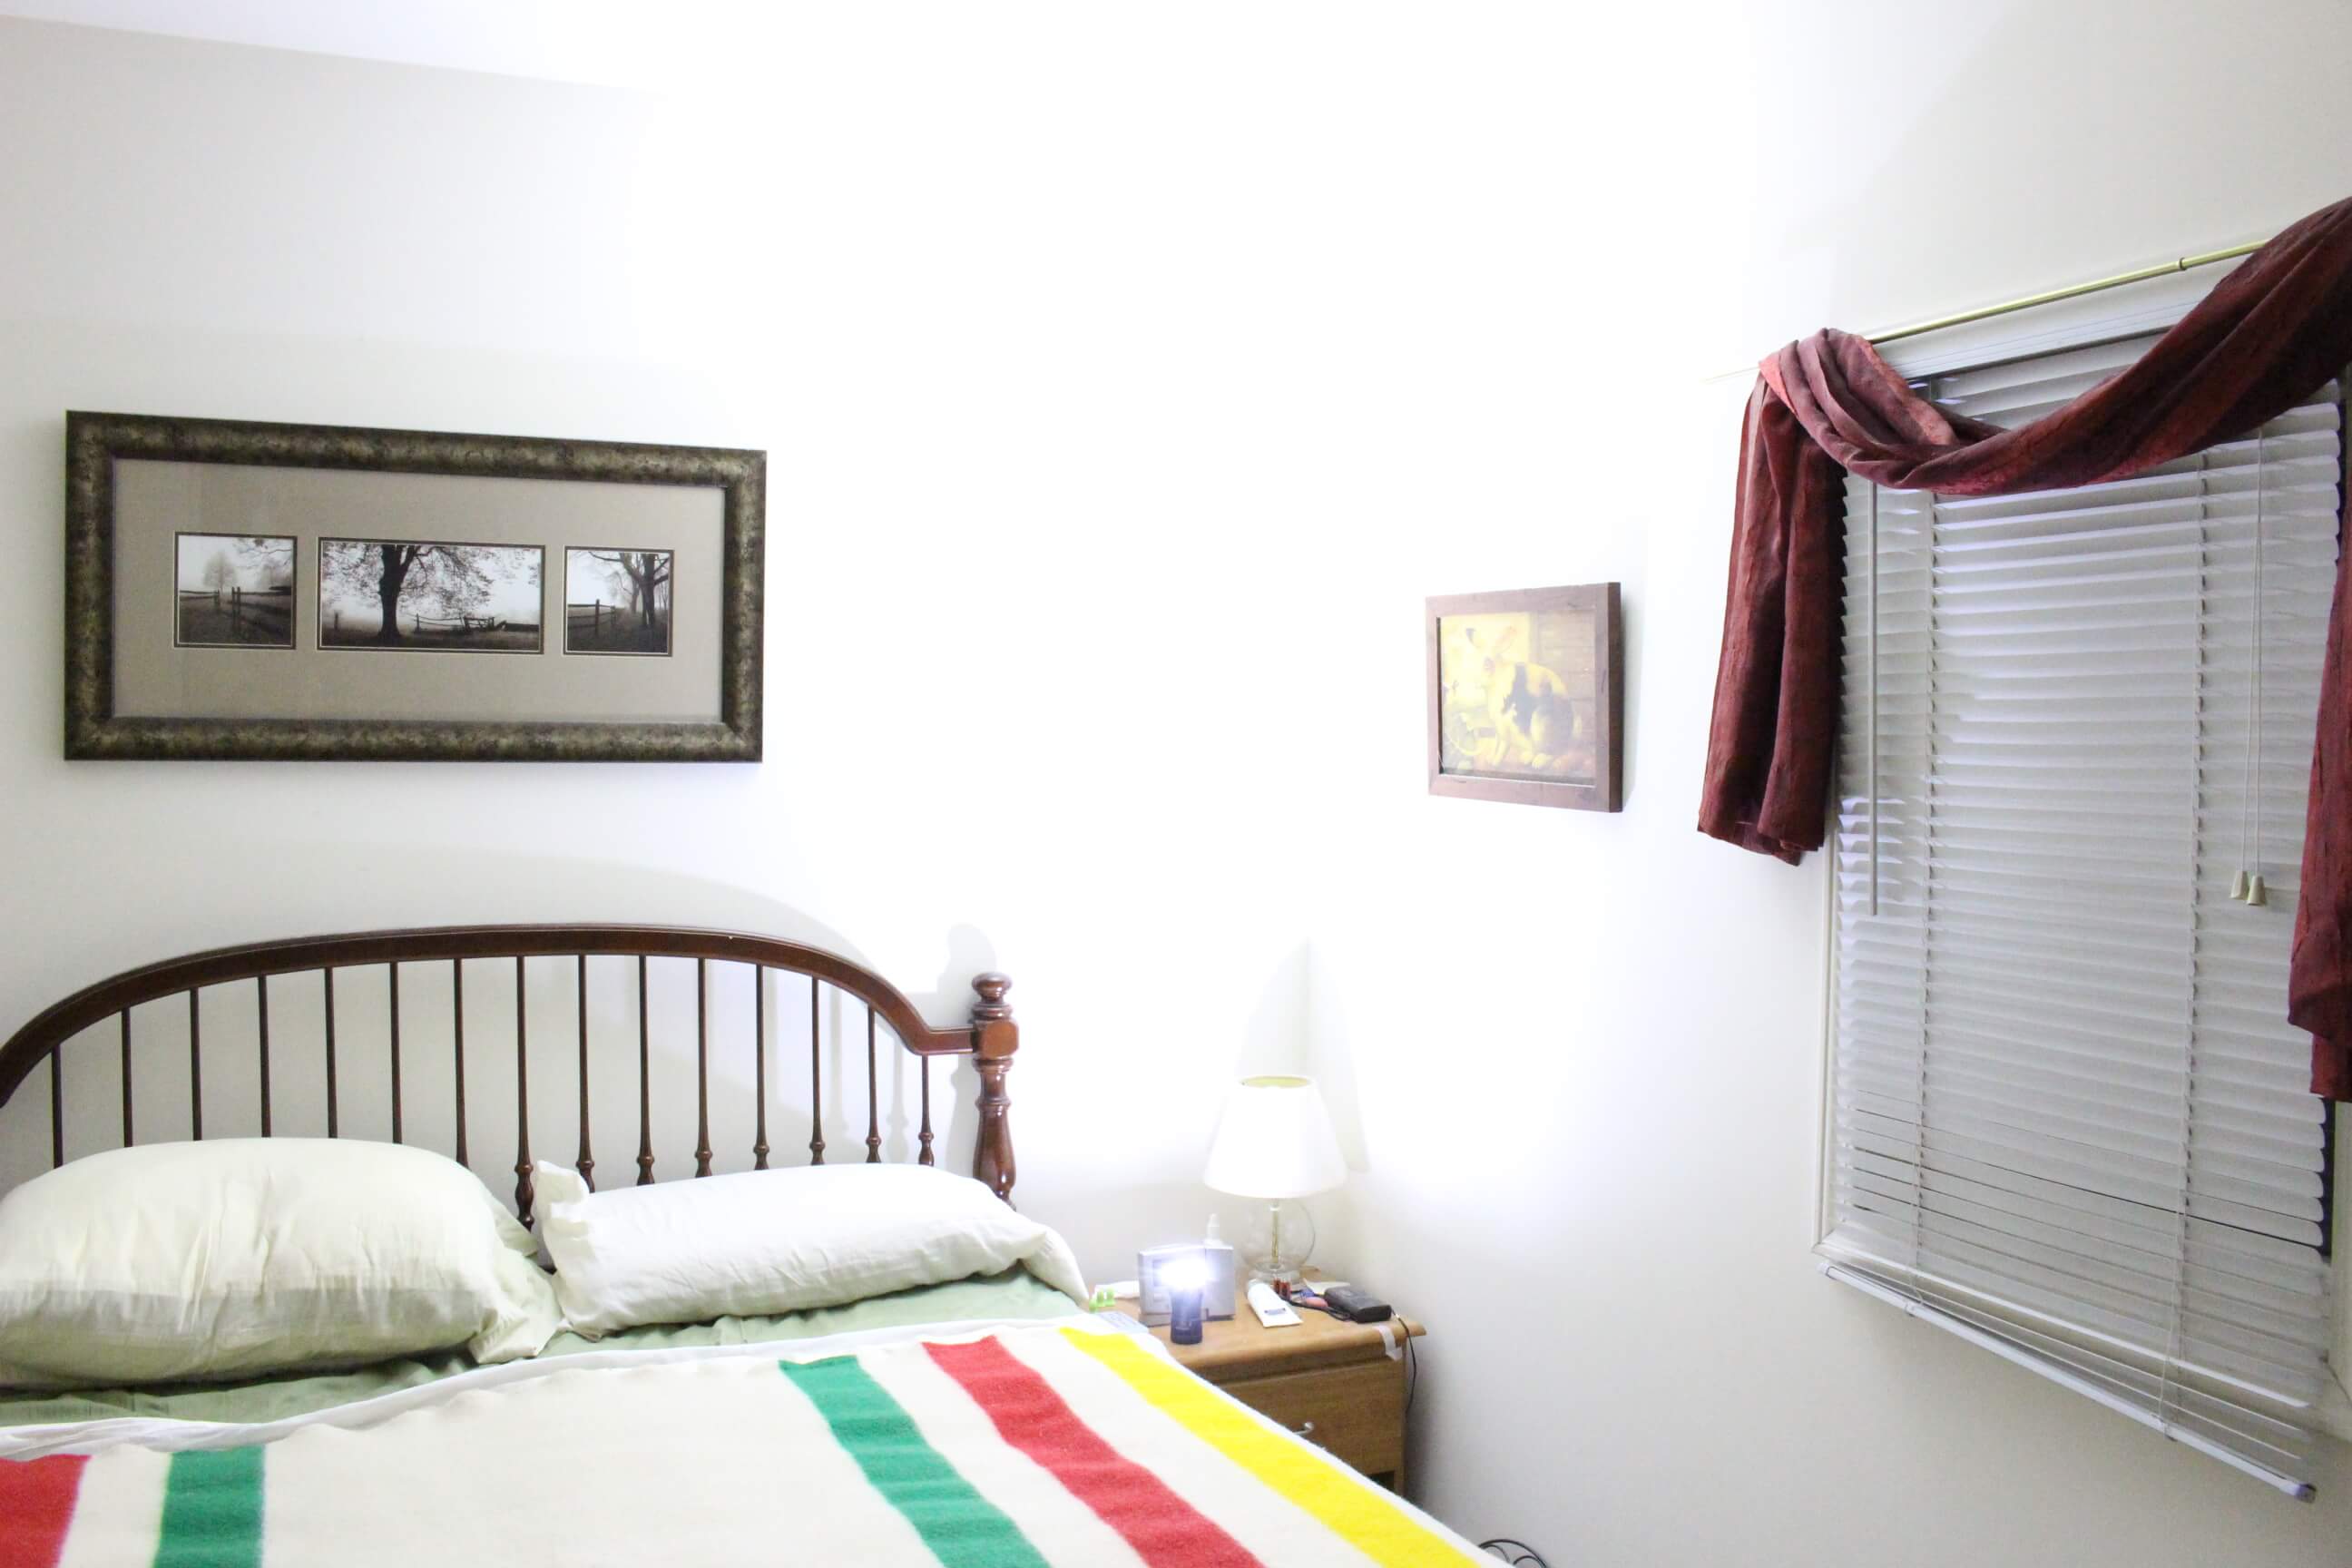
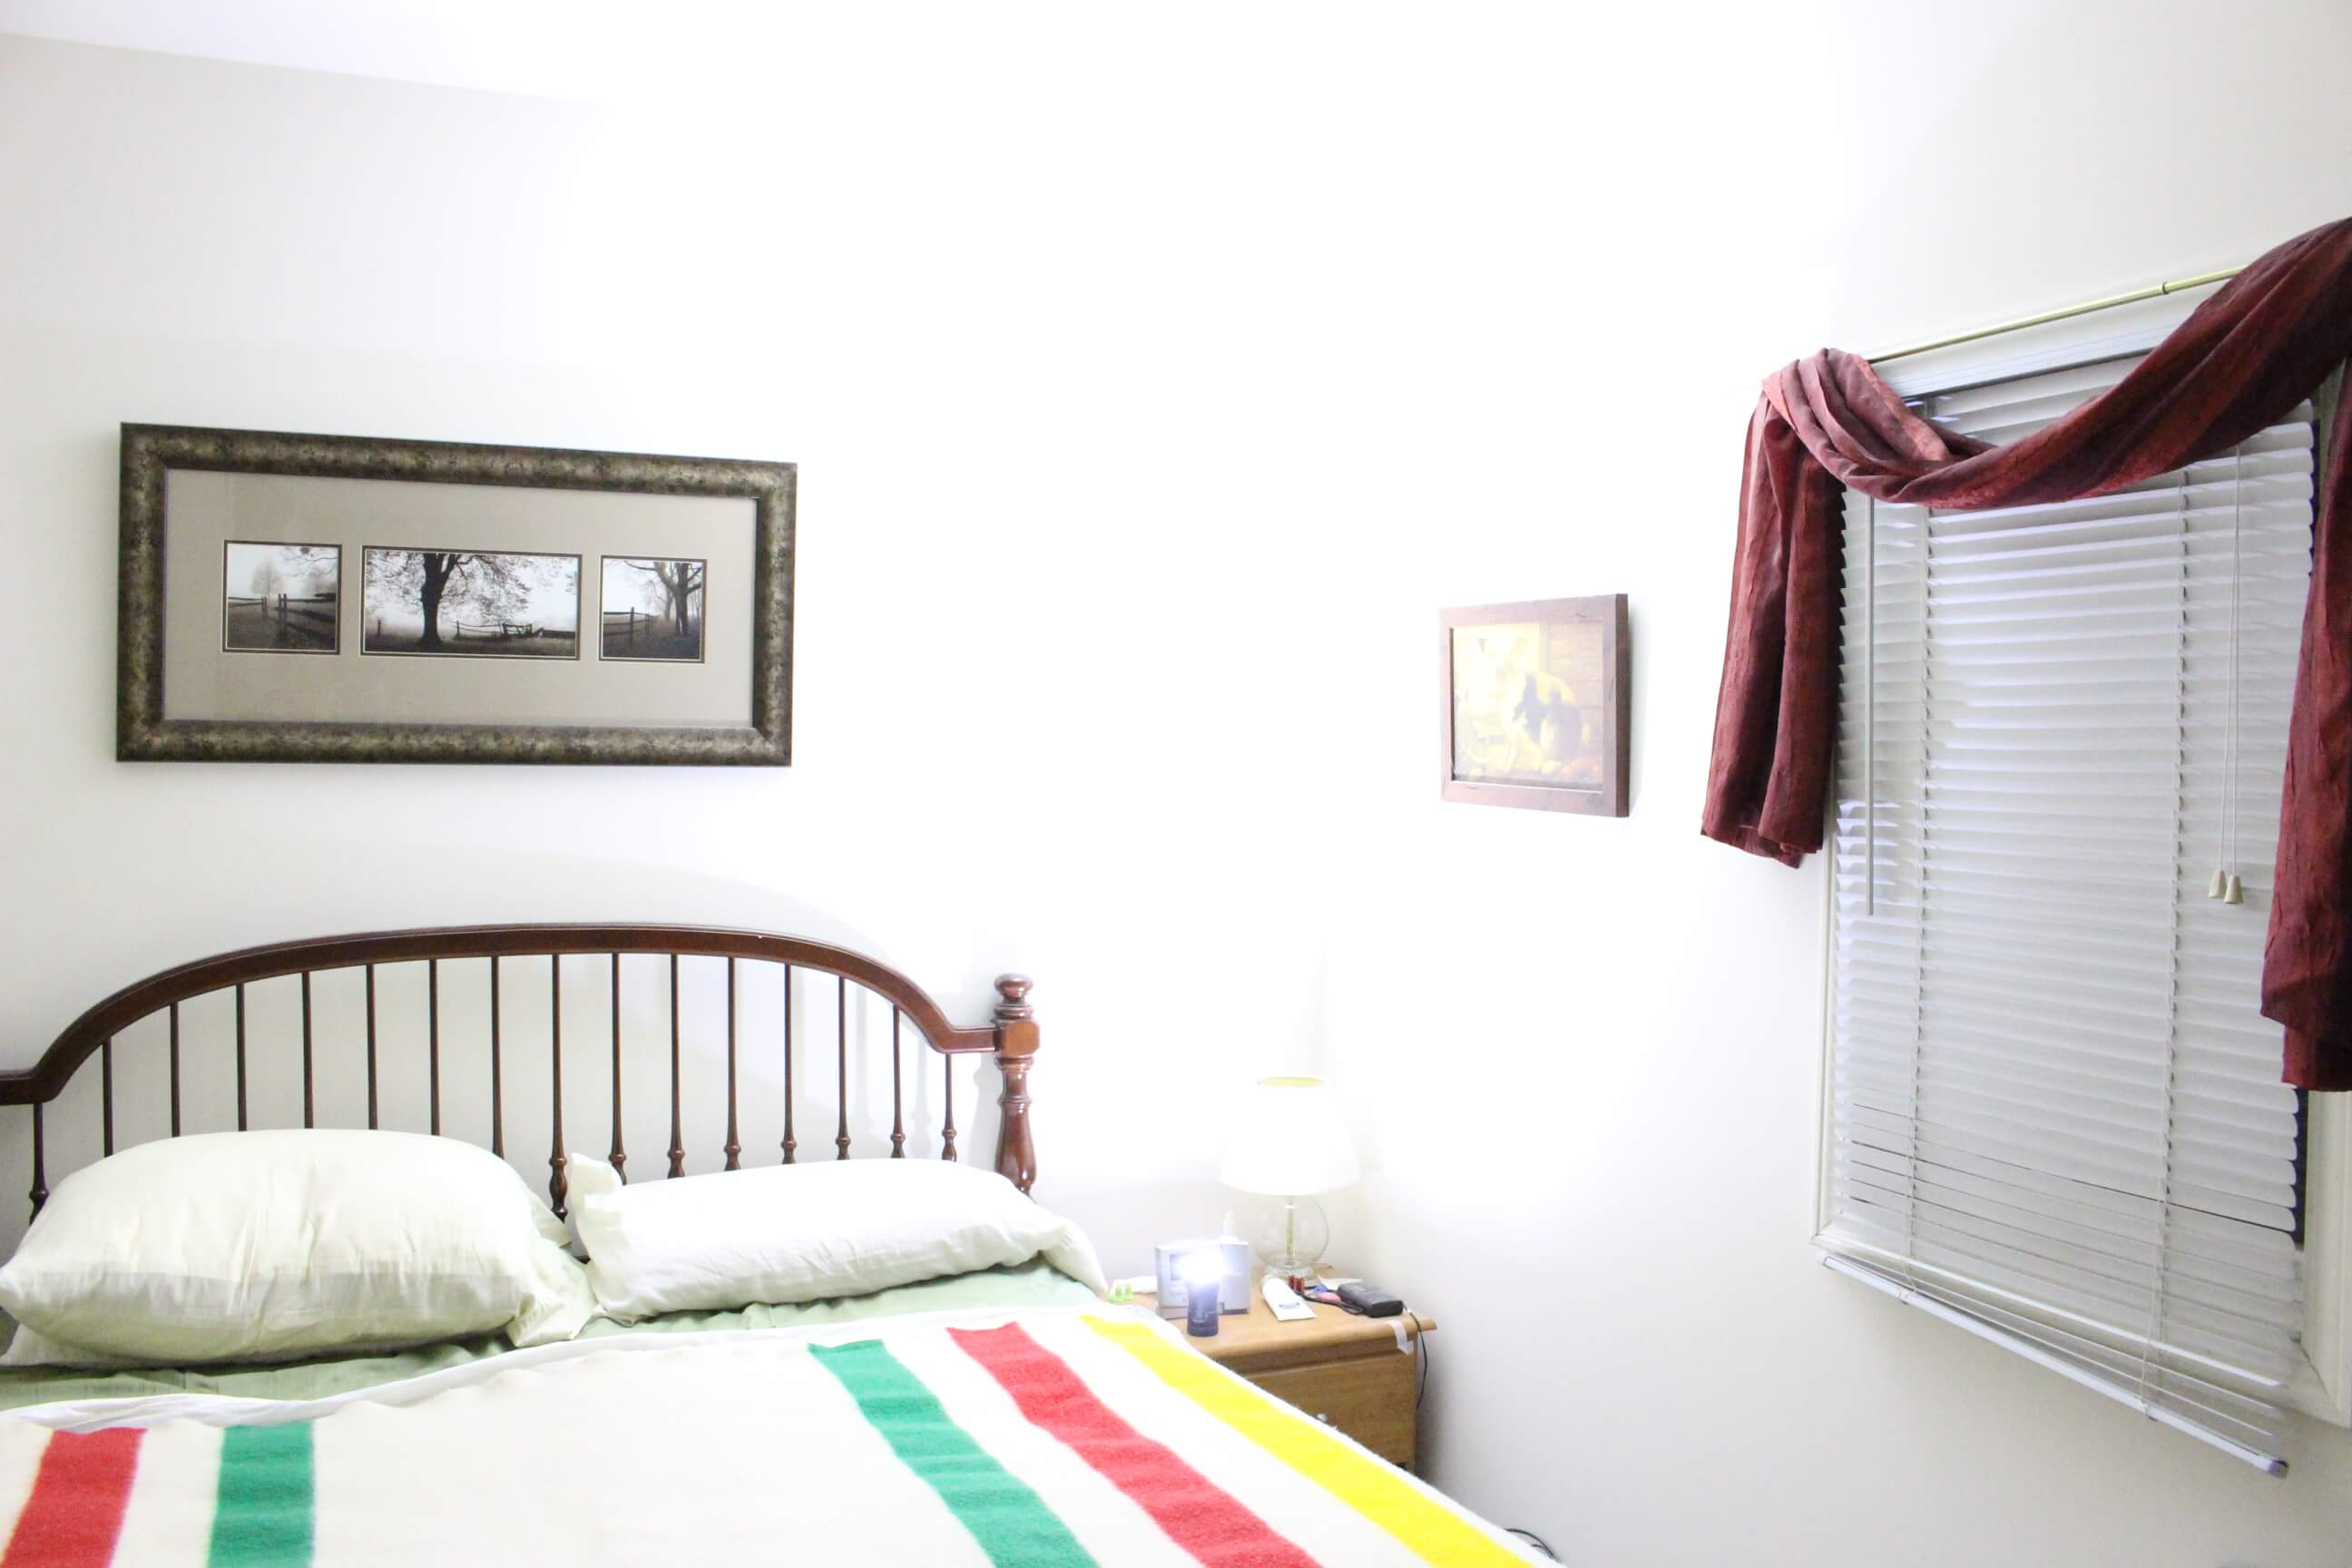
On moonlight (indoors)

Low

On medium1
On medium2
High
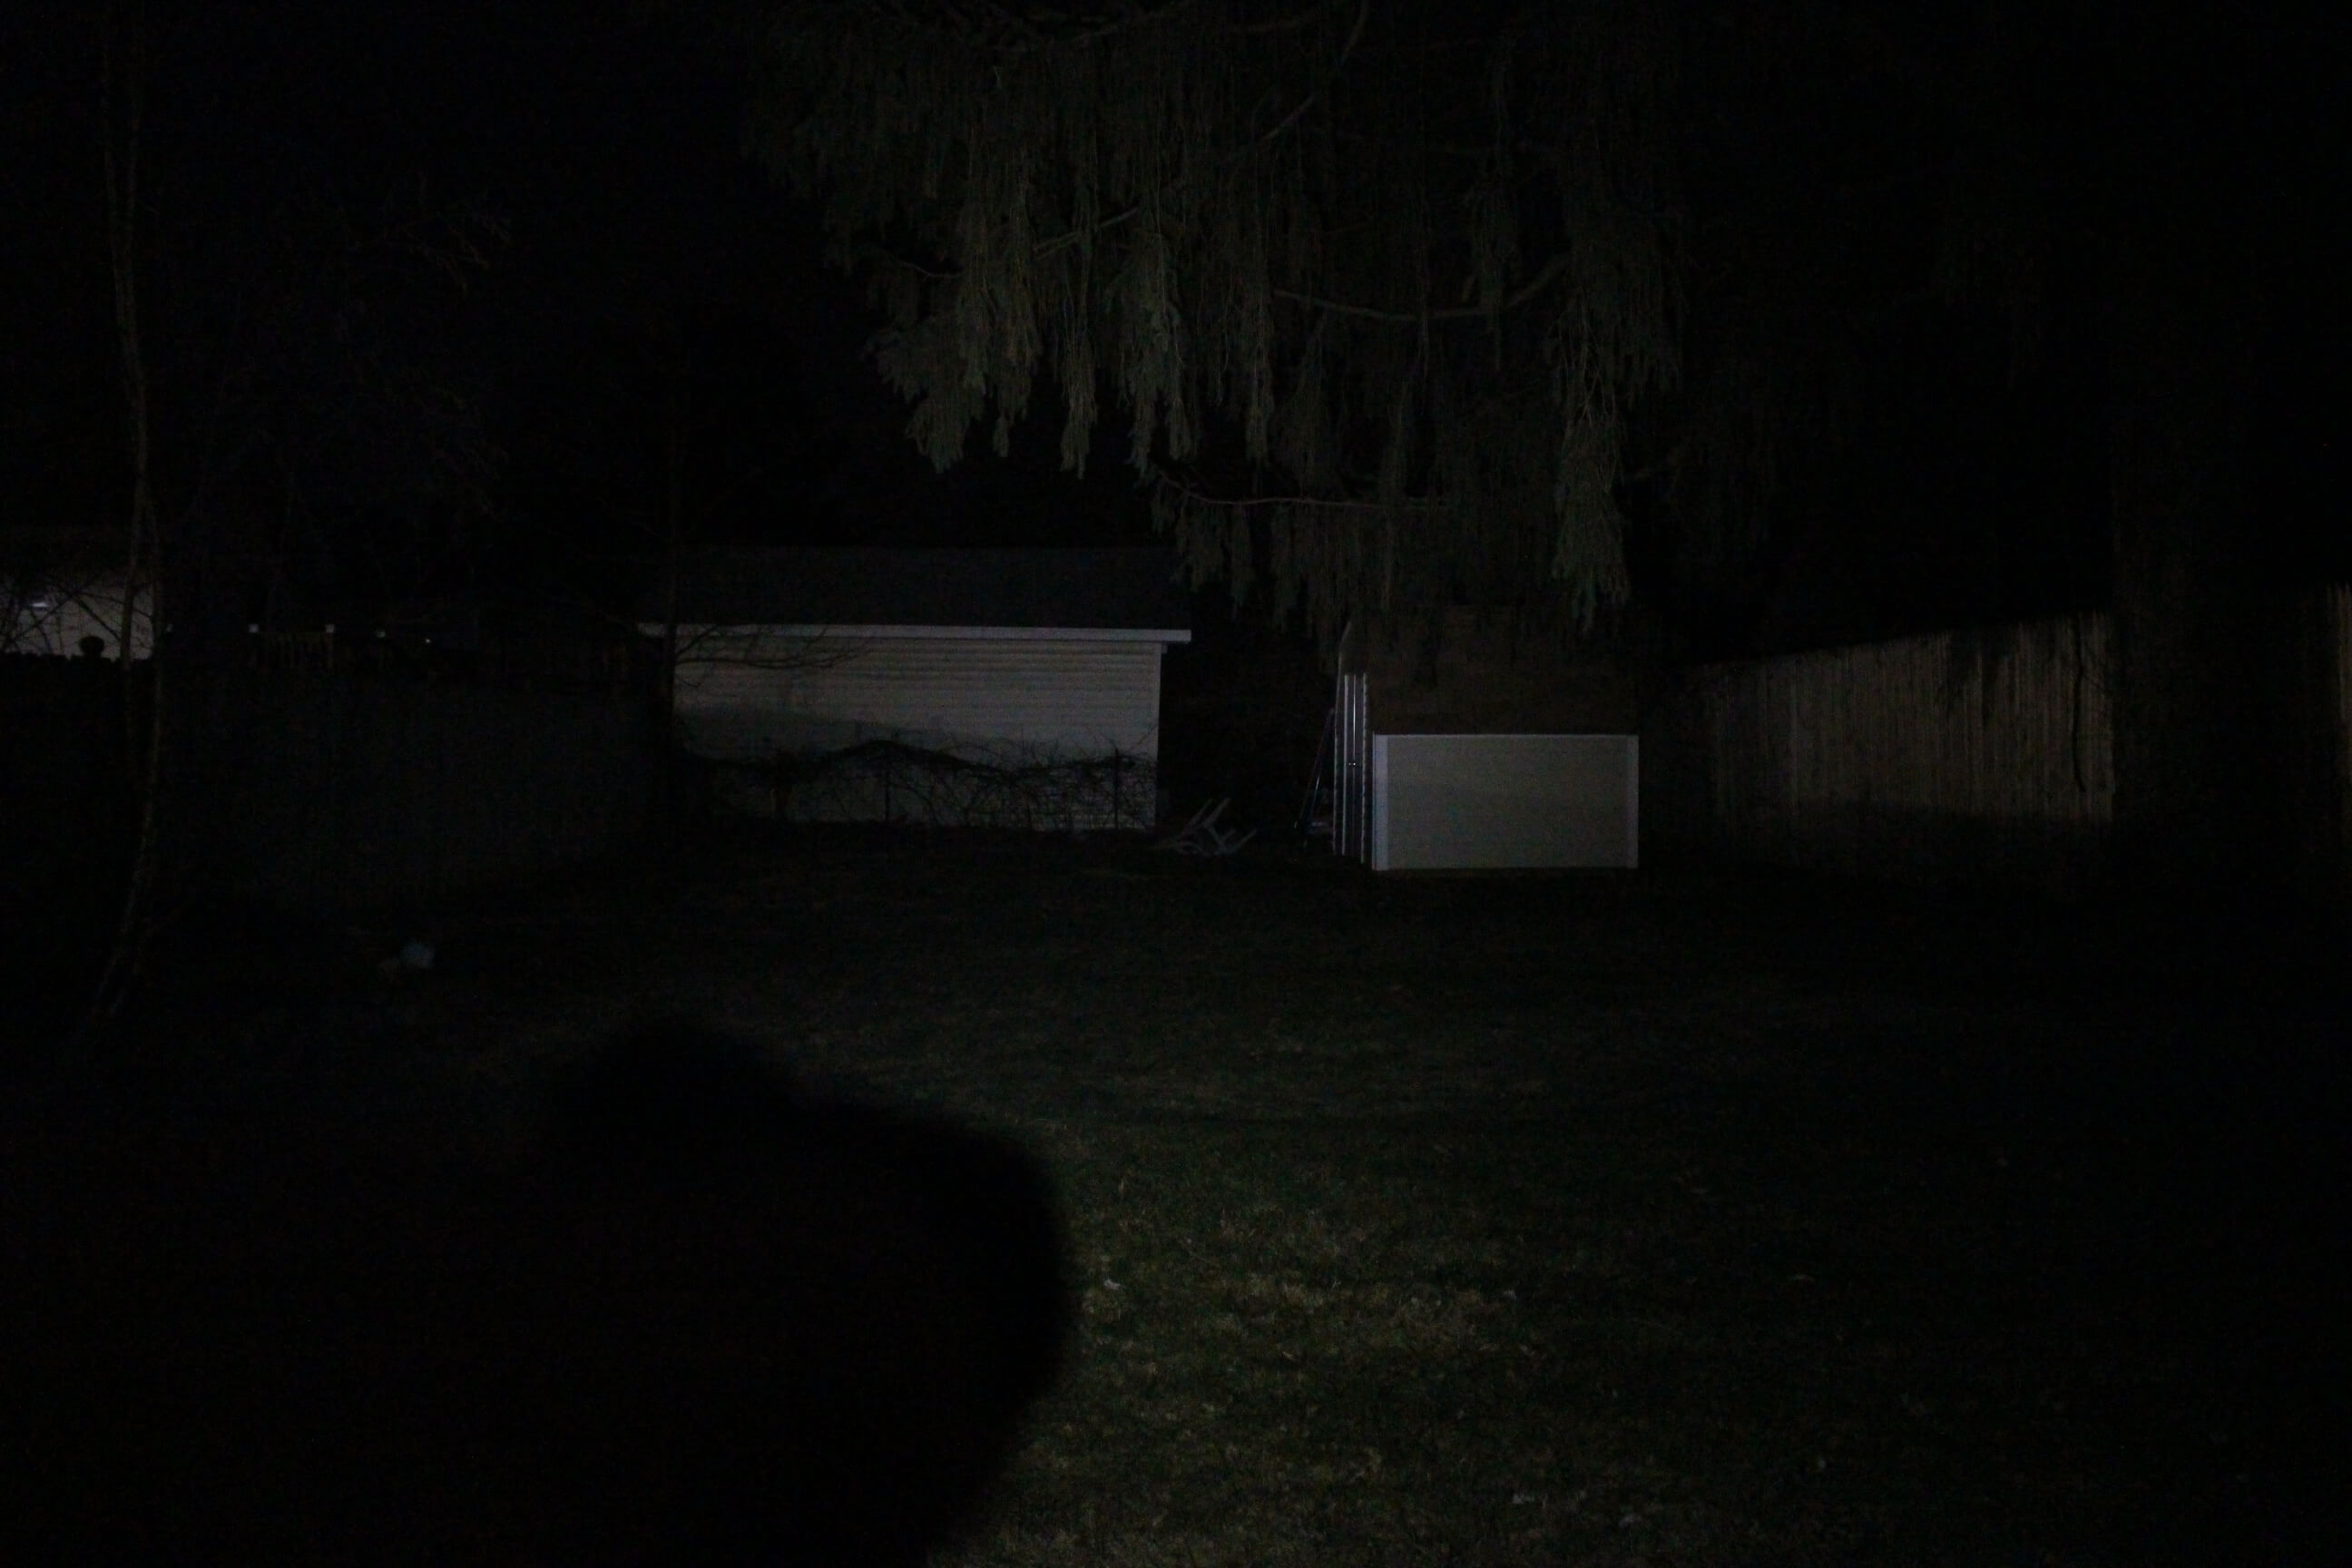
Low @60 ft

Medium1
Medium2
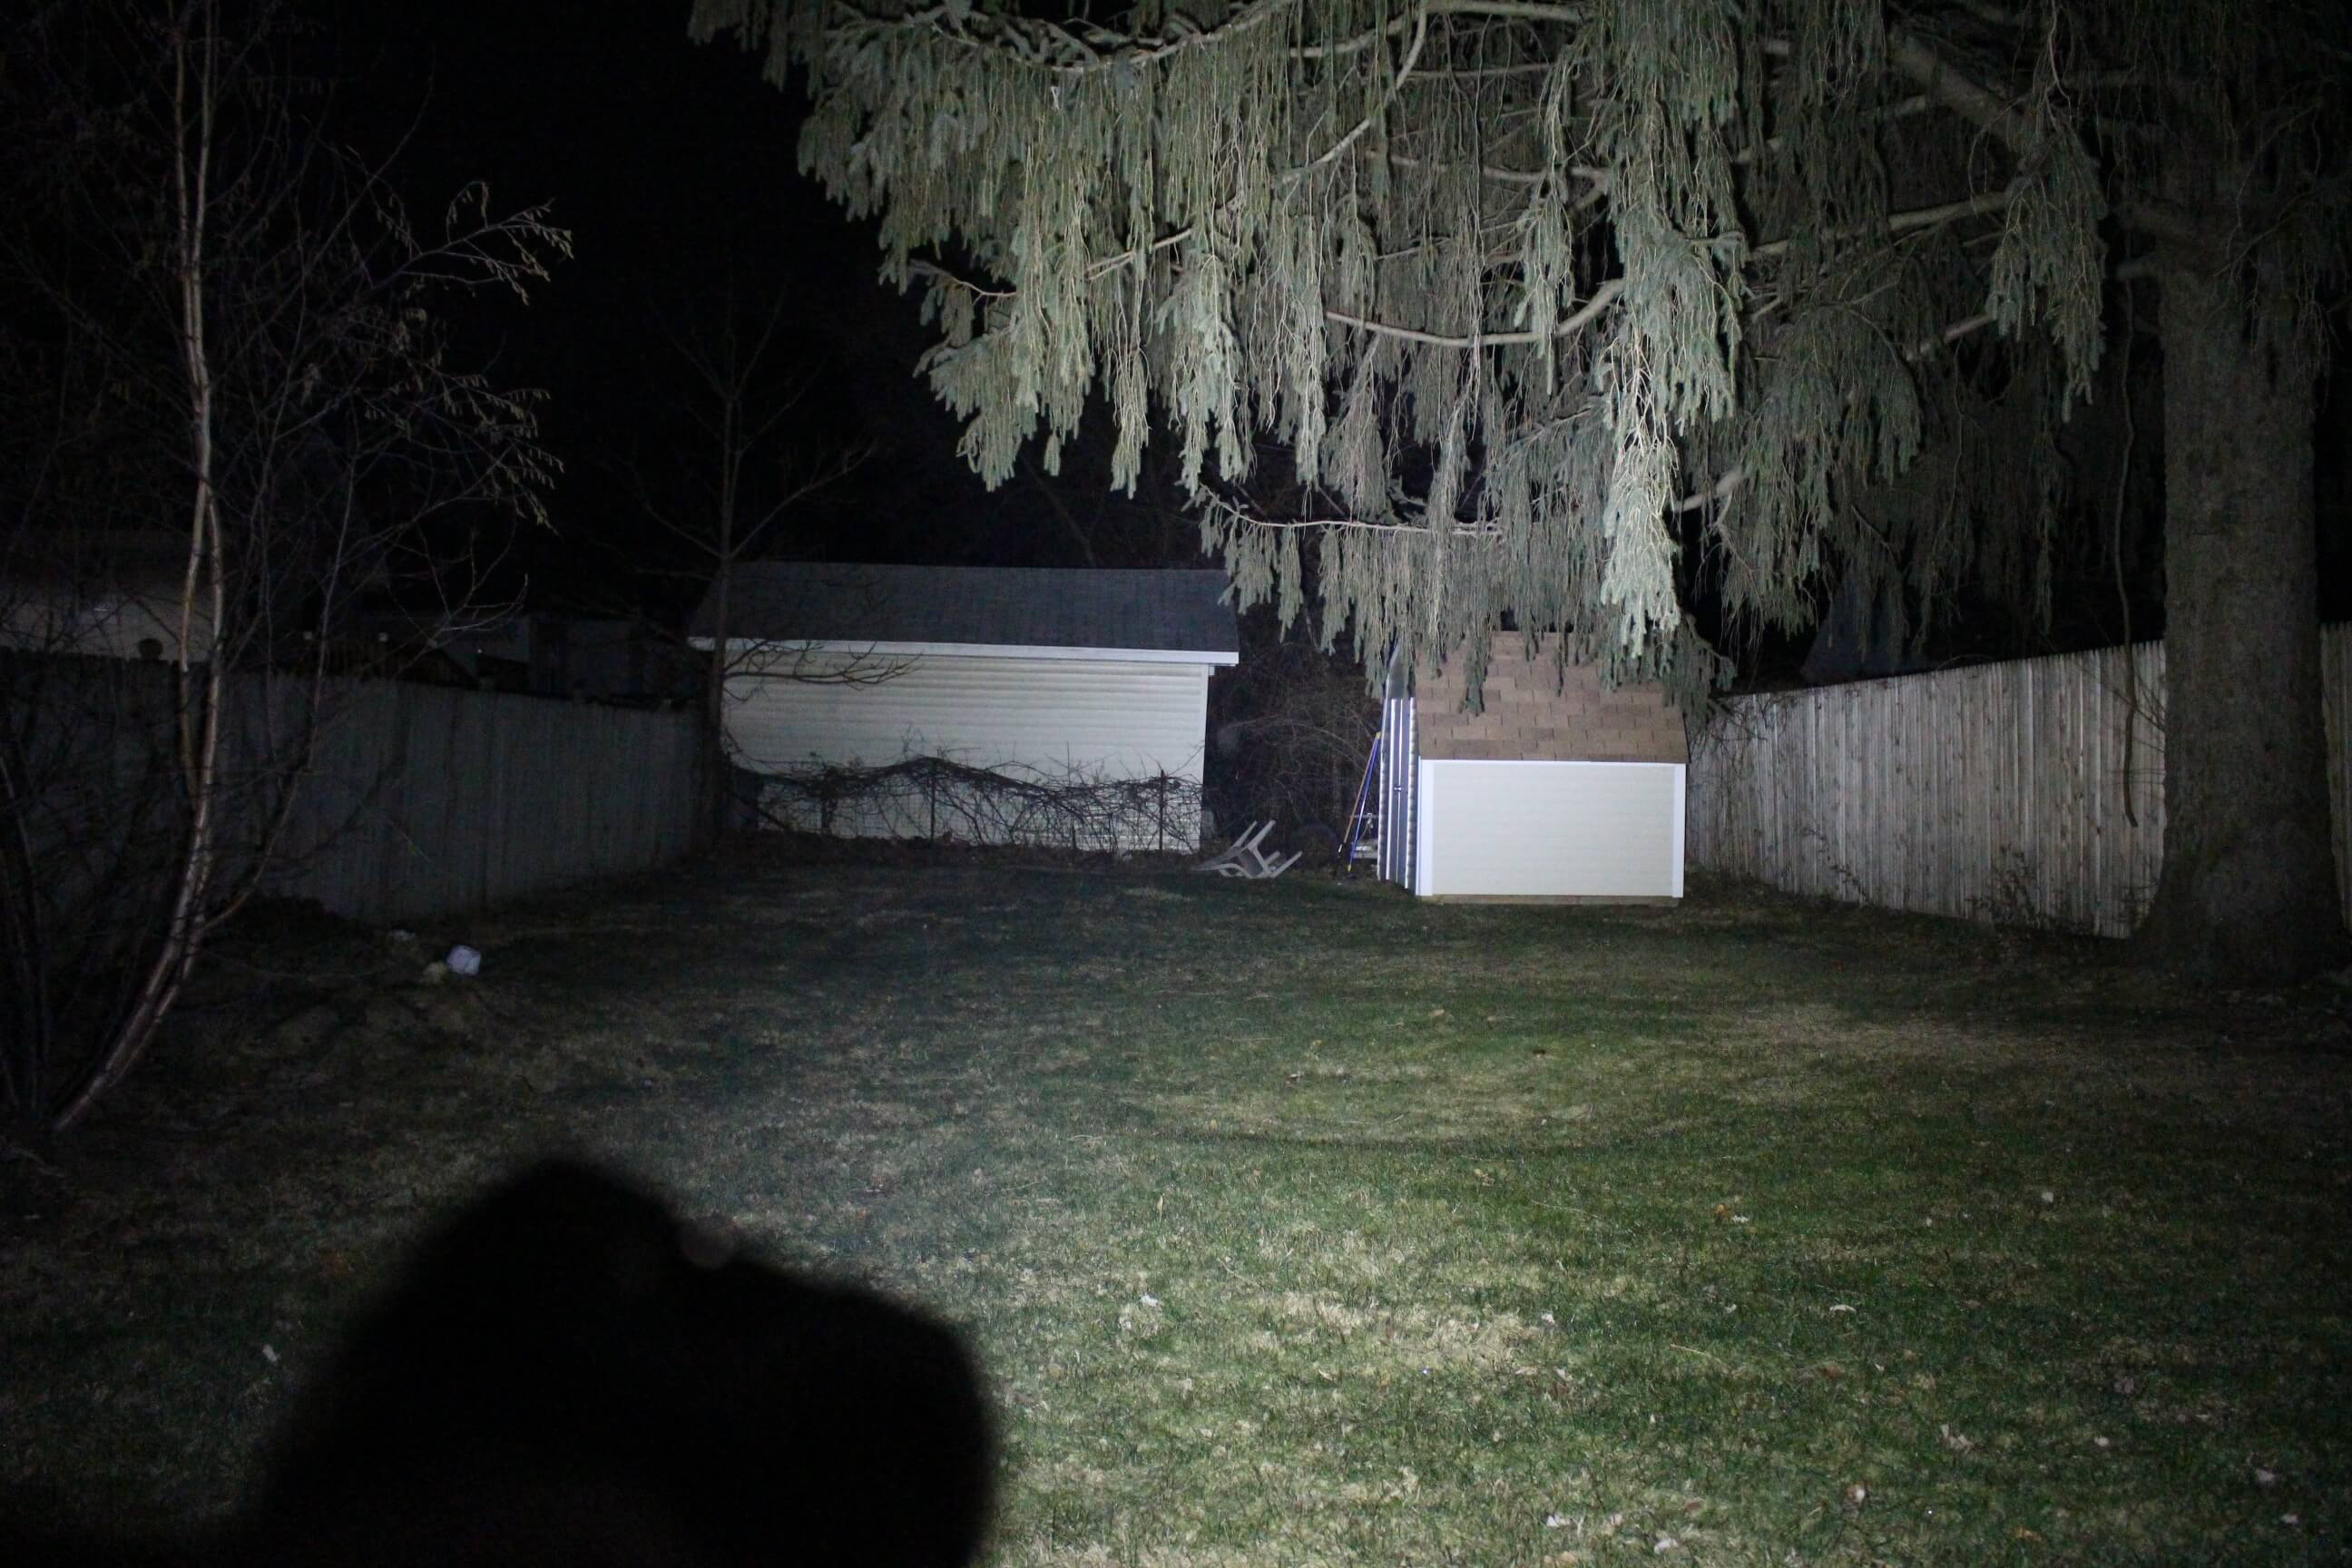
High

Turbo!
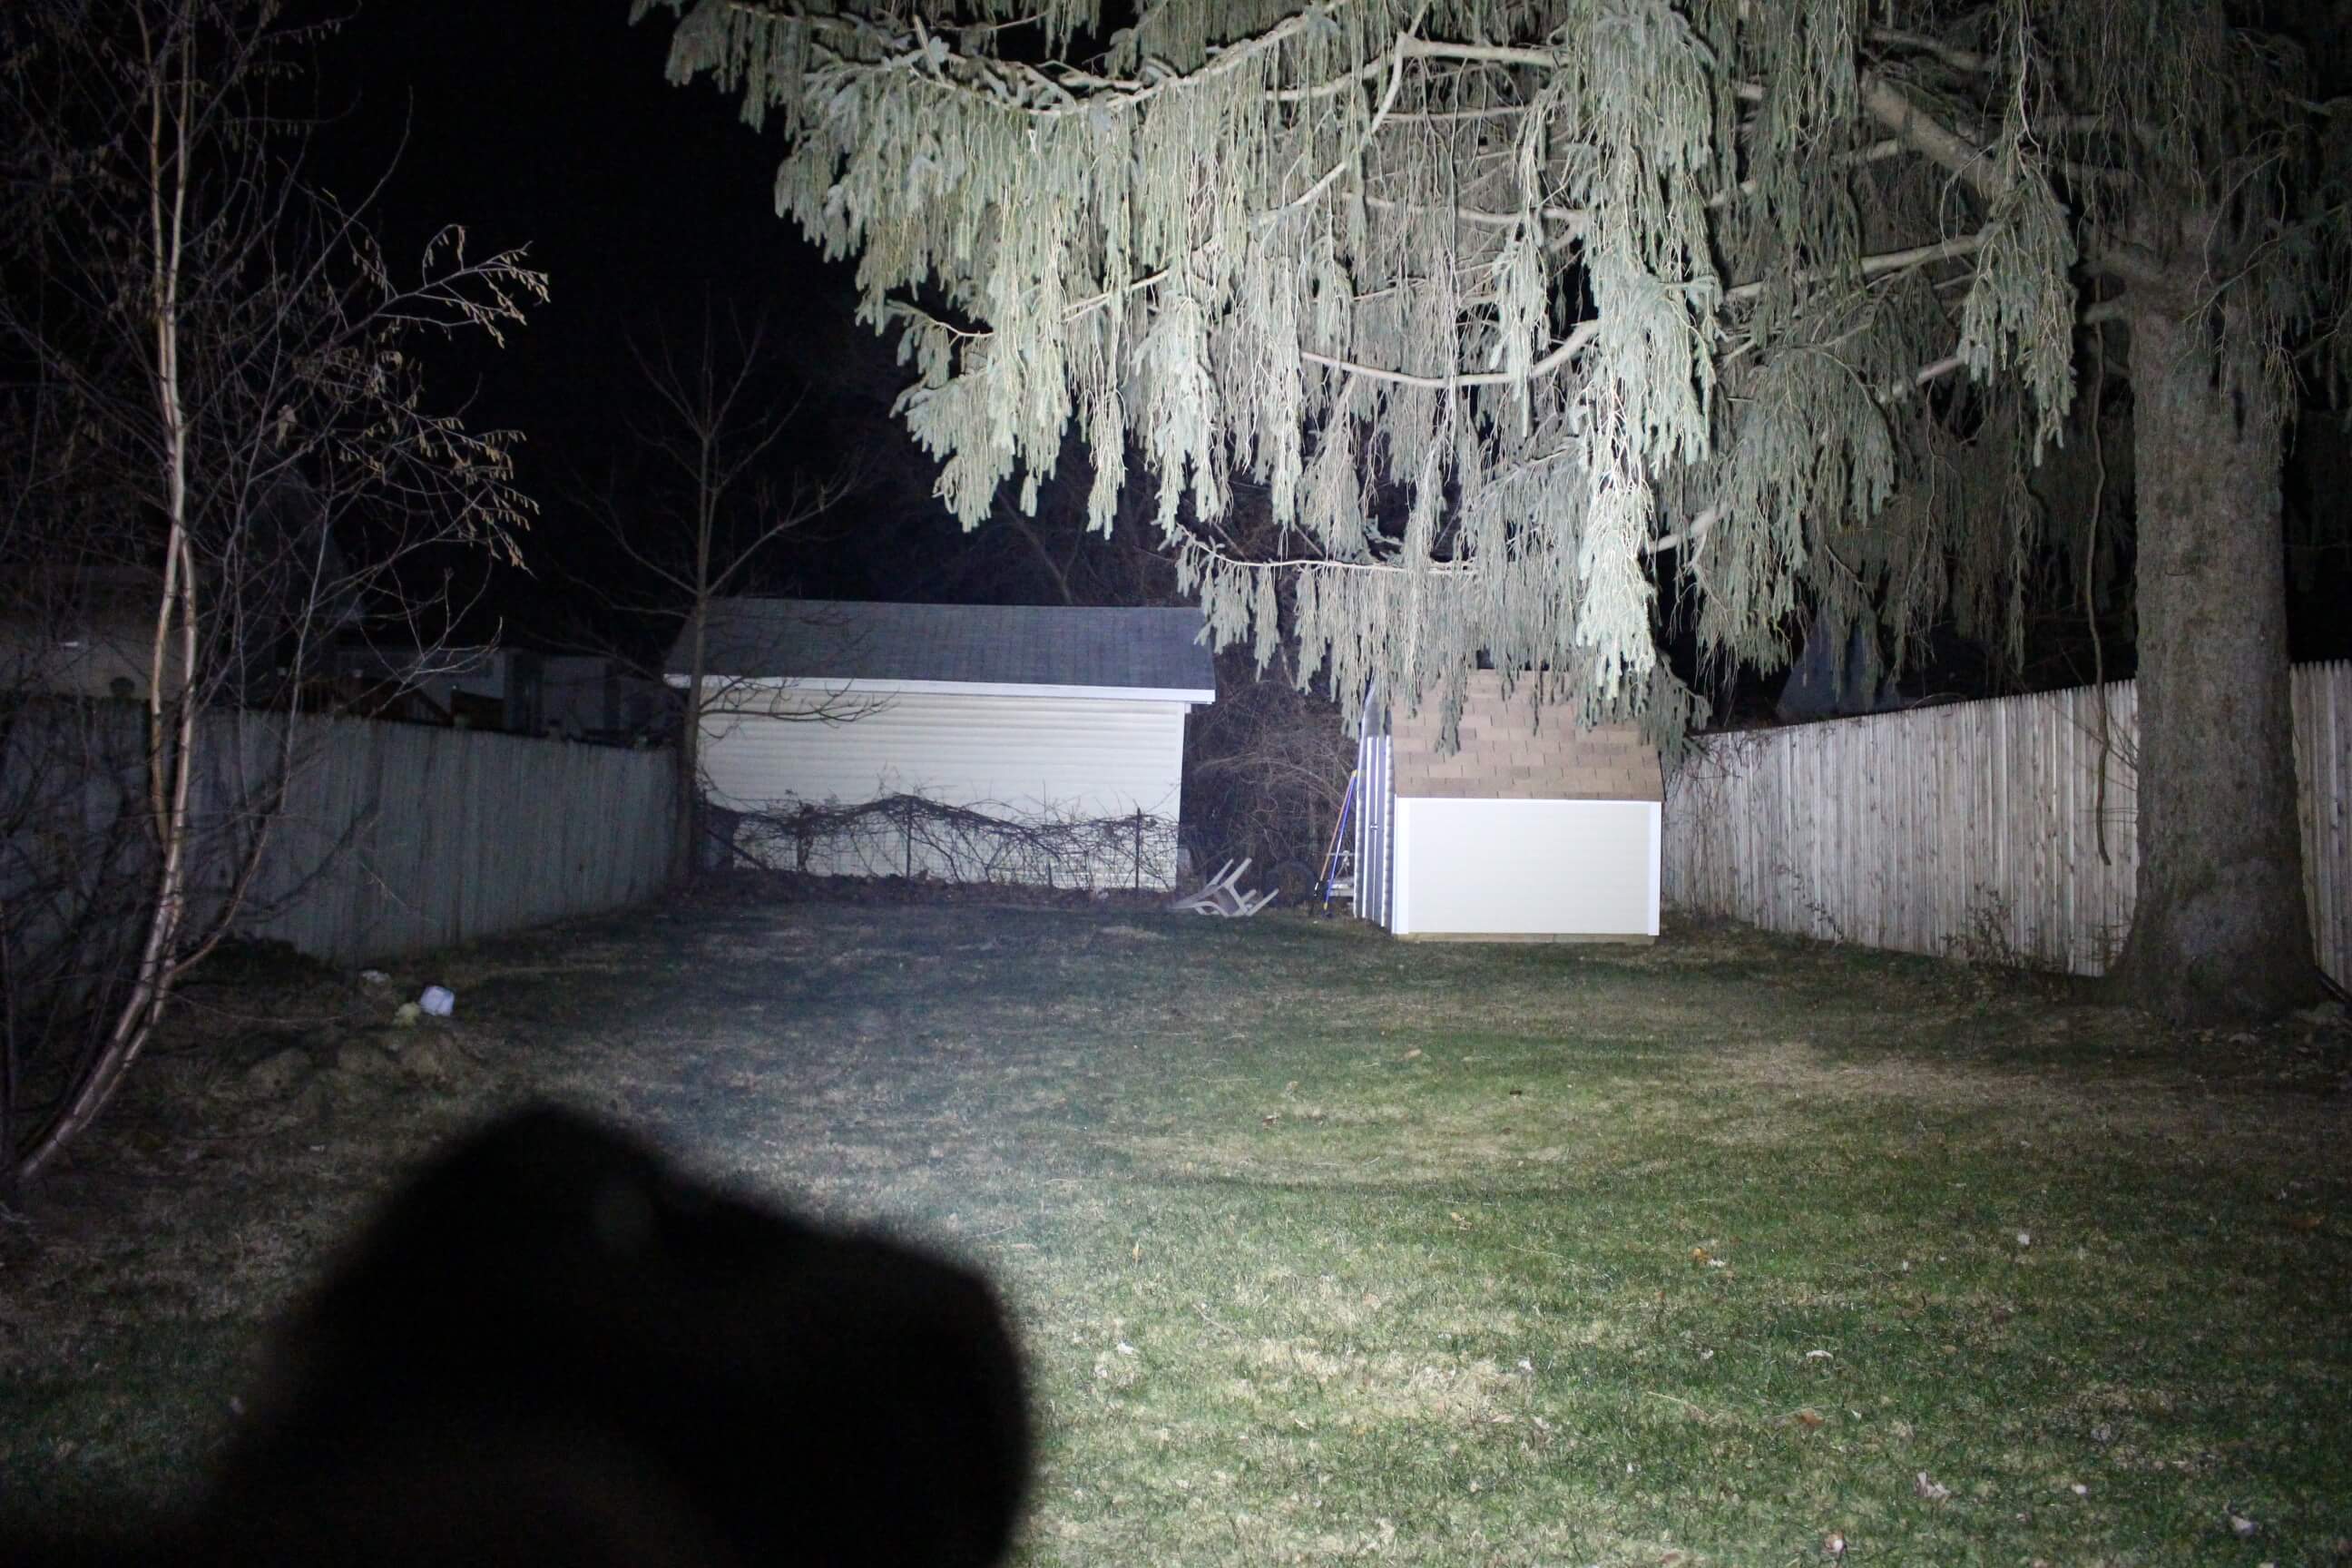
High (on trees)
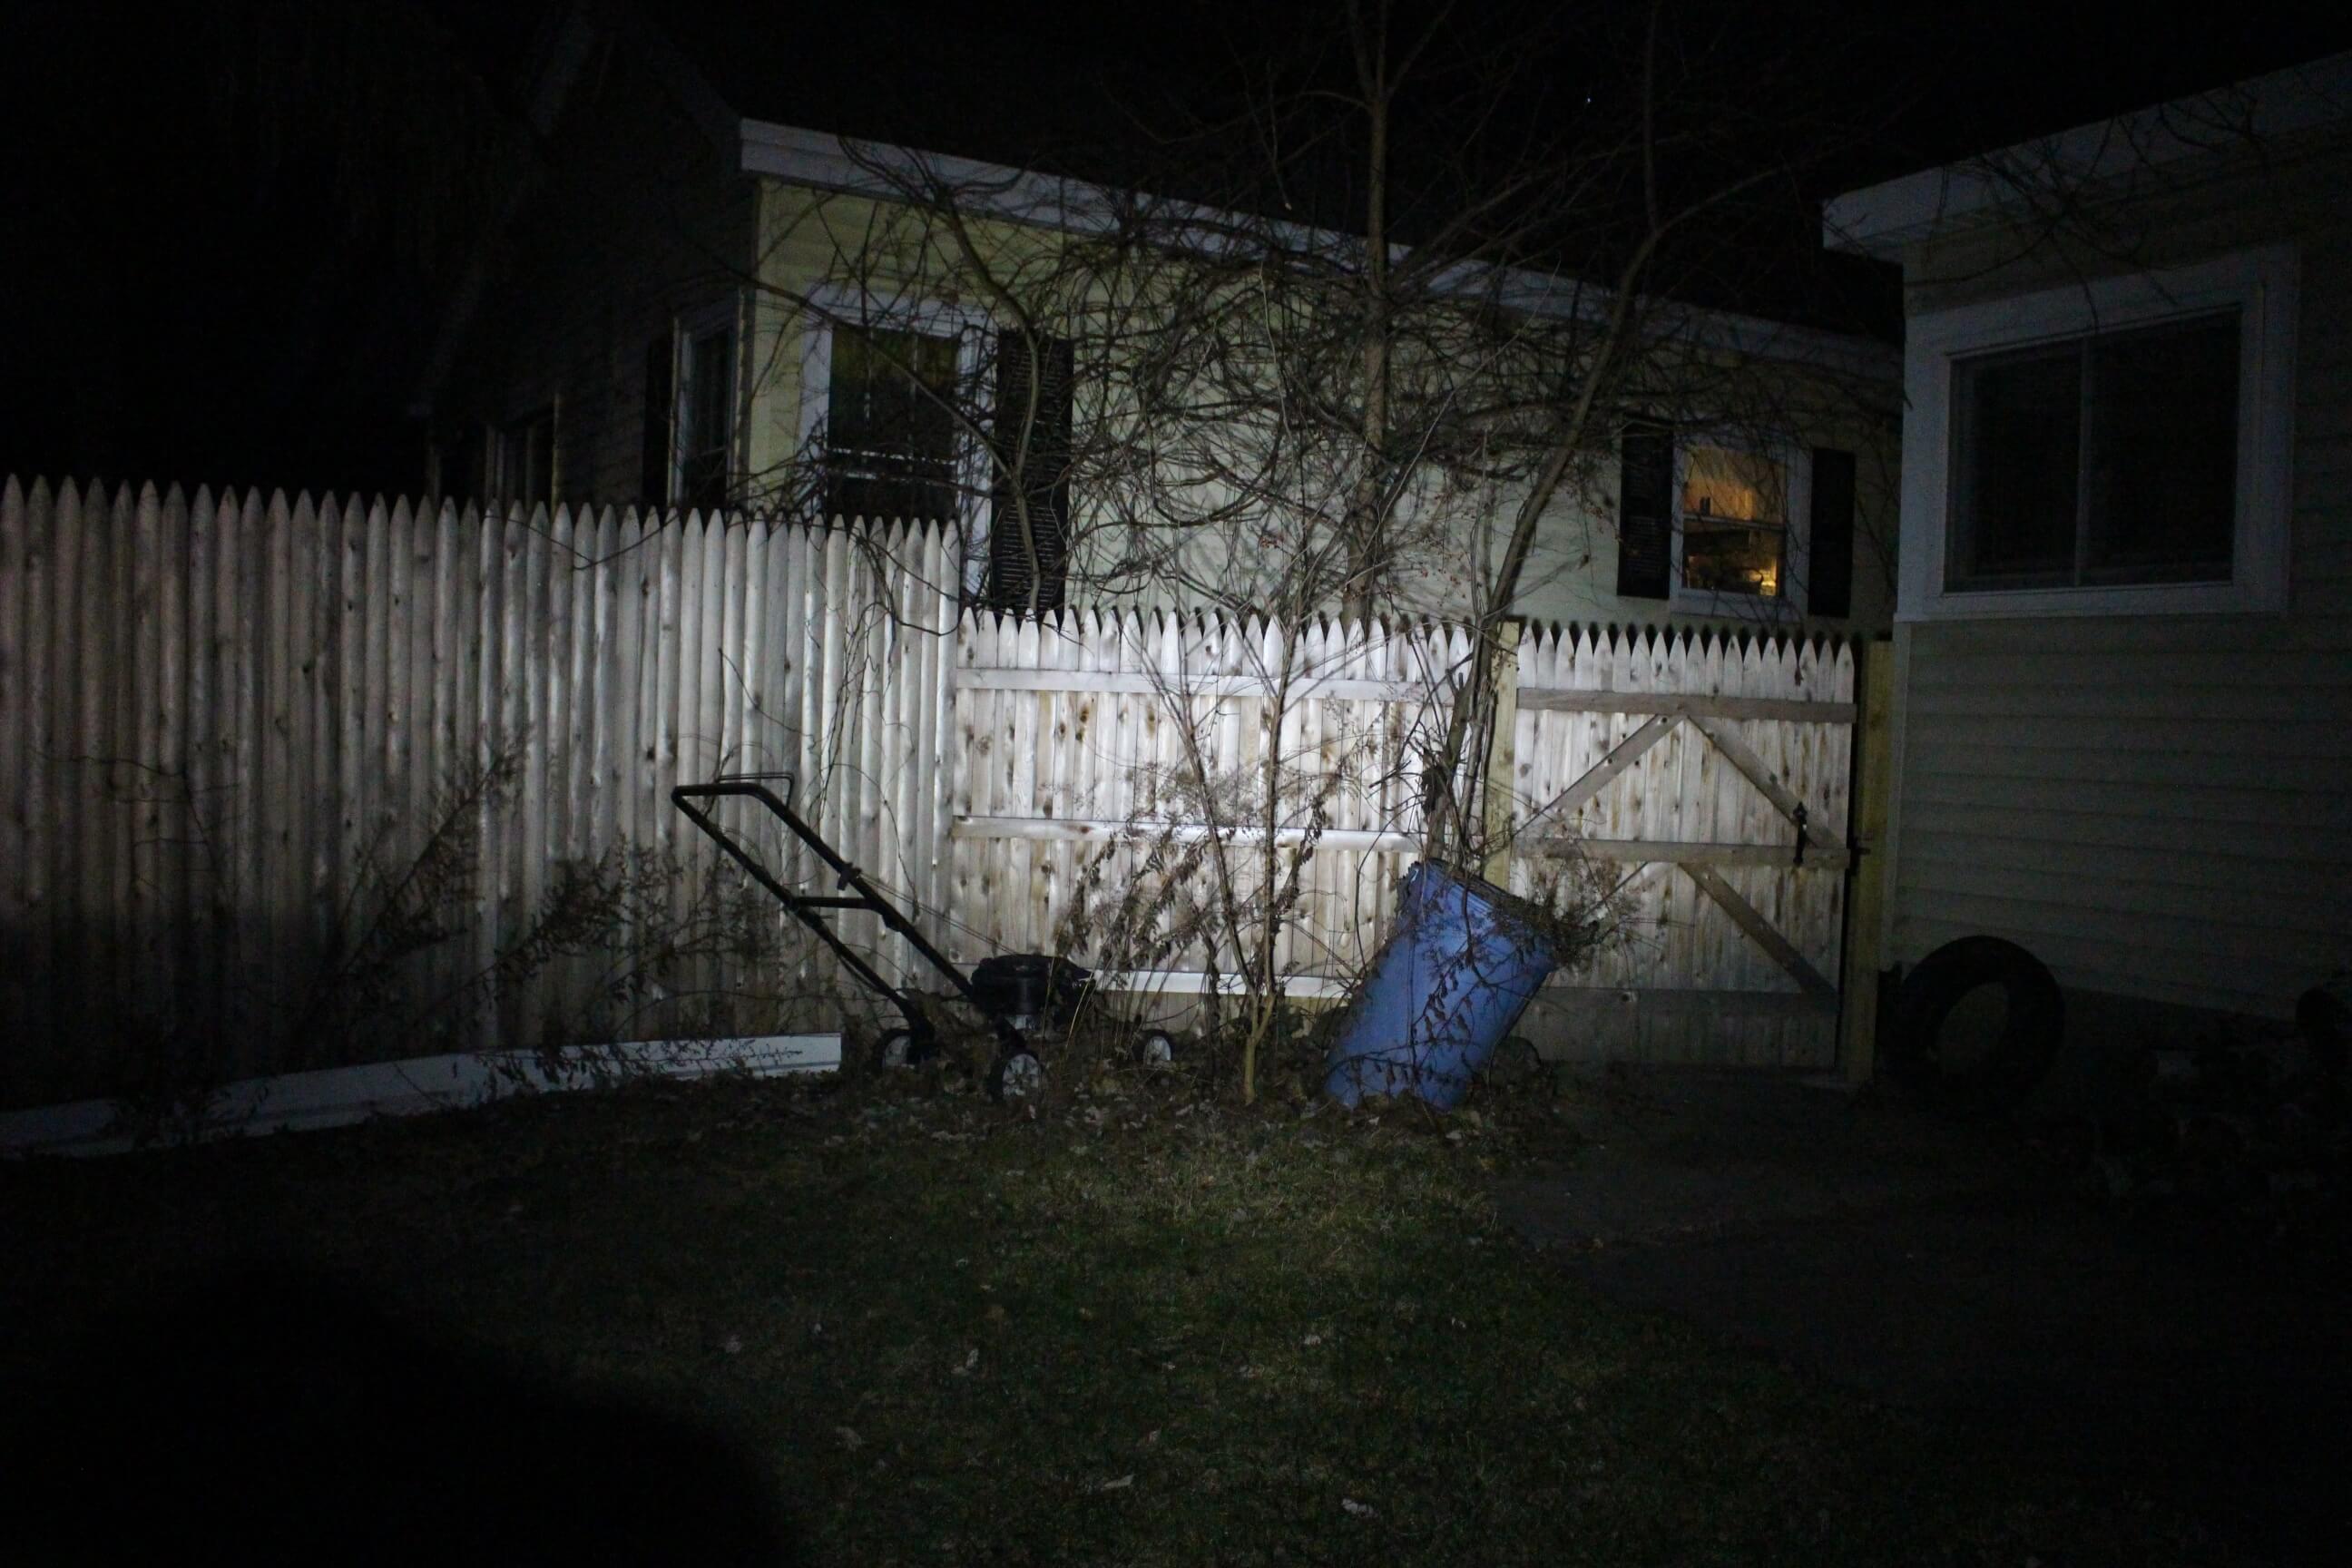
Low @17 ft
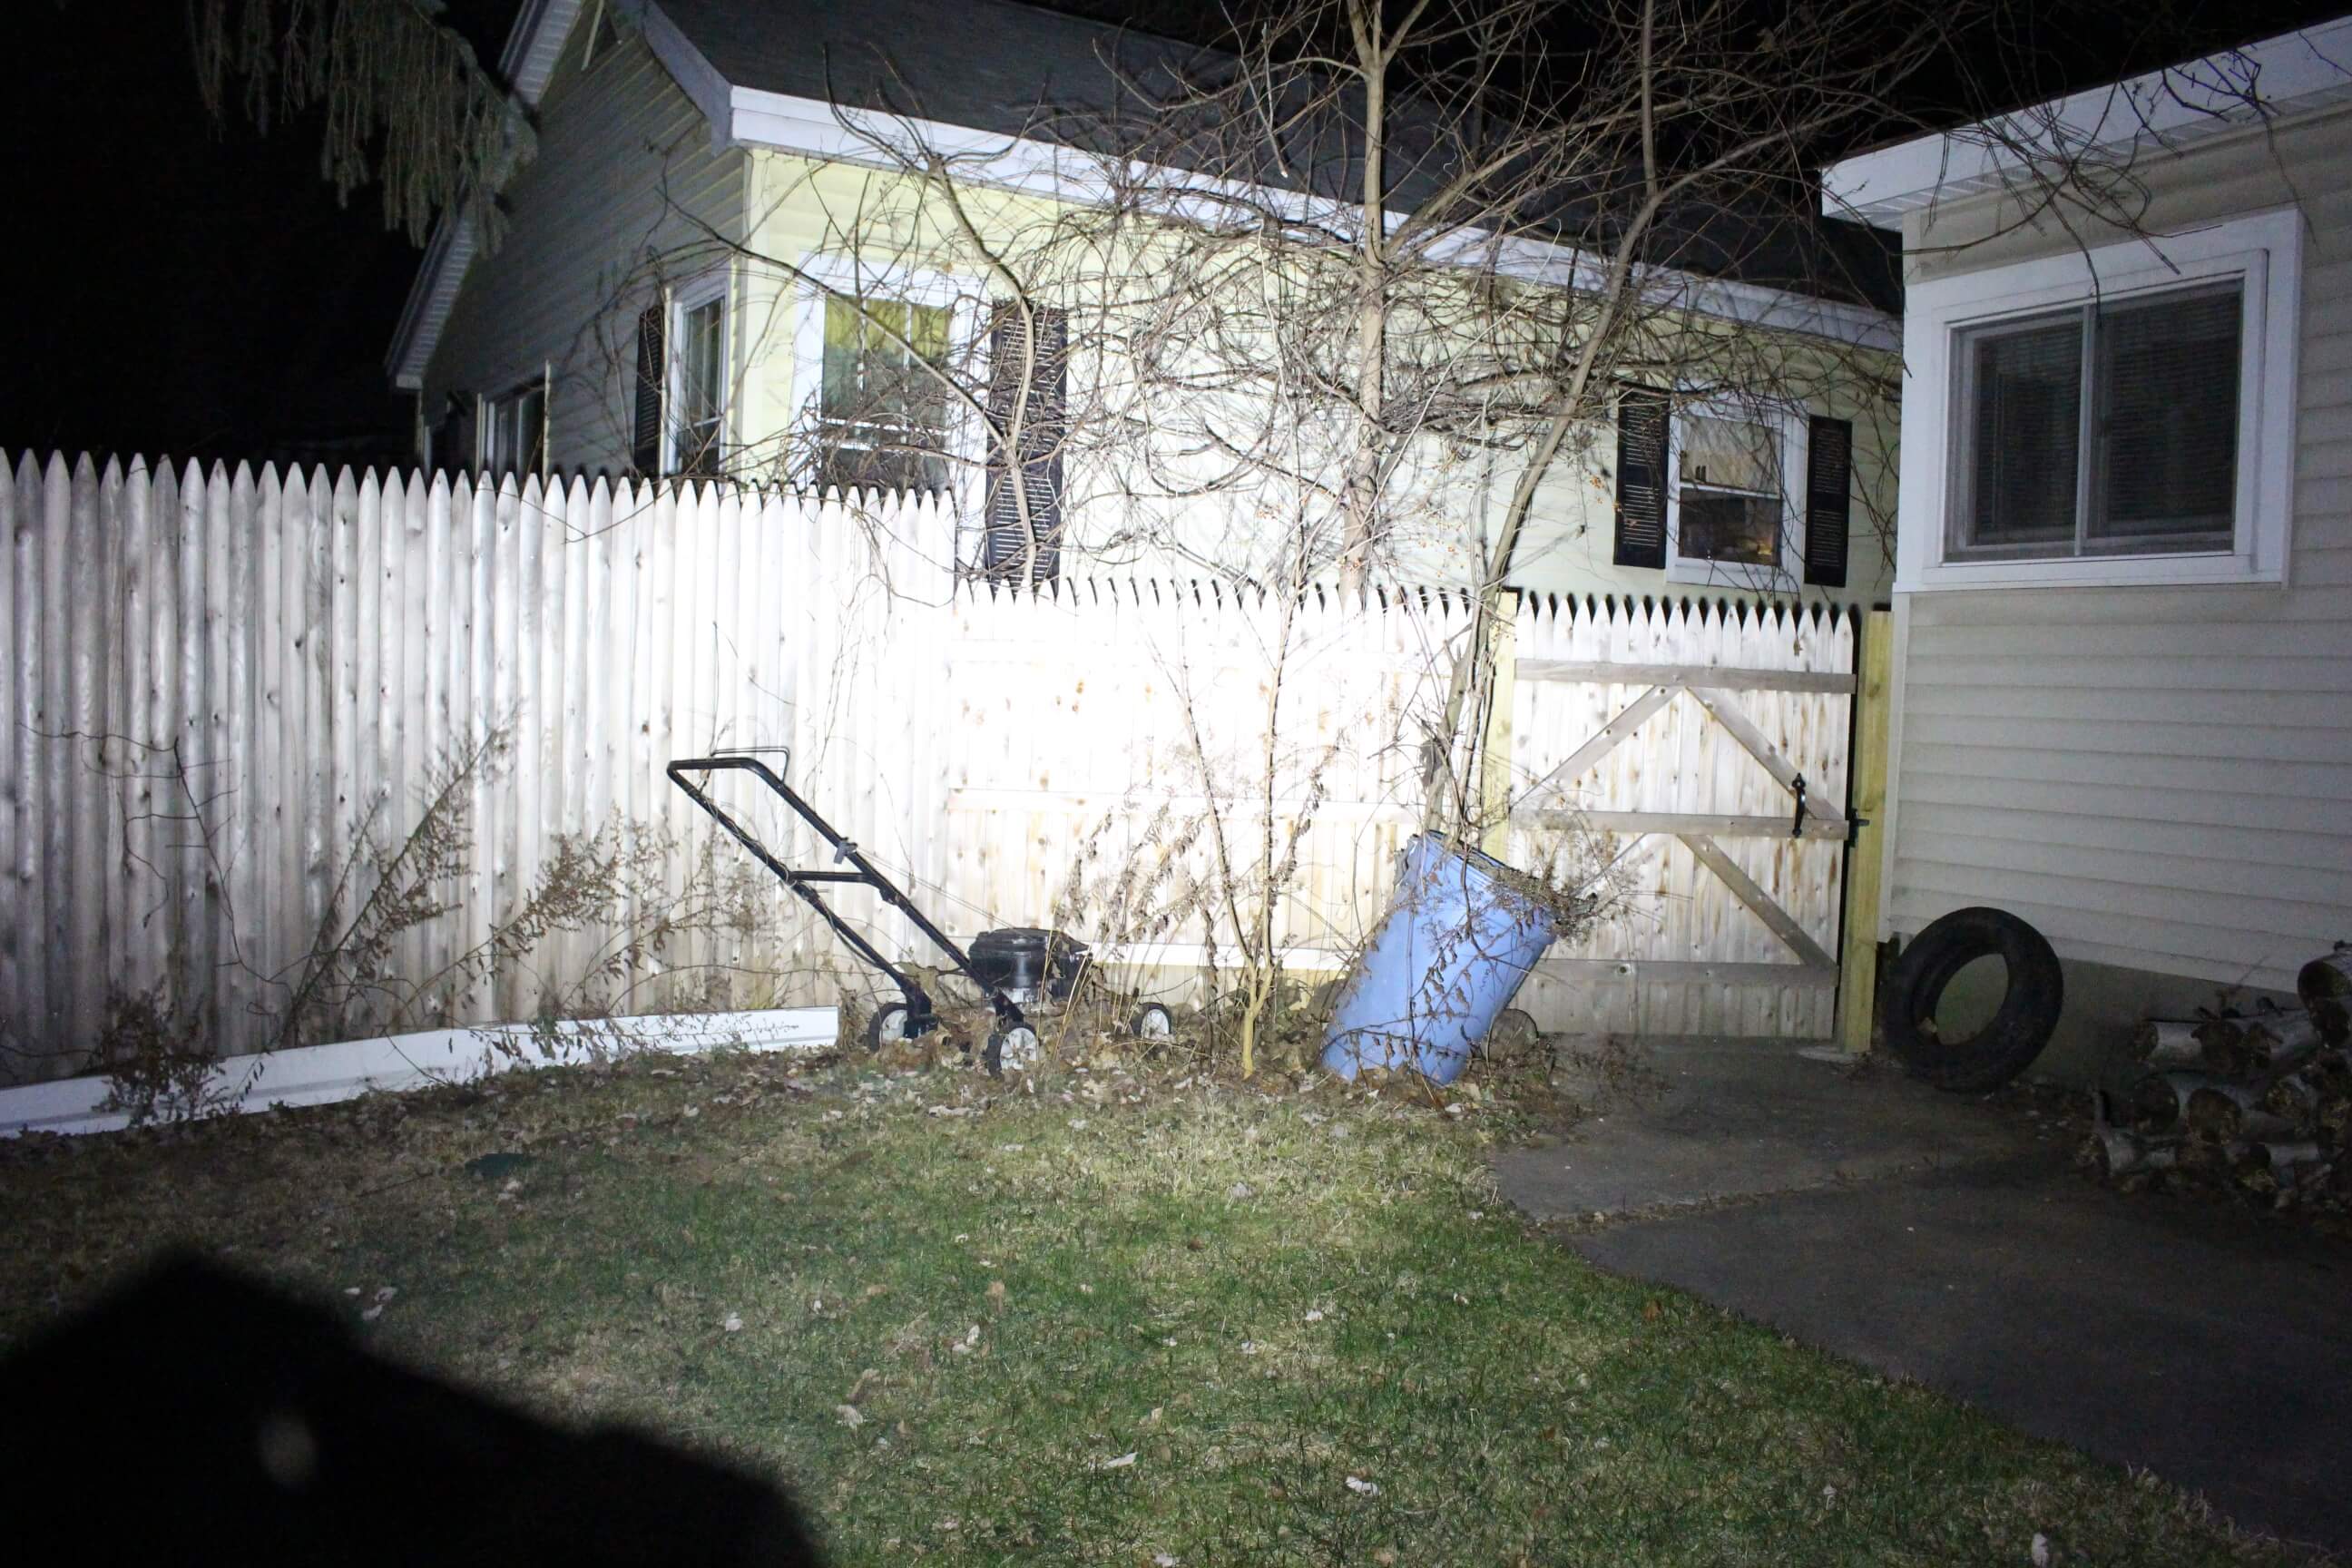
High @17 ft

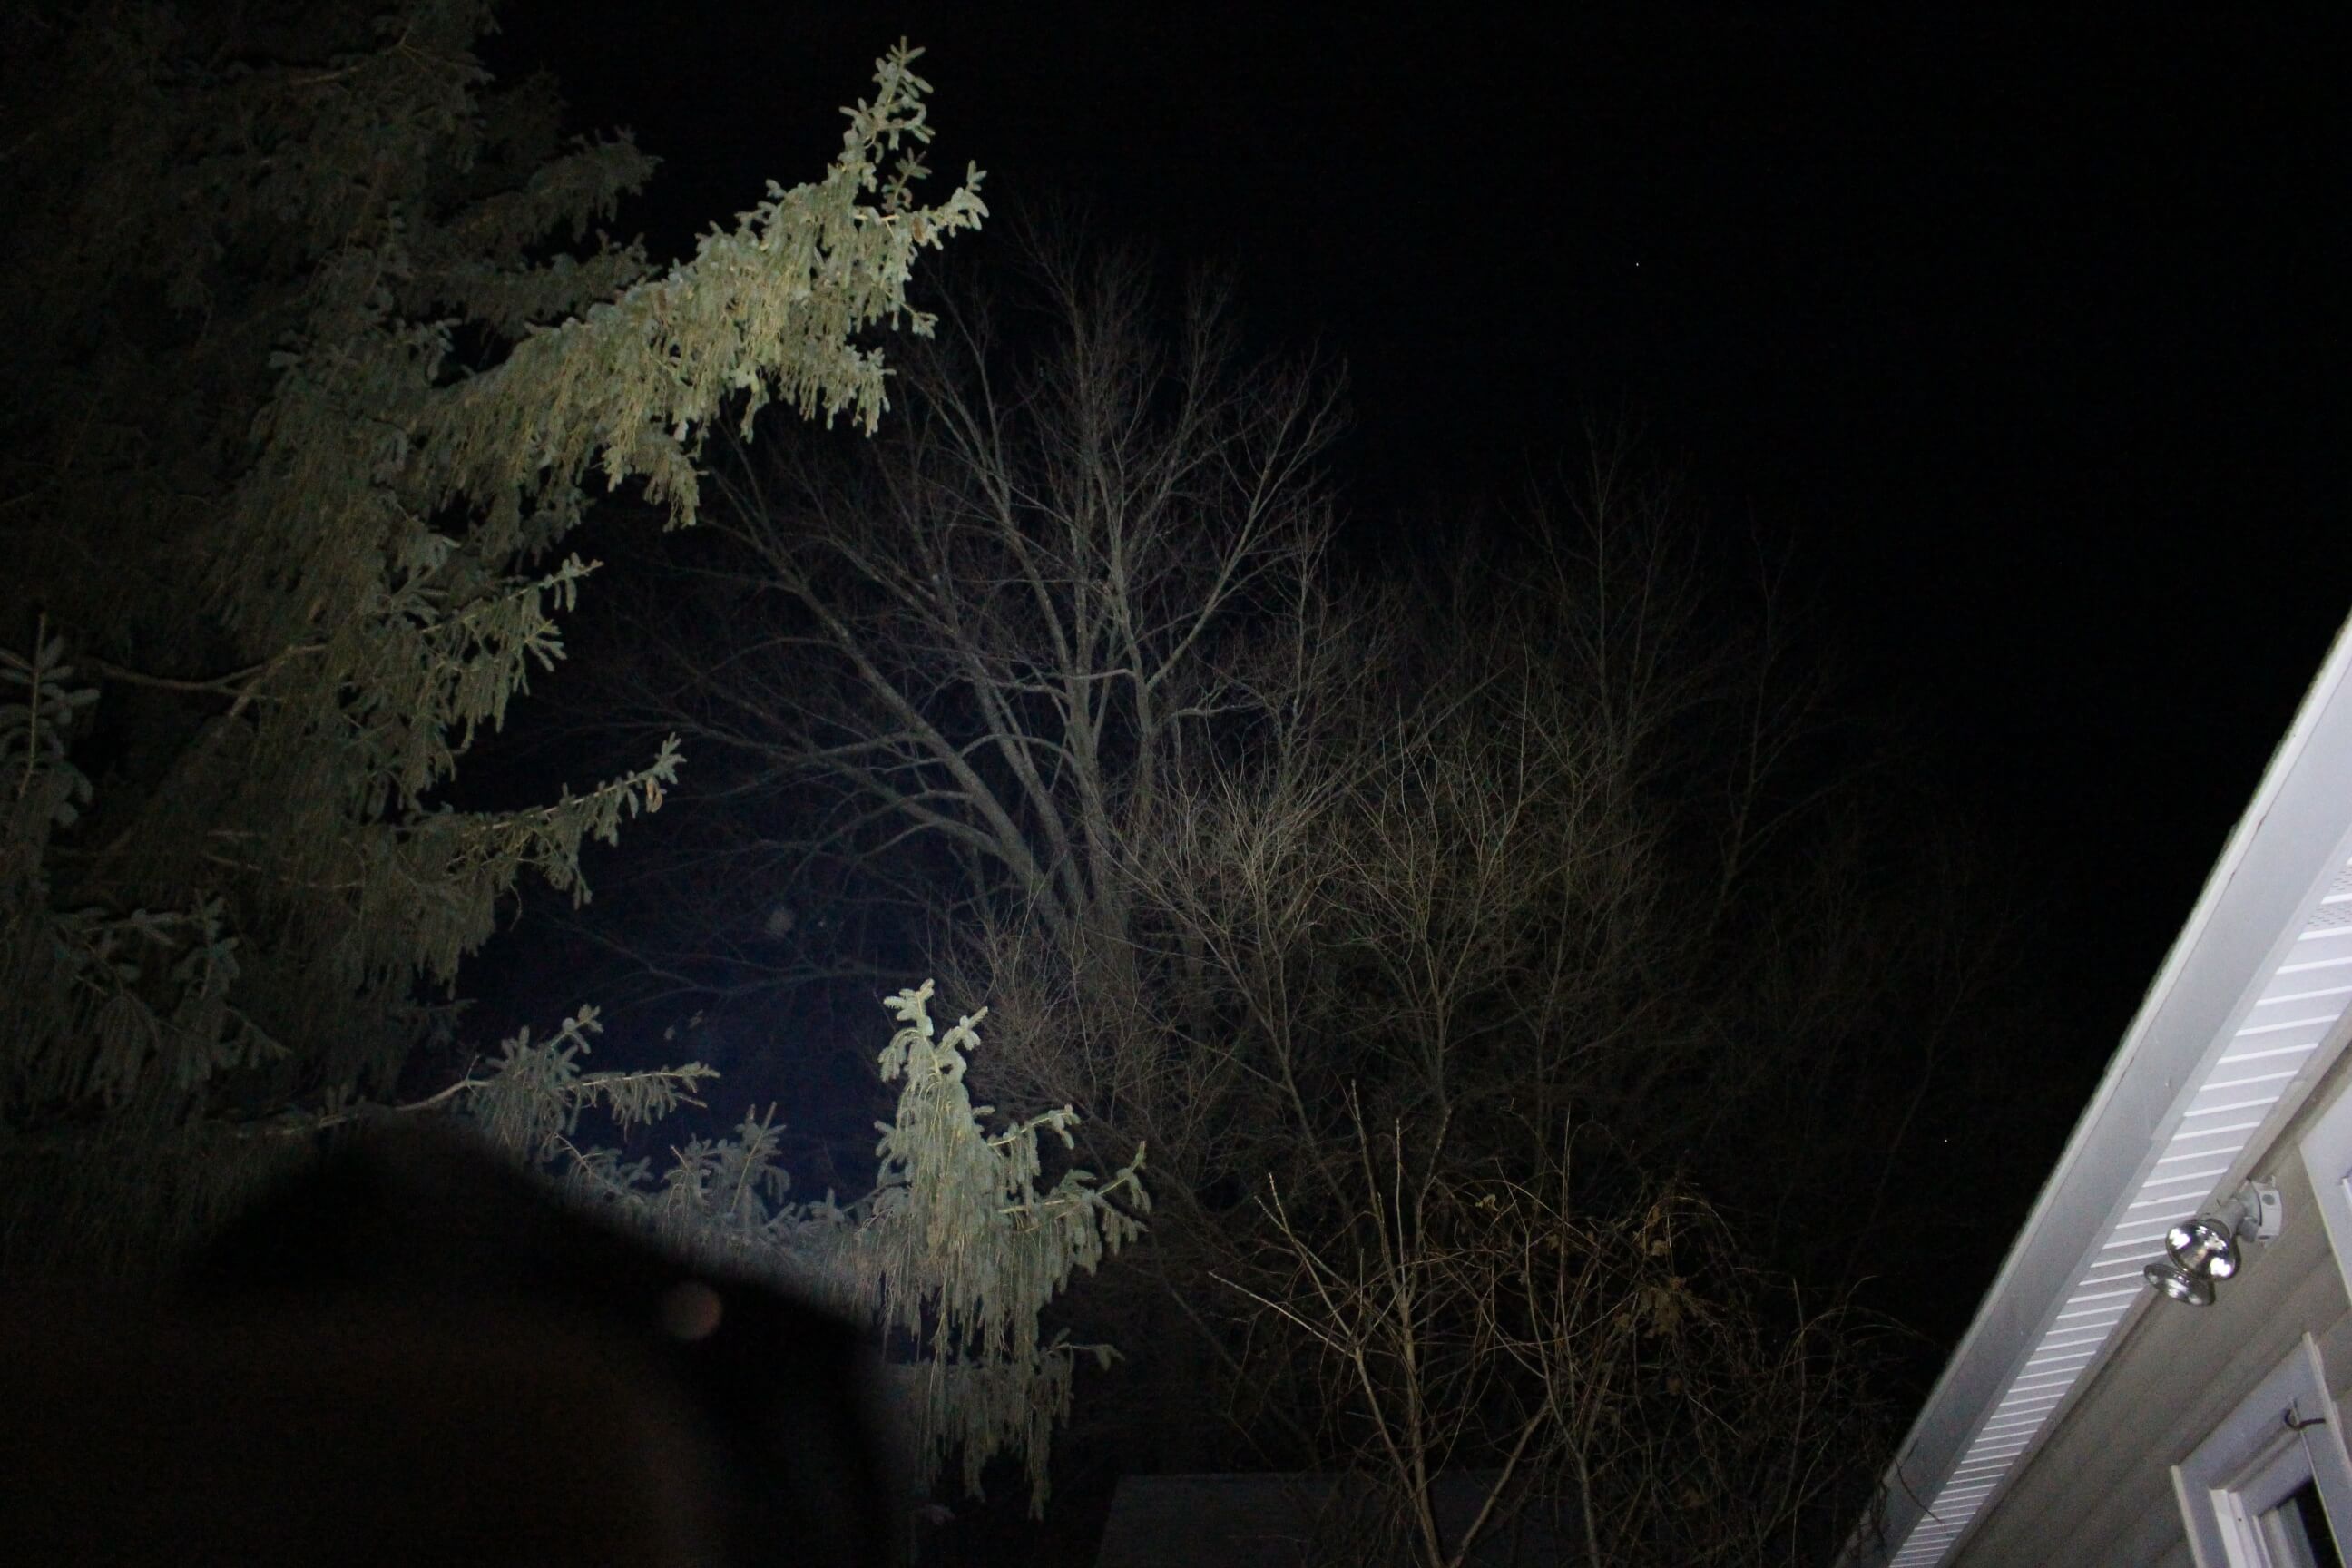
Turbo mode
Thoughts on the Manker MK34
So, this is one serious flashlight! I’m sure (at this writing) there are probably other lights that are just as bright. But… this appears to be without question, the brightest flashlight I’ve used to date!
Turbo mode is incredible! I don’t know how long it is meant to run at that level, because the manual doesn’t mention it. High is also very impressive and the manual states two continuous hours on that mode!
Given the way Manker likes to add many different modes to its flashlights, I was pleased that it was much easier to operate than their operational diagram indicates. The Manker U11 is one of my favorites… but it requires some programming to utilize all it has to offer.
As much as the Mk34 is a heavy-duty light, I’m not sure how useful it would be for search and rescue, or for times when you see to see at a distance. Its purpose is to “flood” an area with intense light. If you needed to see beyond a few hundred feet, it’s not going to assist you much.
Due to the floody nature of the MK34’s LED’s, this is even a good indoor light, since you can set it down and literally illuminate an entire room.
I’m recommending the Manker MK34 on the basis of its sheer power and output flexibility.
As the availability of the MK34 is not known at this time, I would suggest clicking here to have a look at Amazon’s page of available Manker lights!
Special Recommendation Regarding Batteries!!
The manual states that the MK34 works best on high drain, unprotected cells. This is 100% true!
The problem I had when I first received the light, was trying to make it work! Every 18650 battery I tried, turned out to be TOO LONG. This prevented the head from tightening down far enough, so no contact with the tips of the batteries could be made. These attempts even included “flat-top” cells!
Eventually, I tried NCR18650GA batteries in the light… and viola!… they work great! These are high drain cells from Sanyo. They have a very “slight” button-top, and are 64.73mm long. I’m sure these aren’t the only batteries that will fit, but they’re high quality and of high capacity as well. Just make sure that what ever 18650’s you’re planning to use, that they’re not much longer than 65mm. As an example, many protected button-top cells are as long as 68mm! And they won’t fit in the MK34.
