


With all the Nitecore products I’ve reviewed, I think it’s safe to say that I find the majority of them worth owning. Within the new “Smart-Ring Tactical” series, is the light I’m about to review. THIS, is the Nitecore SRT9.
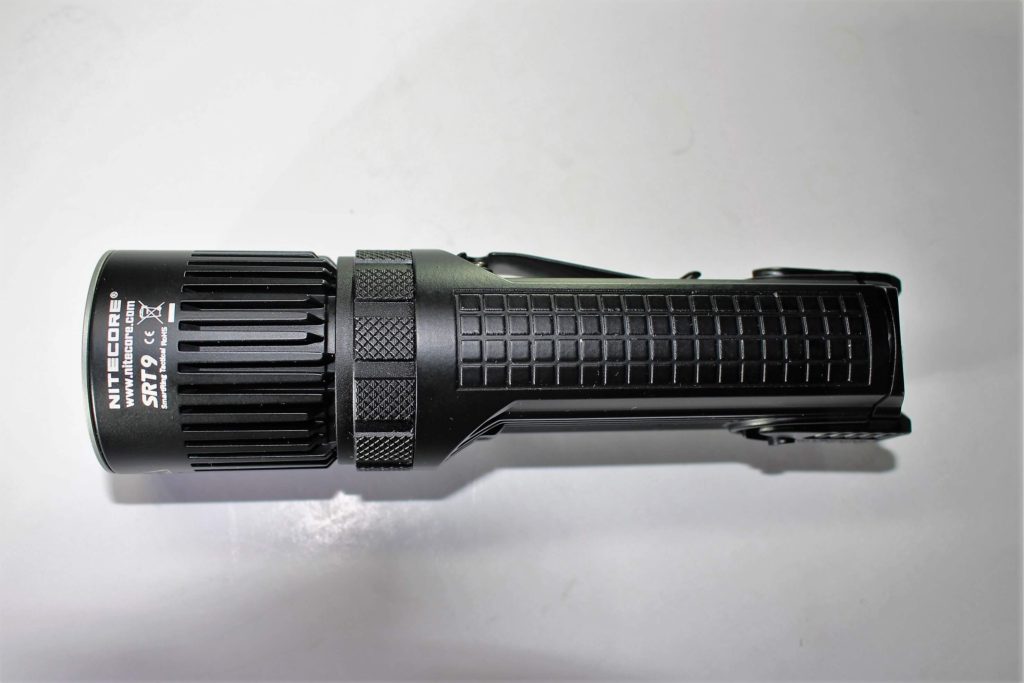
The SRT9 is nothing short of, inventive. Featuring a magnetic control ring, along with multicolored LED’s… it has many uses. How does it all come together in one flashlight? I’ll explain.
The Nitecore SRT9 Package
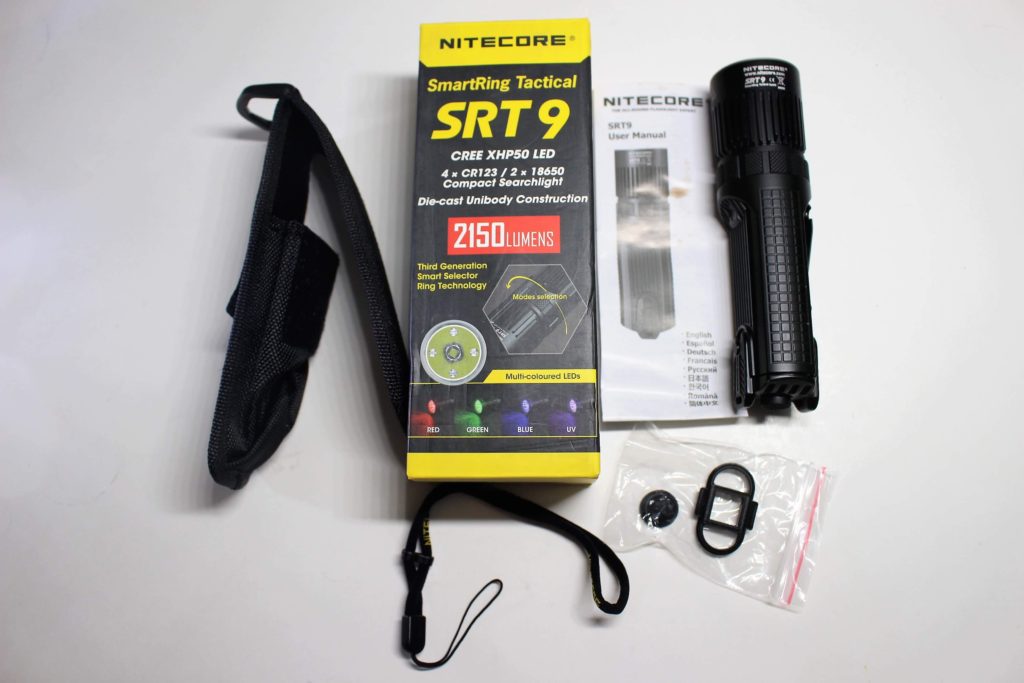
The complete SRT9 package
We took a departure from Nitecore as we know it, when the Concept 1 was recently reviewed. Here, we’re back to familiar territory.
So within a standard Nitecore-type box, we have the SRT9, a manual, a lanyard, a belt holster, a pocket clip (pre-attached), and a spare tail cap button.
Weighty Dimensions
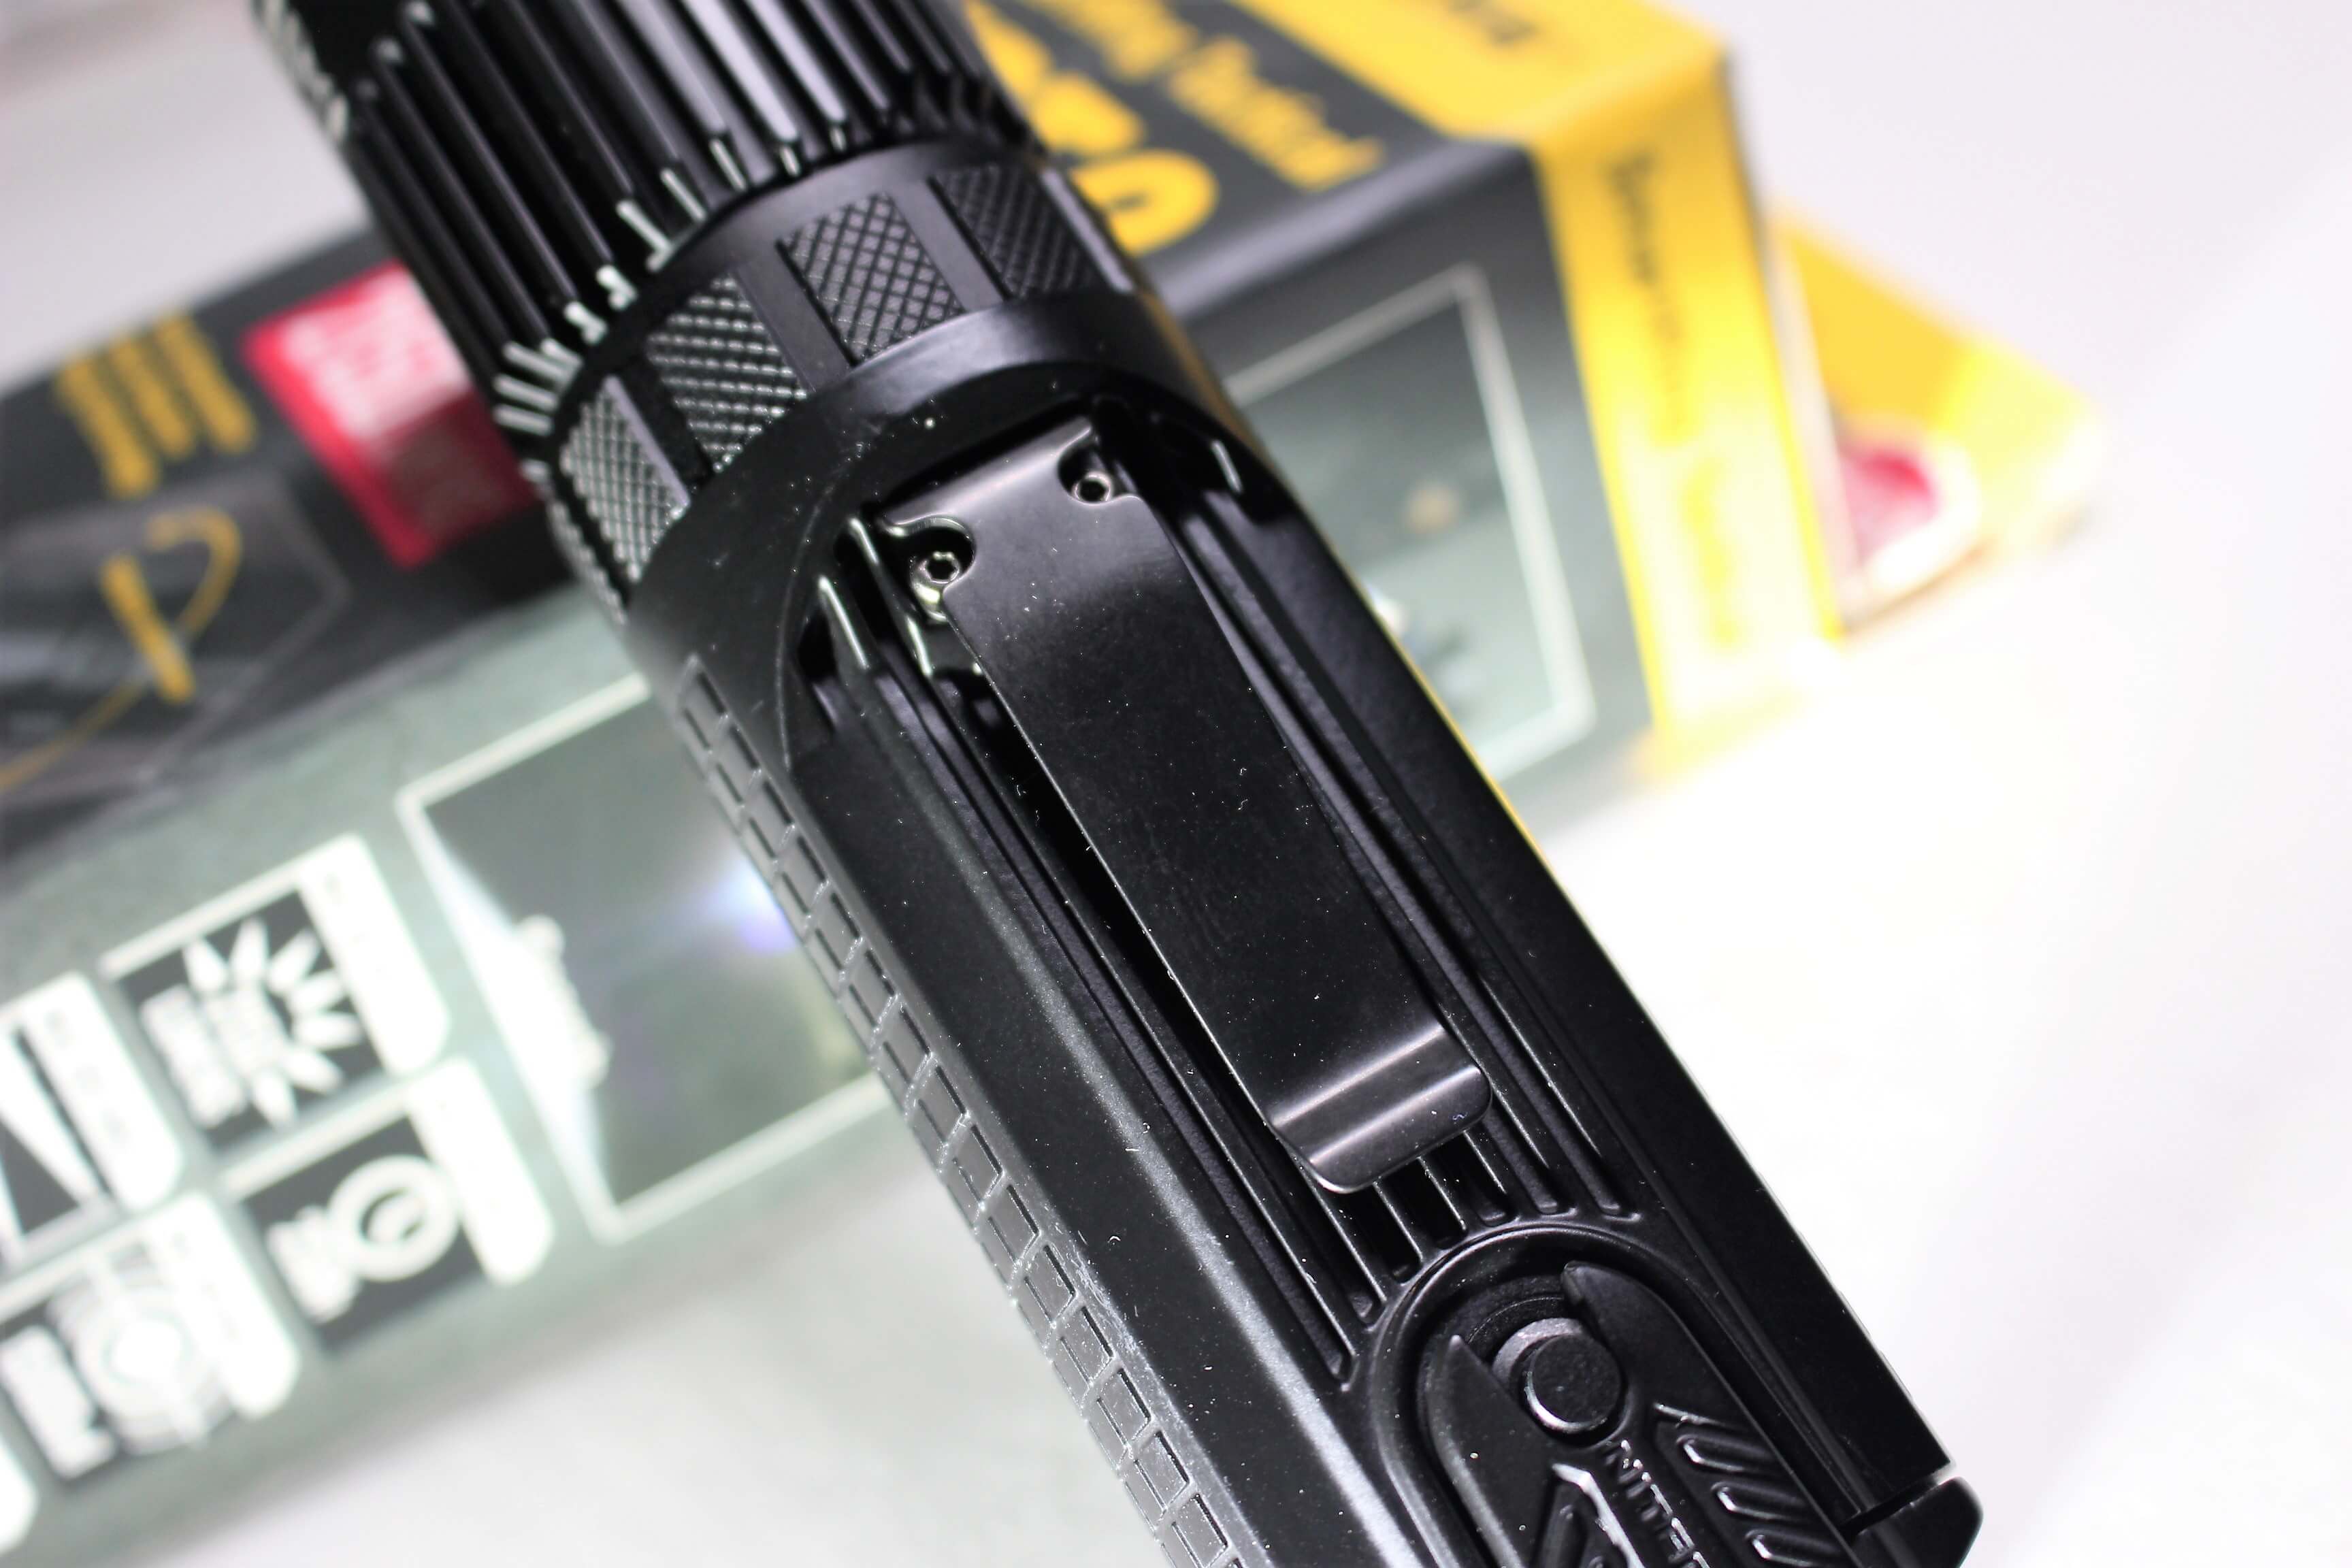
Sturdy pocket clip
The SRT9 needs a BIG pocket to play in!
- Body length; 5.8″
- Body width; 1.5″
- Weight (including 18650 batteries); 10.89 ounces
Batteries, Modes & Runtime — oh my!
So to operate the Nitecore SRT9, you’ll need TWO 18650 batteries. Alternatively, it also accepts configurations of “four” when using the following battery types; CR123, (disposable) 16340 and 18350 (rechargeable).
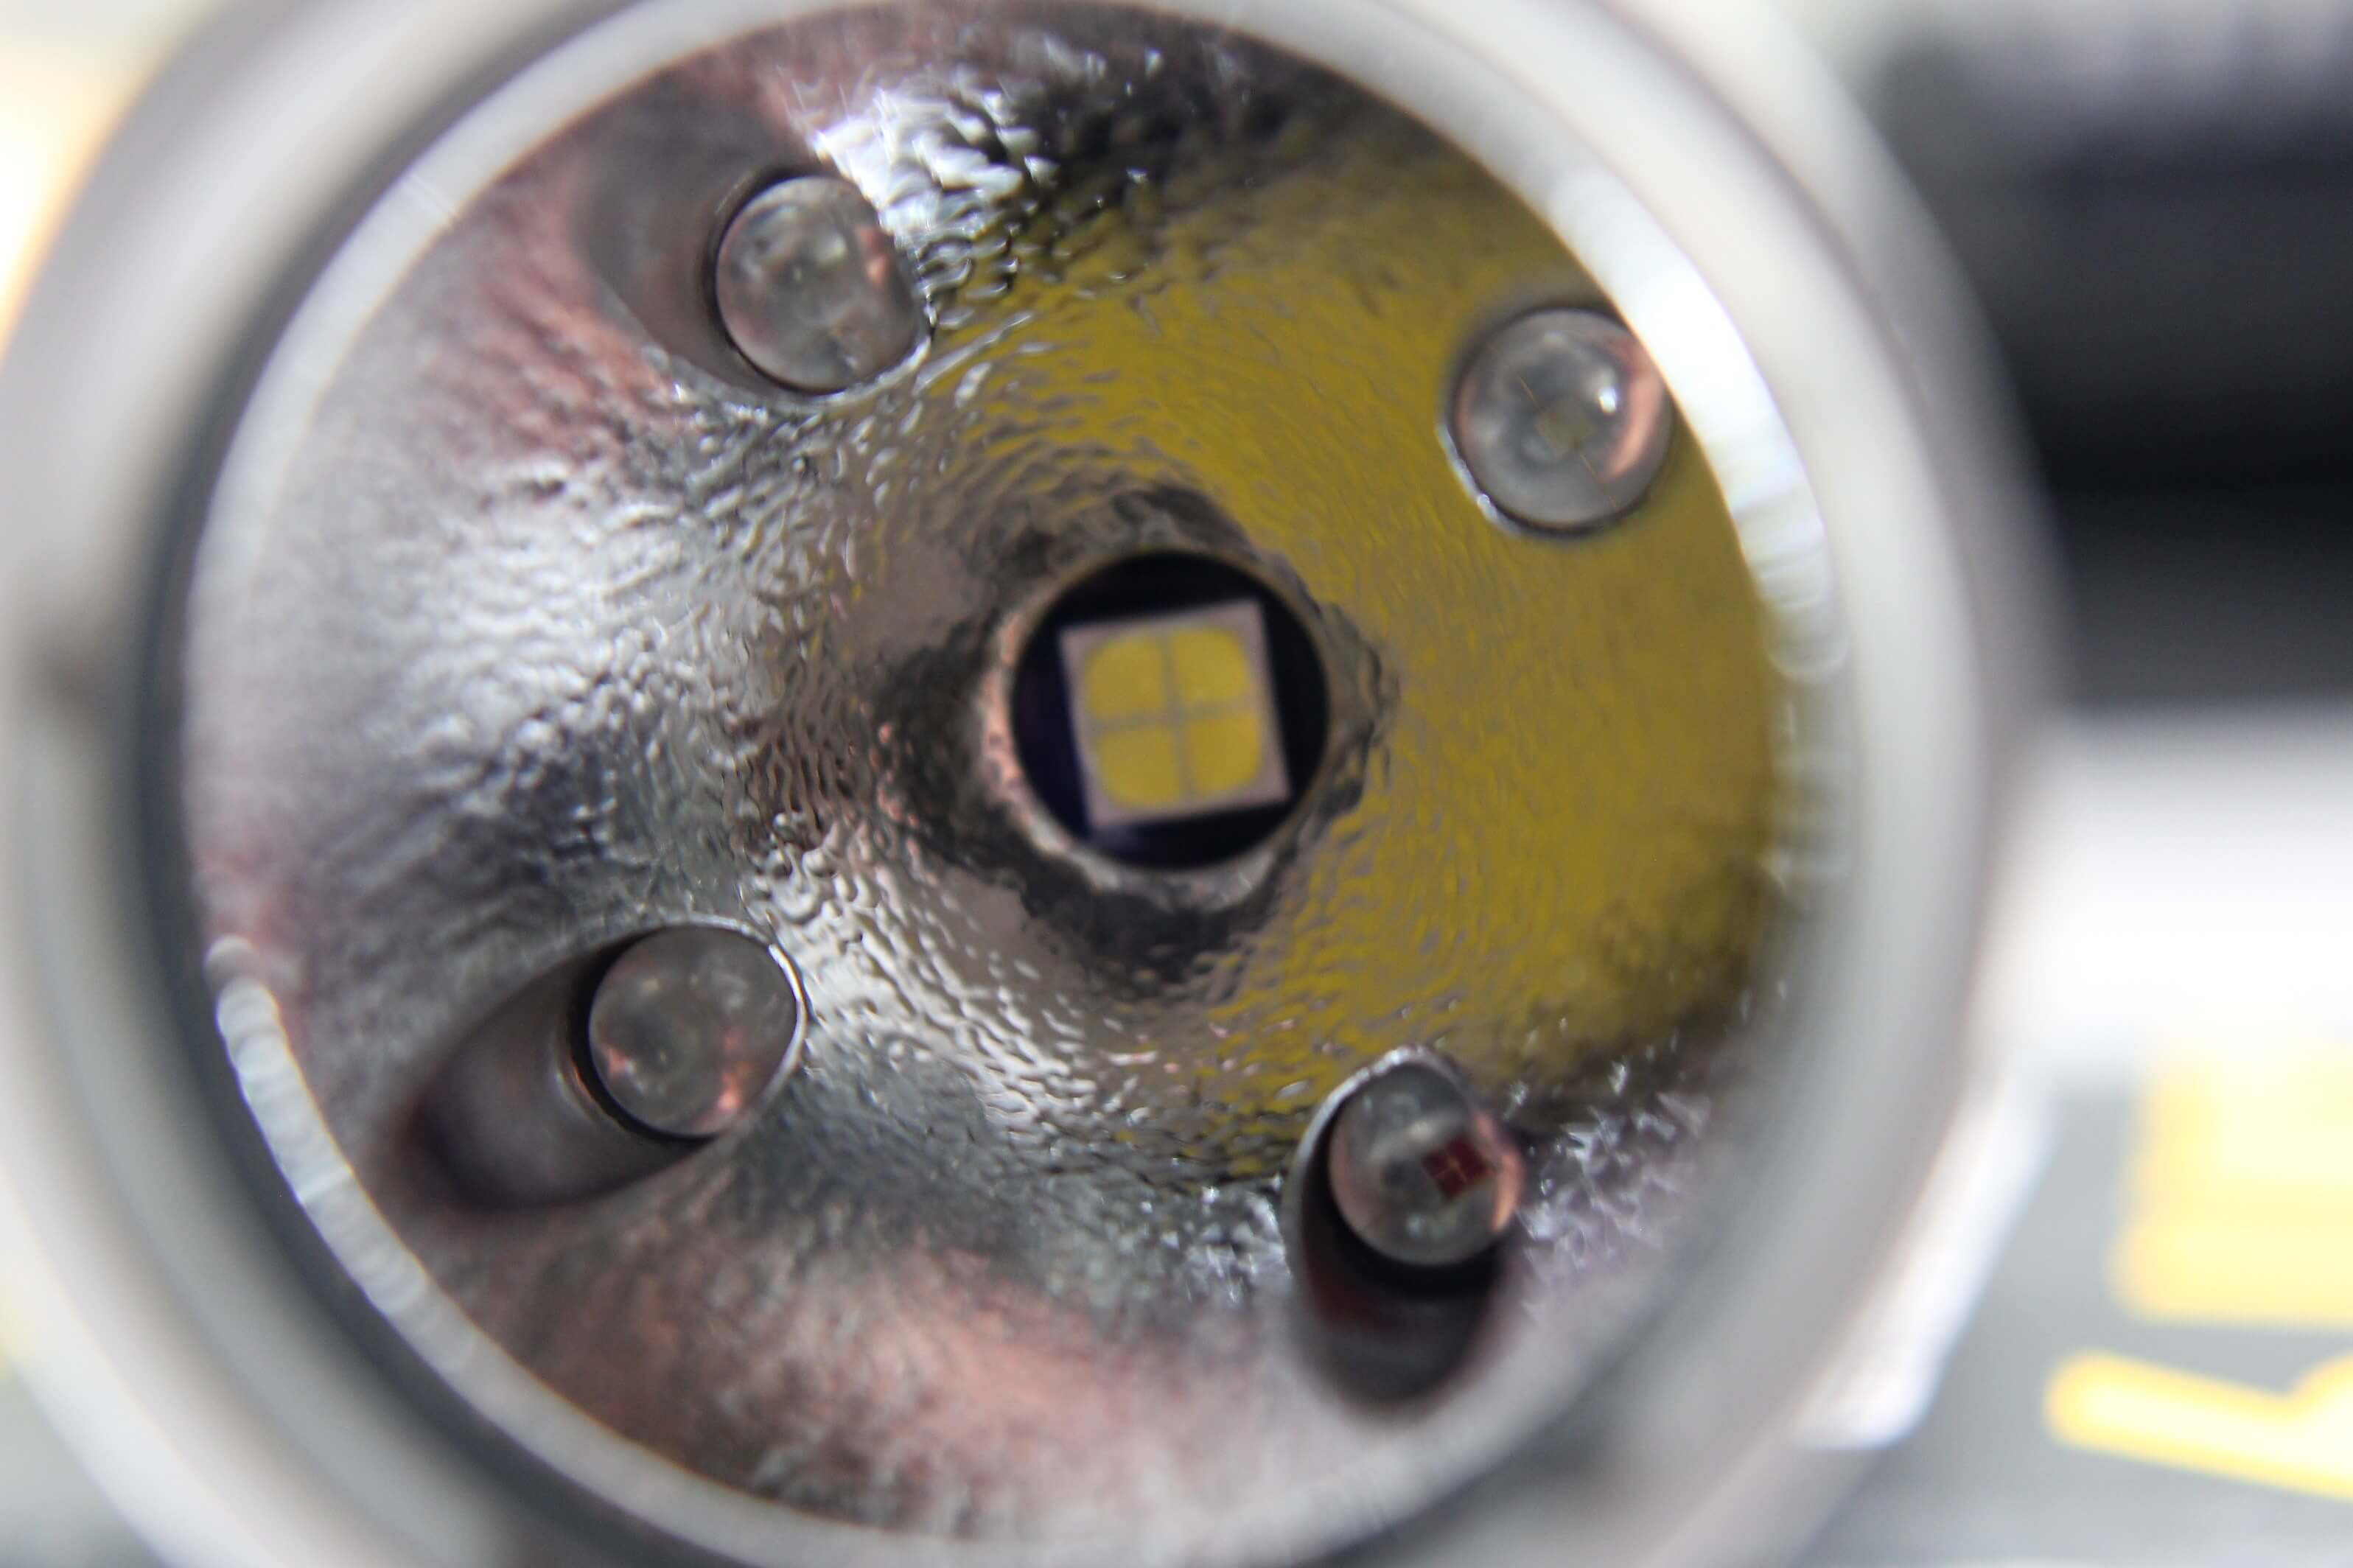
Orange peel reflector
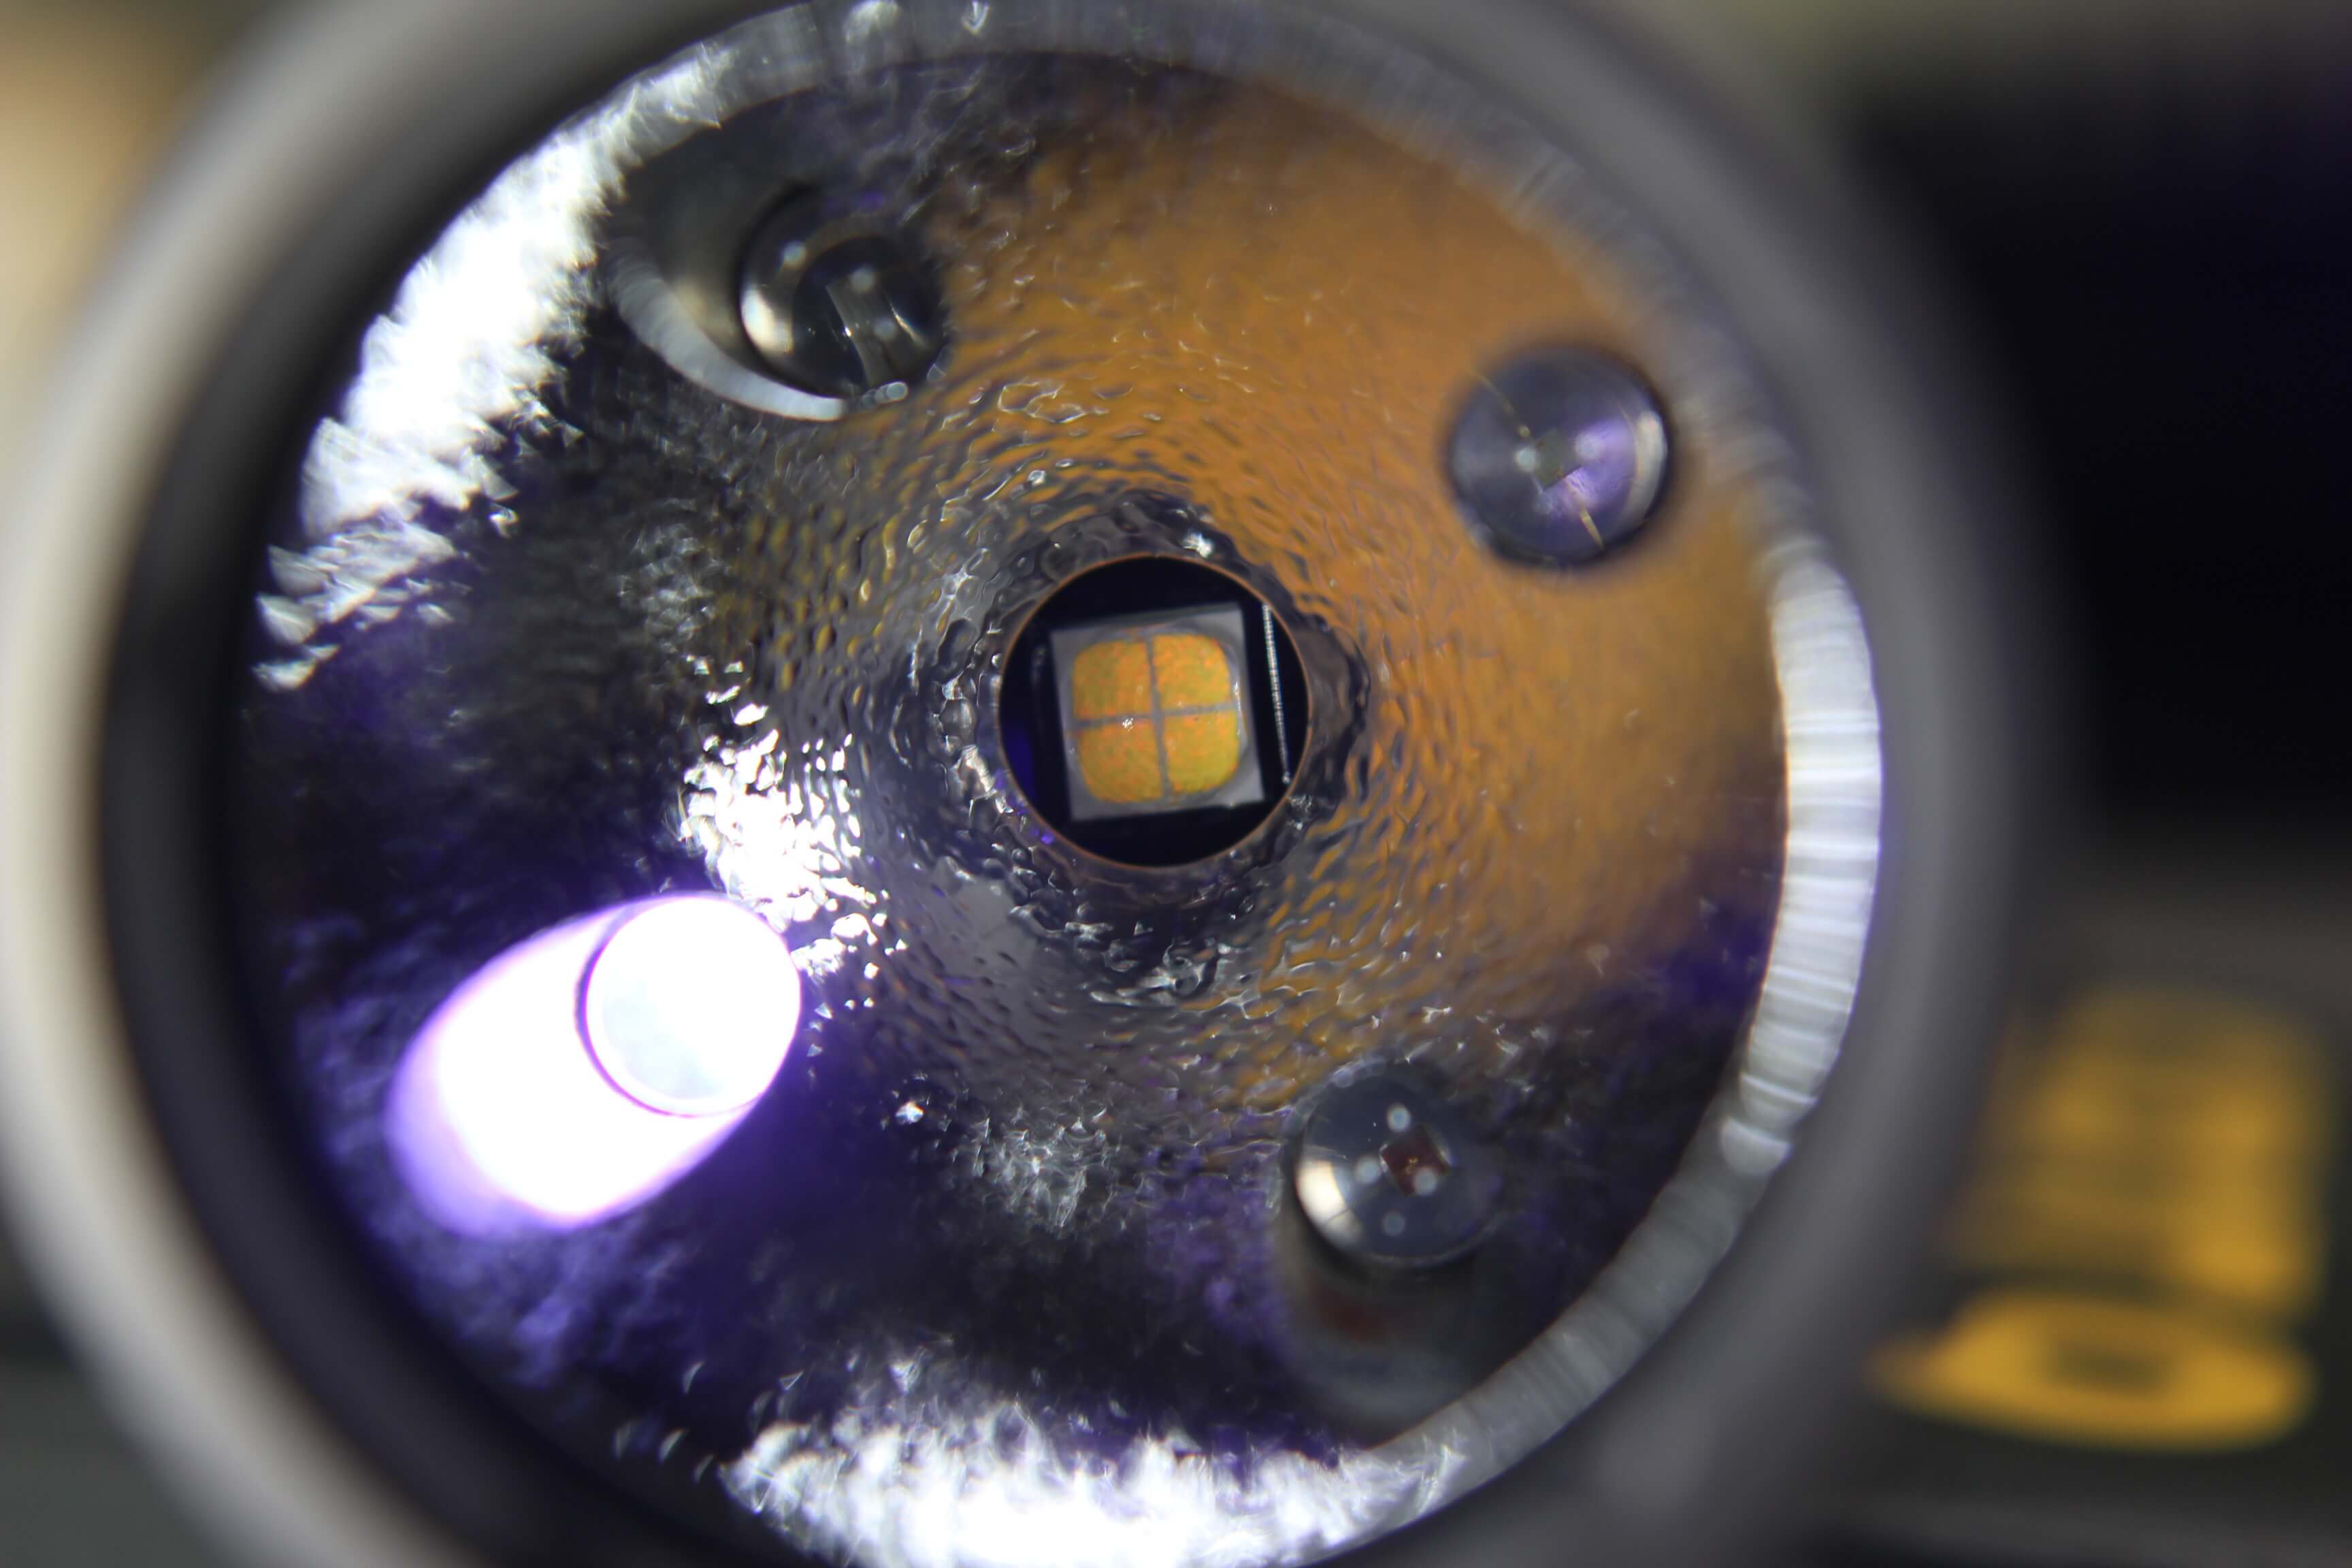
Cree XHP50 (center)
The “main” LED is a CREE XHP50 (cool white). But, the SRT9 gets interesting with the addition of FOUR smaller LED’s, set deep within the reflector. These secondary LED’s produce the following; UV light; red; green; and blue. There’s also a combination red/blue flash! (think police cruiser)
There are two emergency modes; strobe and beacon.
The actual modes are as follows; (w/18650 batteries*)
- Turbo; 2150 lumens (1 hour)
- Ultra Low; 0.1 lumen (250 hours)
- Any output you desire between the highest and lowest
- Red; 13 lumens (50 hours)
- Green; 19 lumens (48 hours)
- Blue; 48 lumens (48 hours)
- UV (48 hours)
*Runtimes are cut in half using a 4-battery configuration
Stats
- Beam Distance; (main LED) 246 meters (269 yards)
- Impact Resistant to 1.5 meters
- IPX-8 waterproof — submersible up to 2 meters
Features
- A die-cast aluminum body (Unibody)
- Made from aero-grade aluminum alloy
- Multi-functional magnetic control ring (0.1 to 2150 lumens)
- A micro-textured reflector for wide angle illumination
- Stainless steel titanium-plated pocket clip
- Stainless steel retaining ring to protect the components
- A toughened ultra-clear glass lens
- A Power indicator to display low battery voltage/stand-by mode
- It has tail-standing capabilities
Using the “Smart-Ring” Control
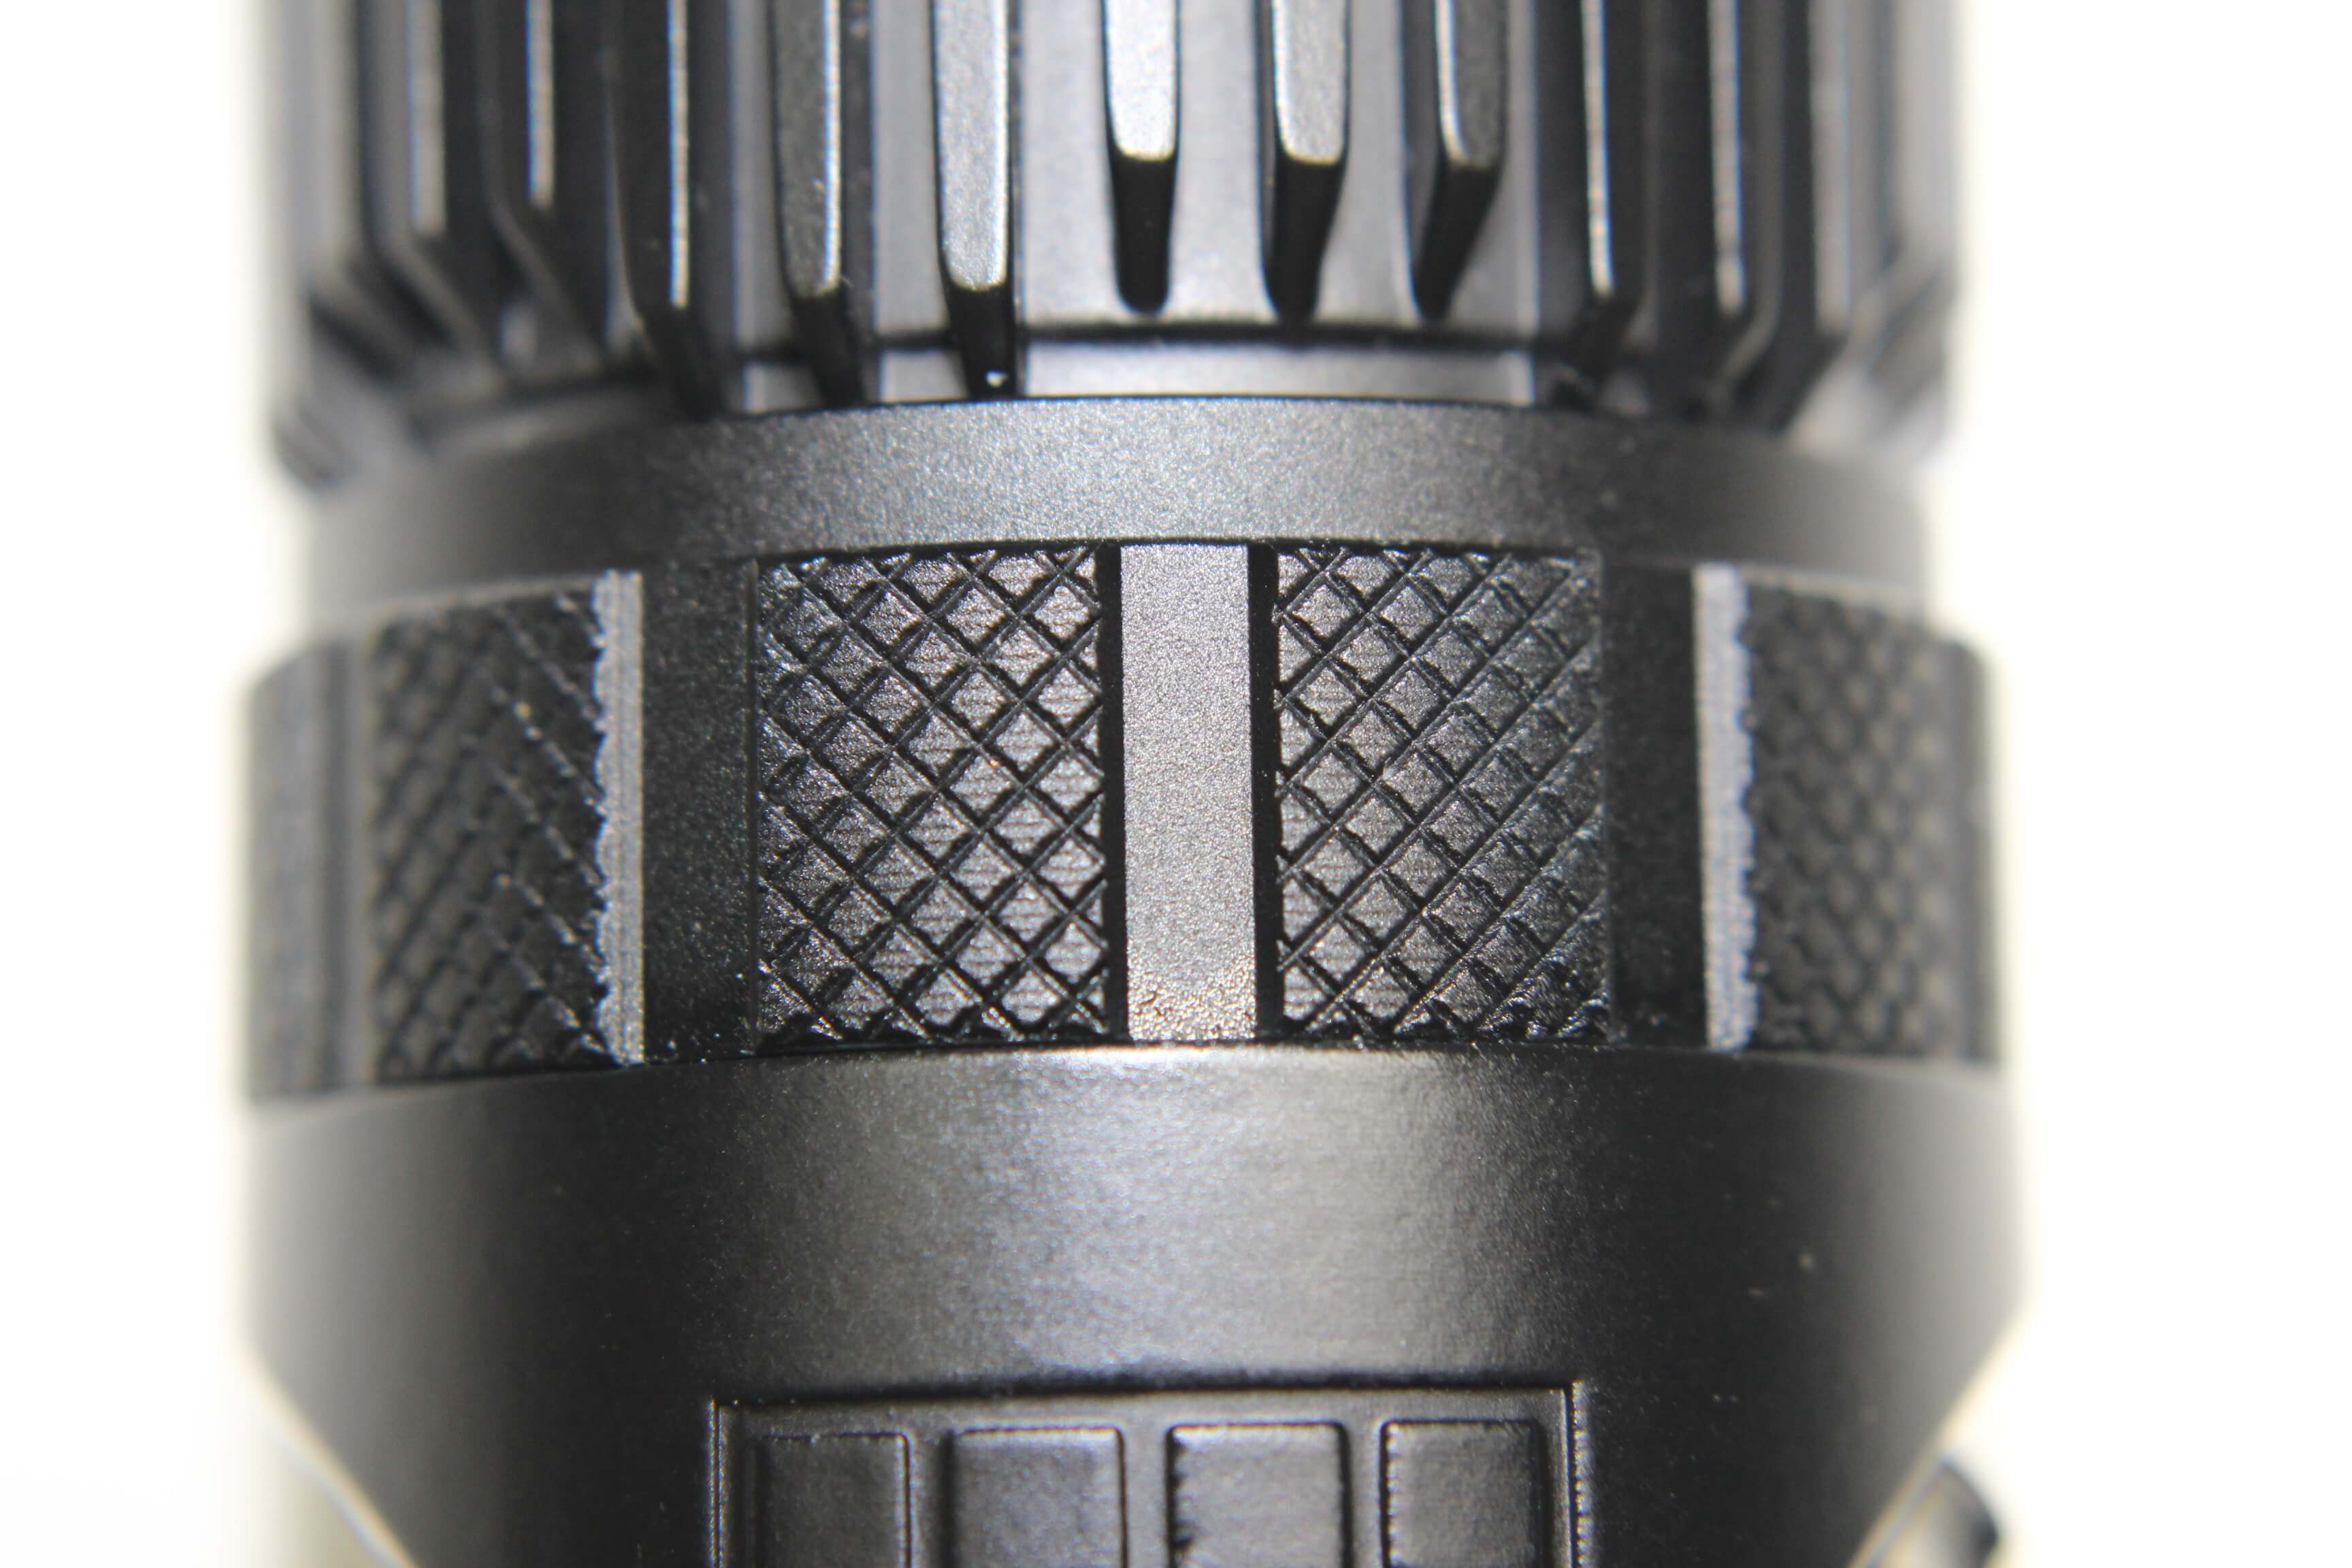
The “smart ring”
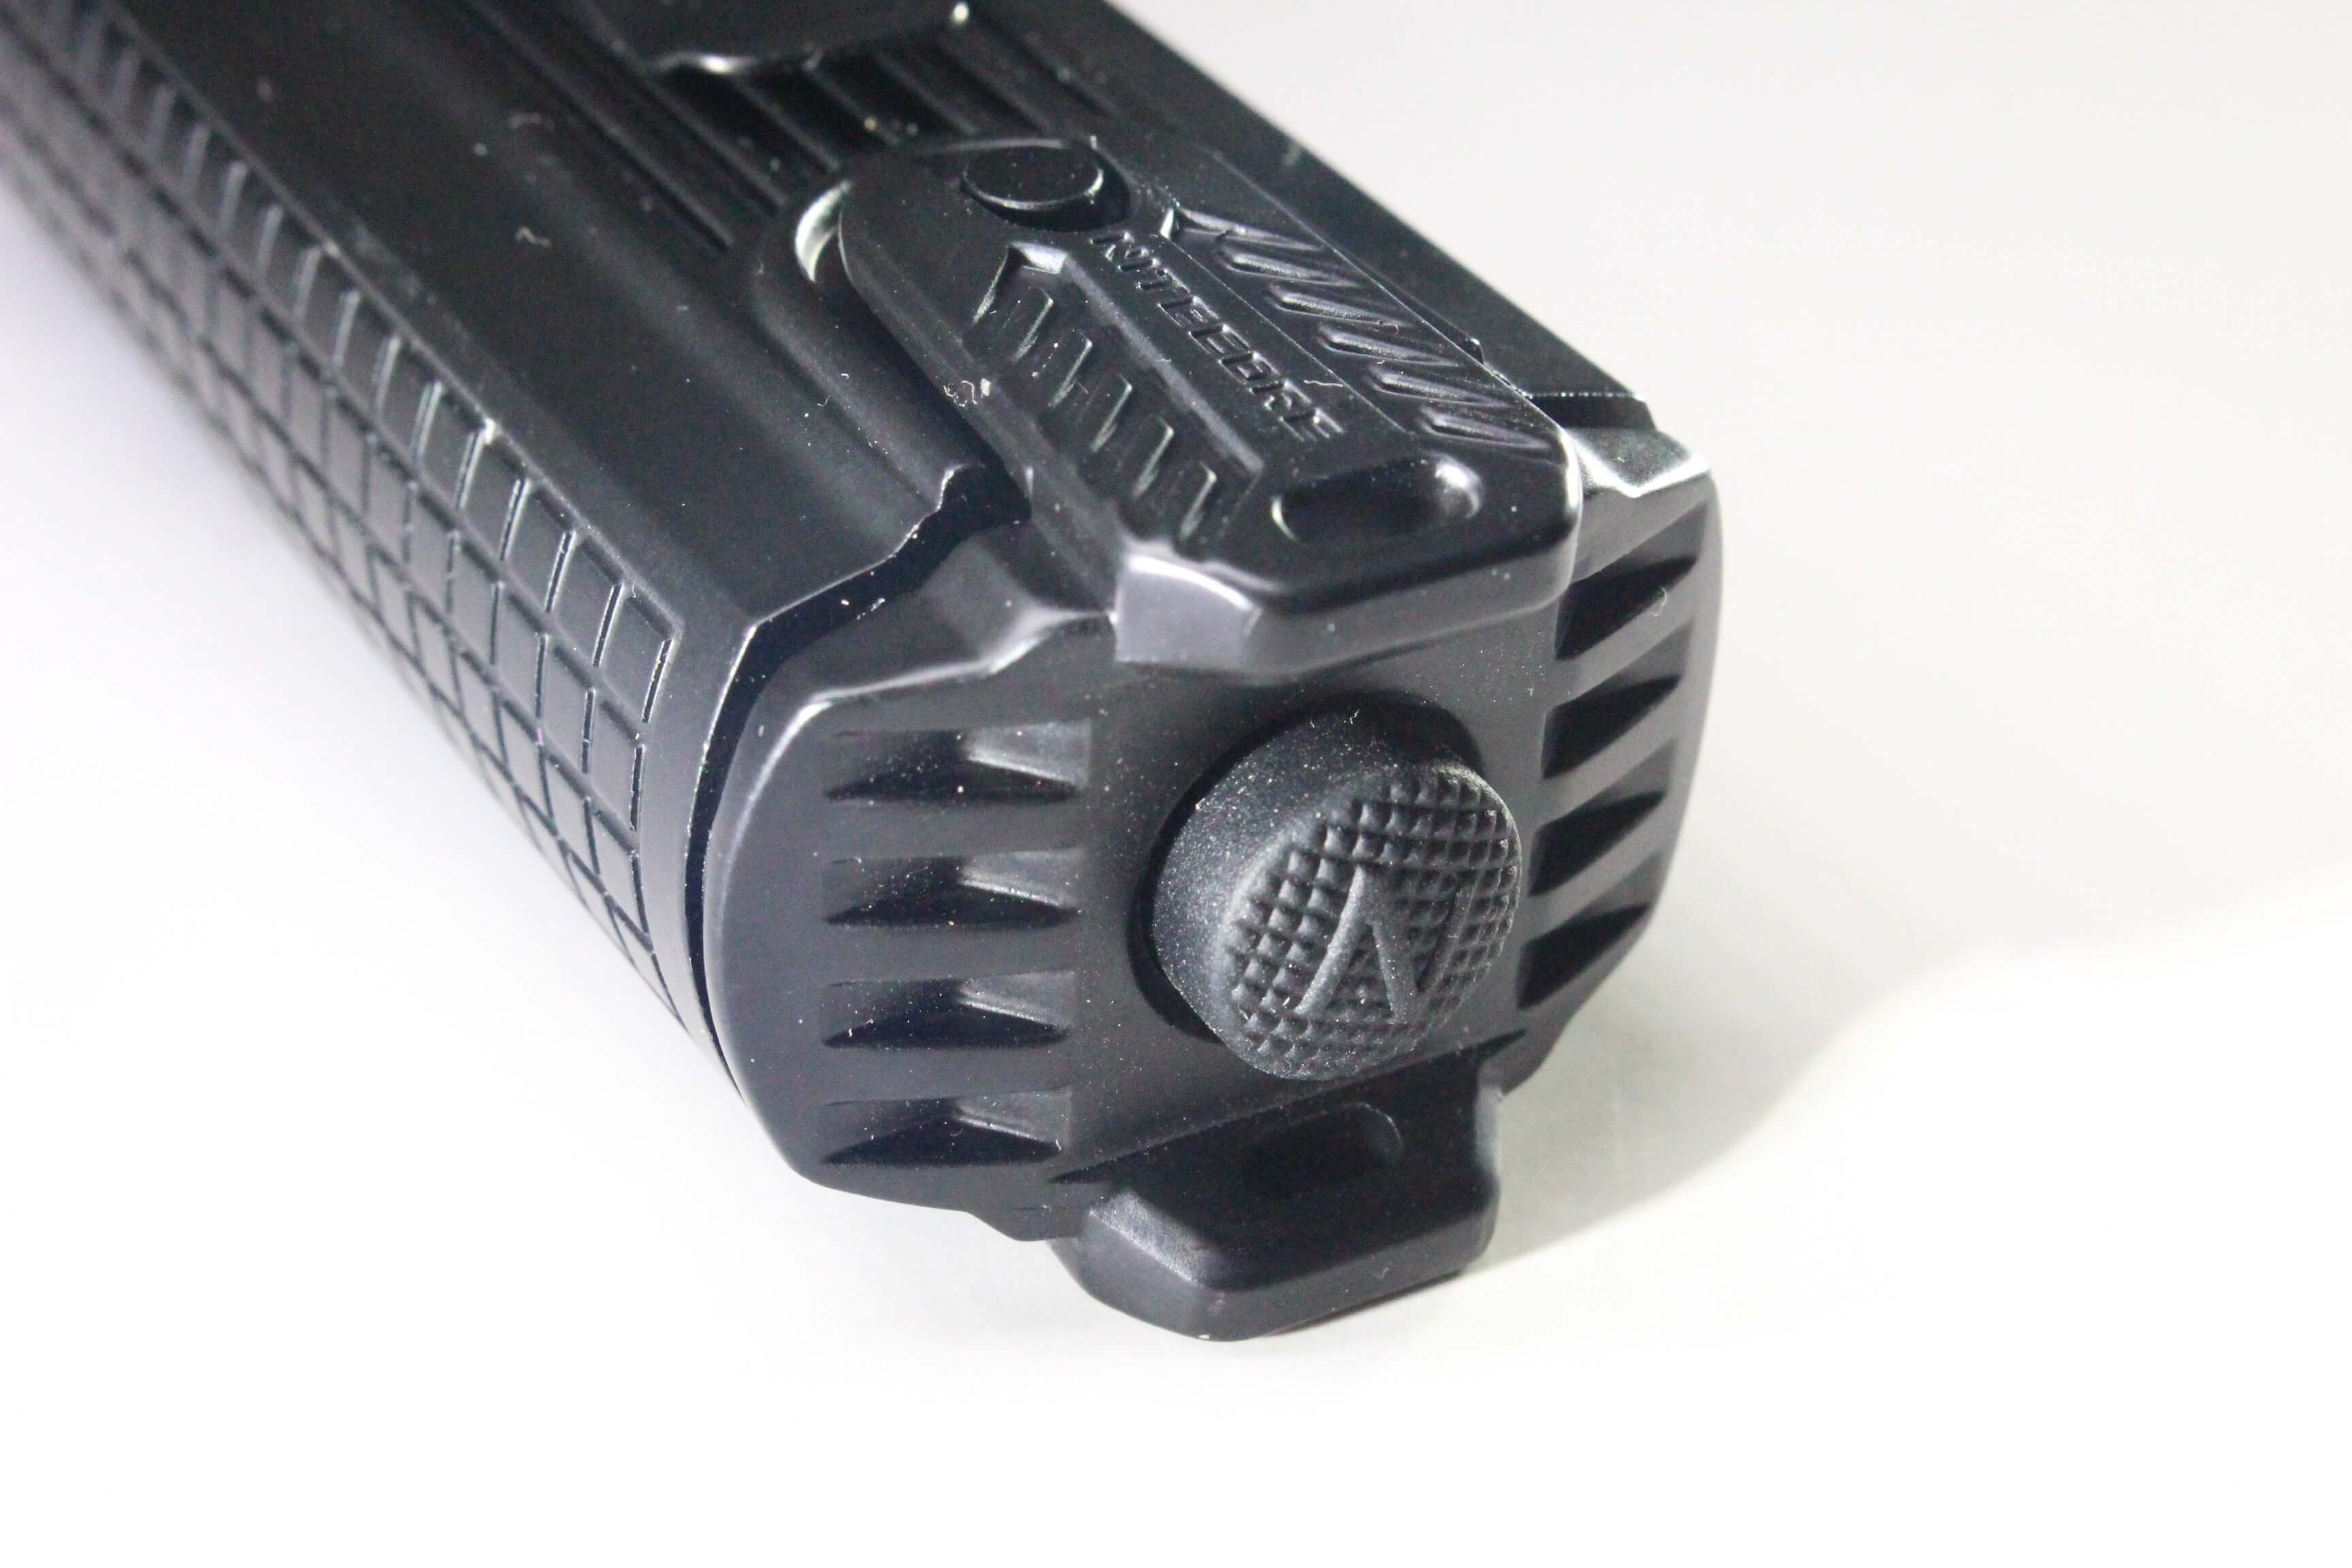
The tail cap
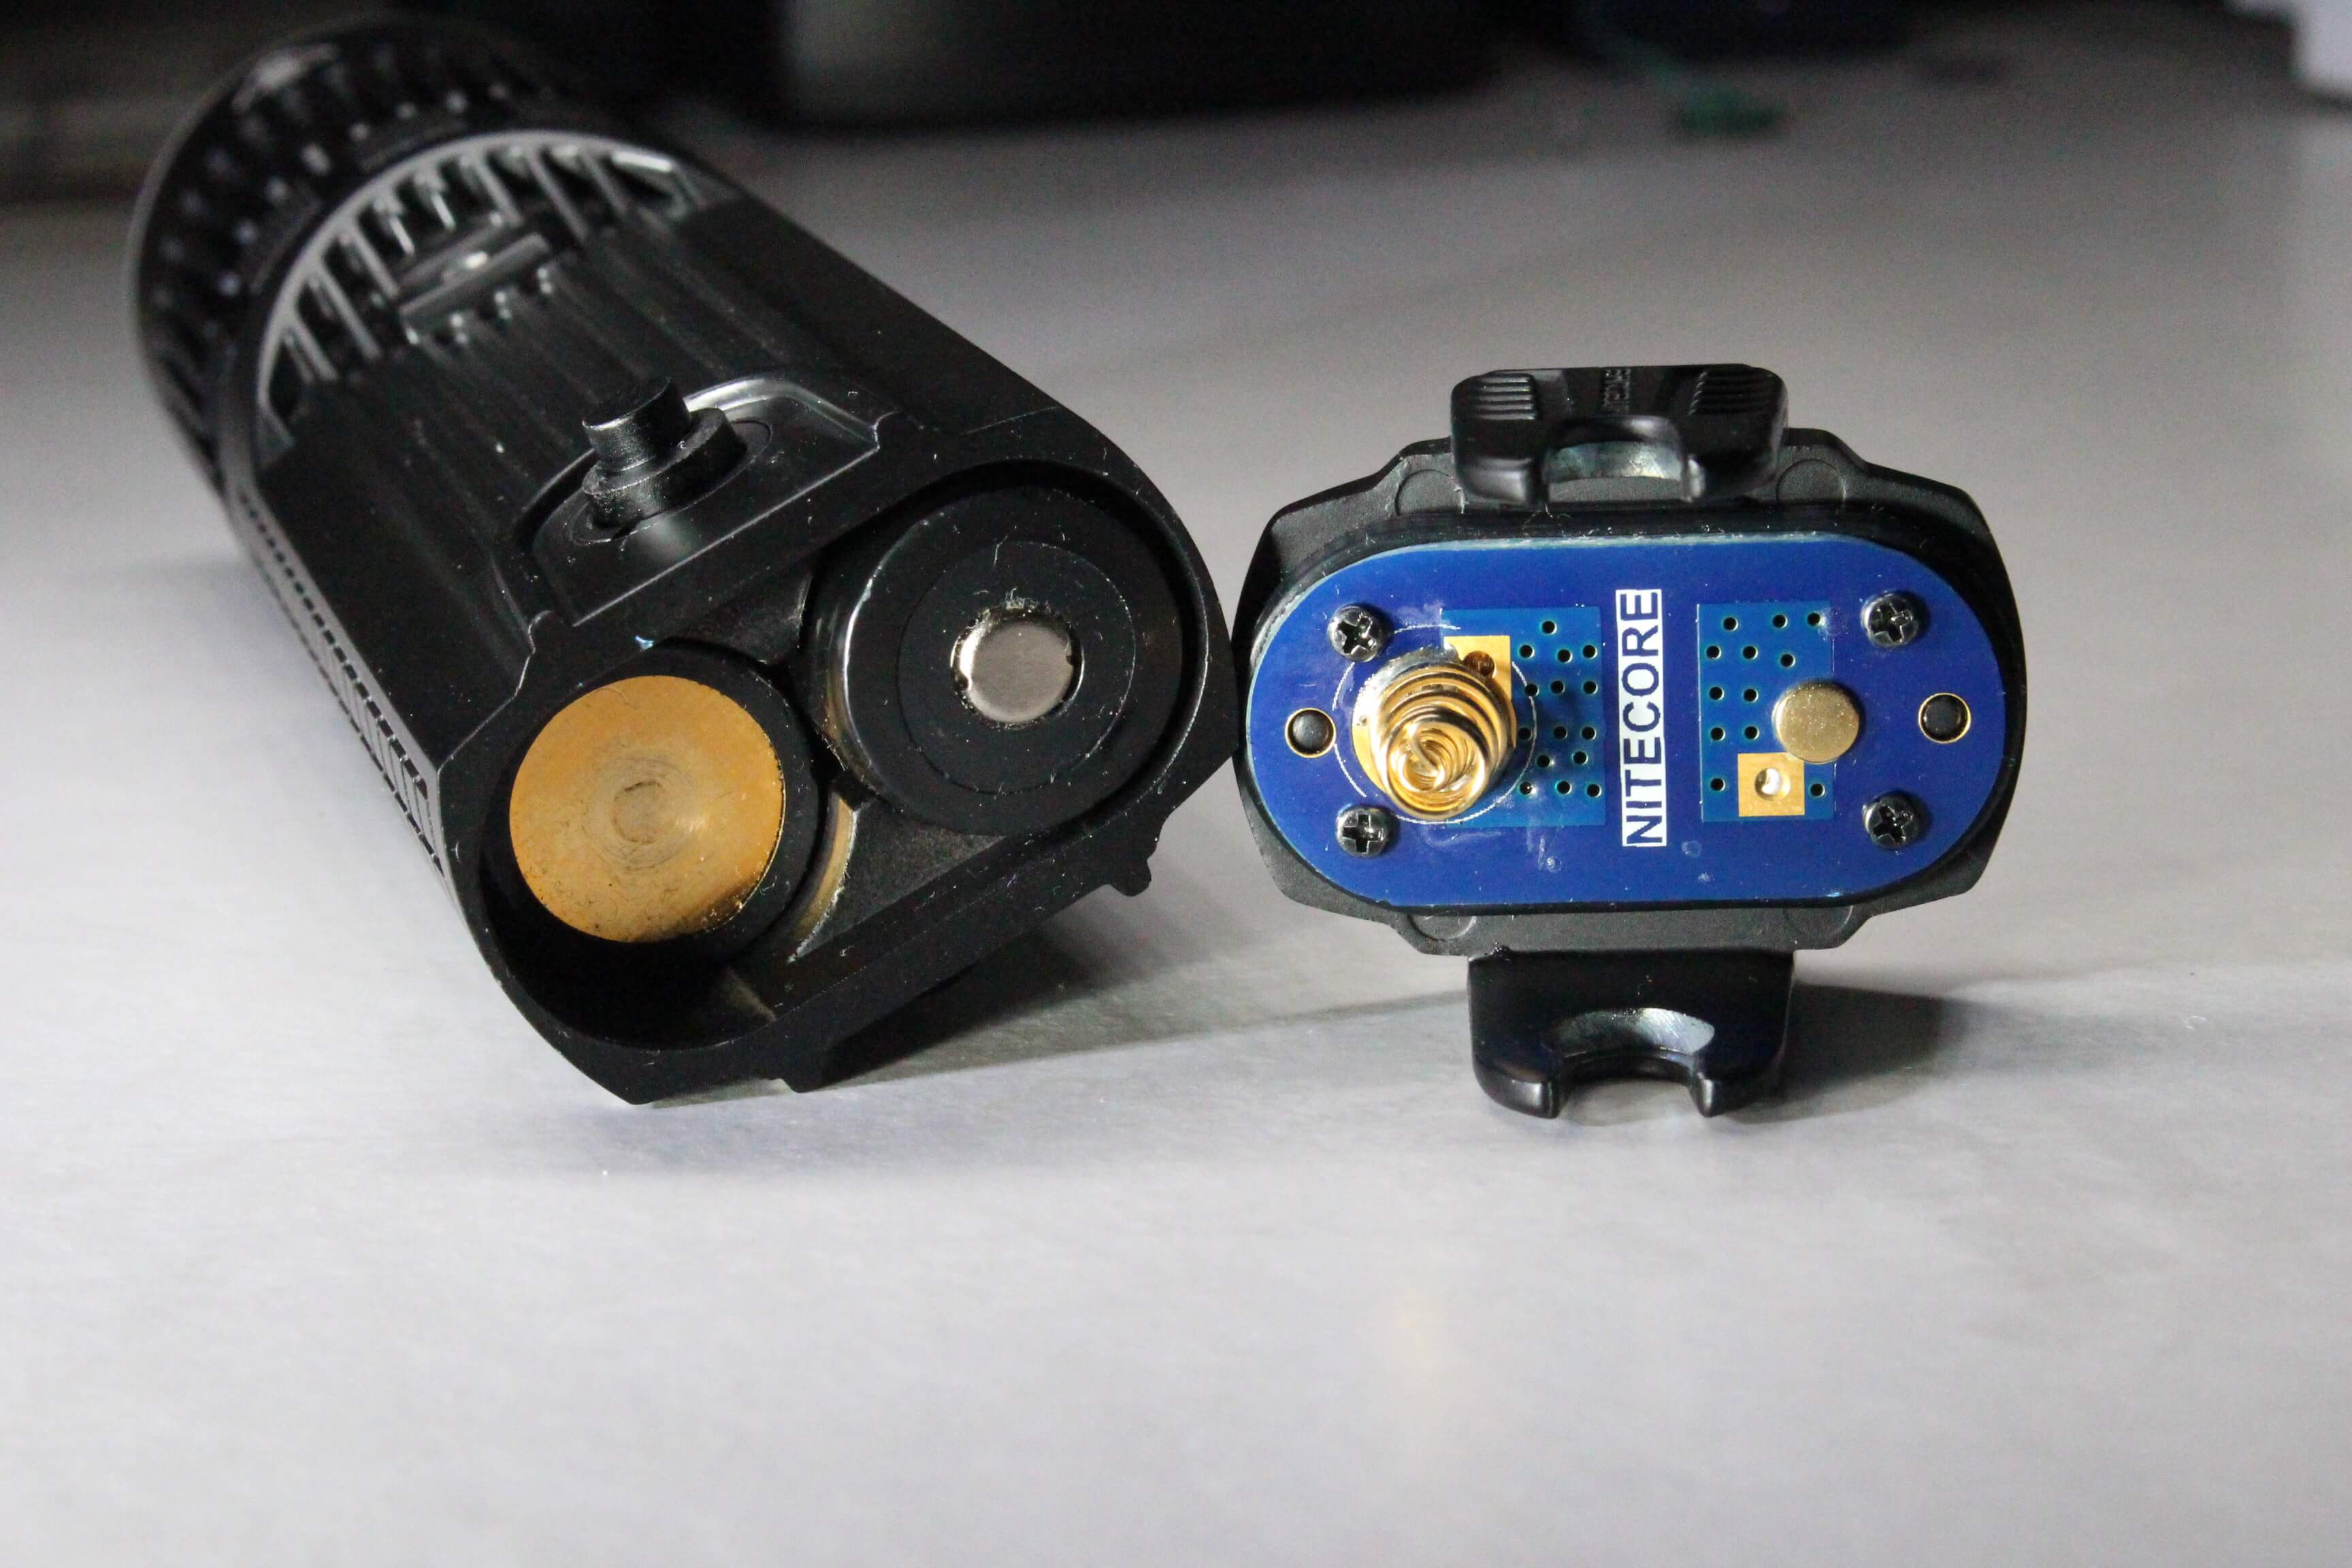
Cap removed
A single click of the tail cap turns the light on.
The ring is built into the body and circles it as a series of knurled “panels”…and turns in both directions. If the ring is turned all the way to the left, then I’ll describe what you see after it’s switched on.
The first setting in this case is “beacon flash” mode. Turning the ring clockwise reveals the next mode; “blue/red strobe”. Next is solid blue, followed by solid green, then solid red. UV is next, followed by “stand by” mode, where the small indicator light below the ring, flashes blue. Next, is constant illumination… from ultra-low, to turbo. The last mode to follow, is “regular” strobe. It’s also tactical, where momentary light is available anytime by pressing the tail button half-way.
Stand-by Mode (explained)

Indicator light

Indicator on
The small indicator below the ring on the opposite side of the clip, acts as a low battery warning, and a “locator” when the ring is positioned in “stand-by”.
In stand-by, (when light is off) it blinks (blue) once every two seconds. It does the same thing when the light is ON, but only when batteries have reach near the 50% point. As voltage drops further, the indicator’s blink will increase to a rapid flash.
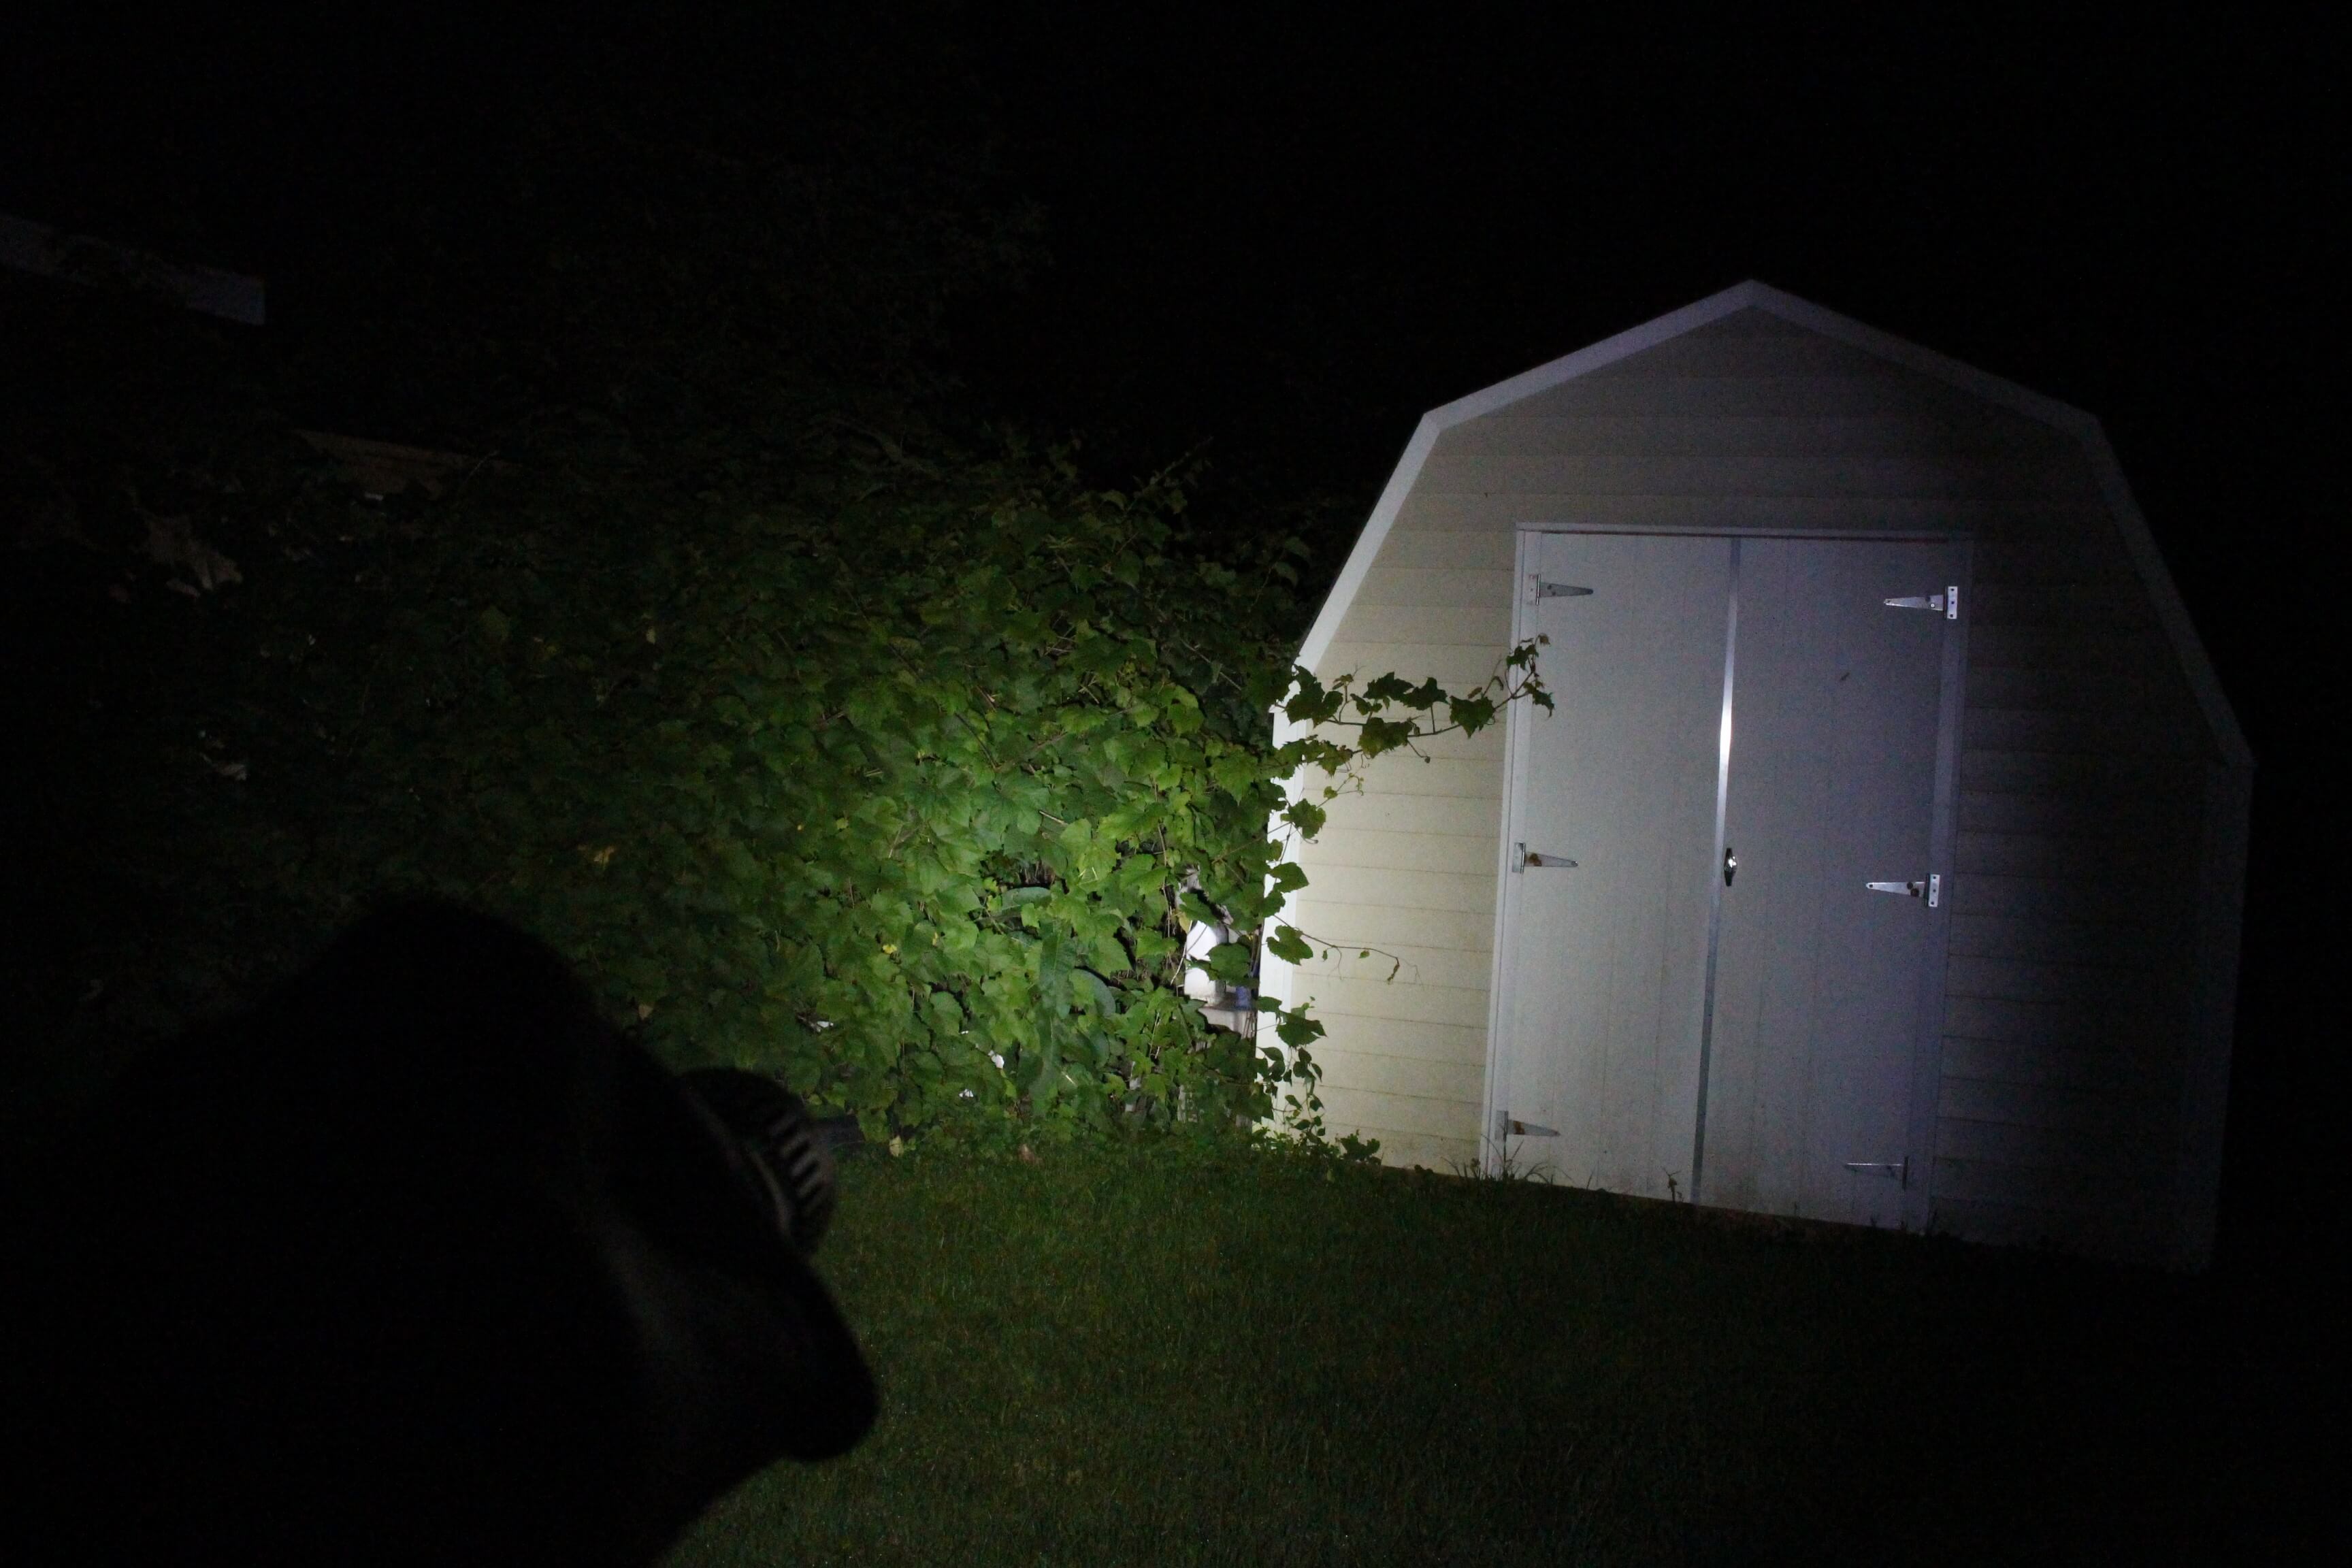
Those Glorious Beamshots!

SRT9 beam
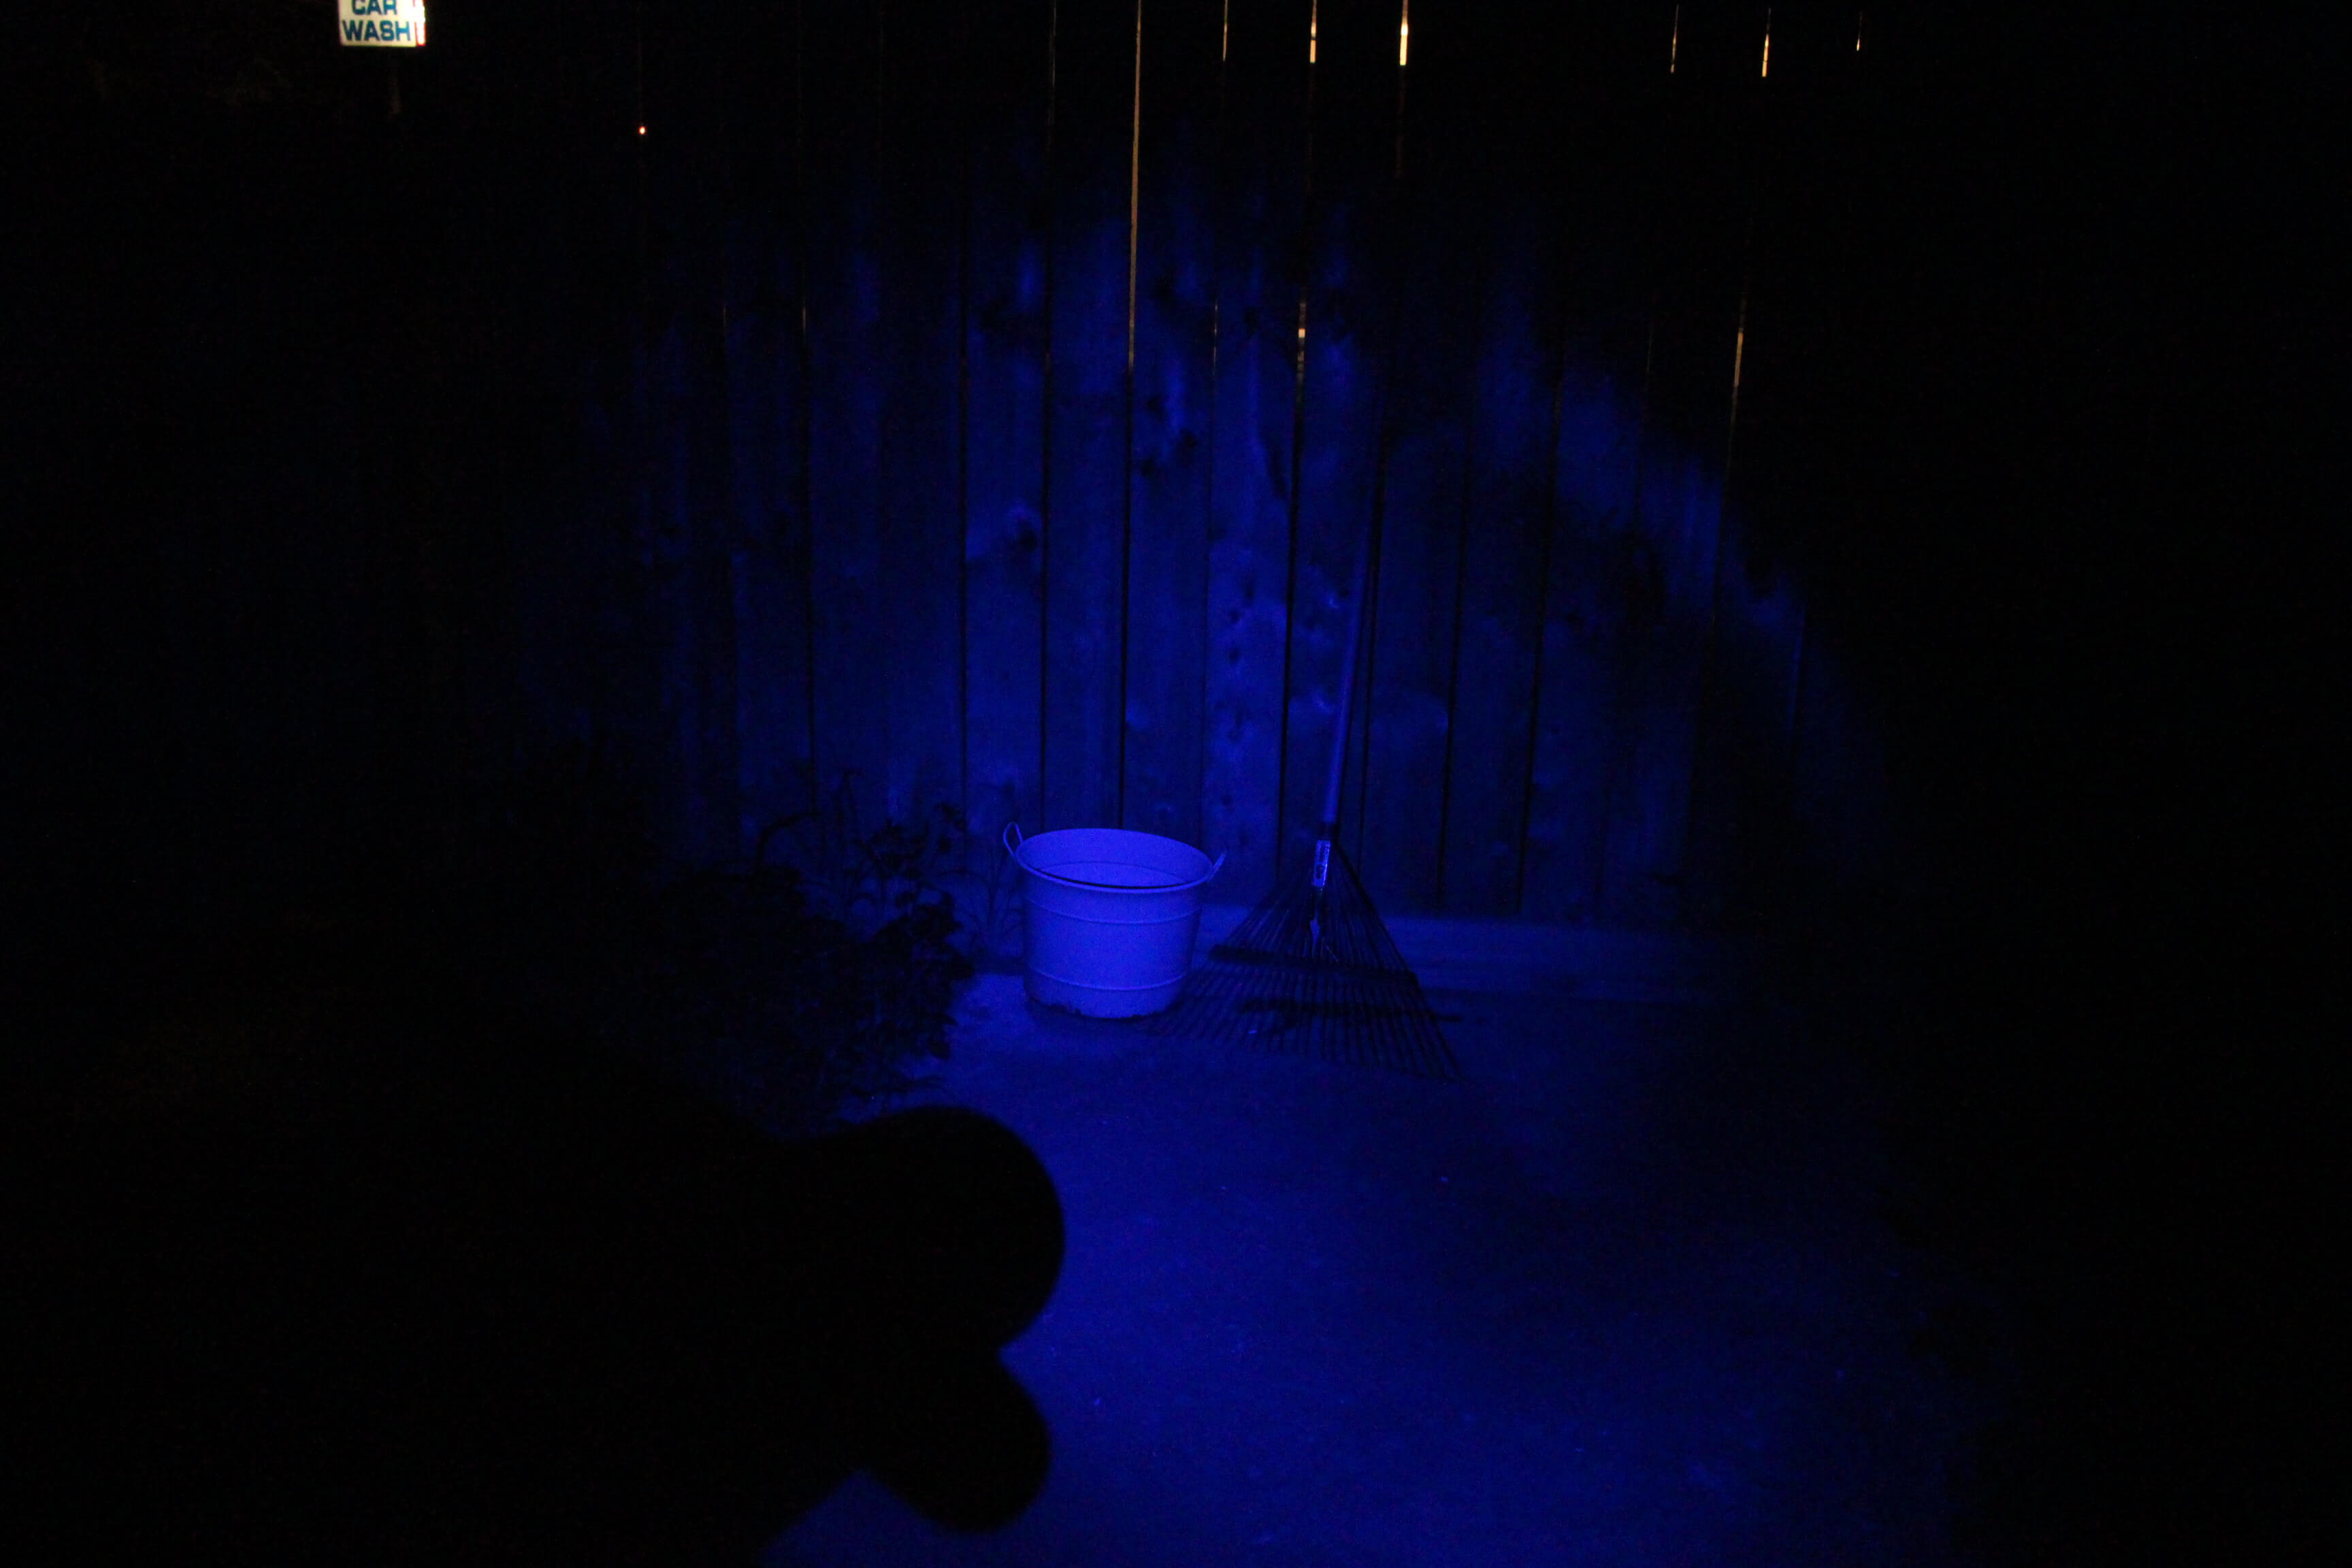
Blue
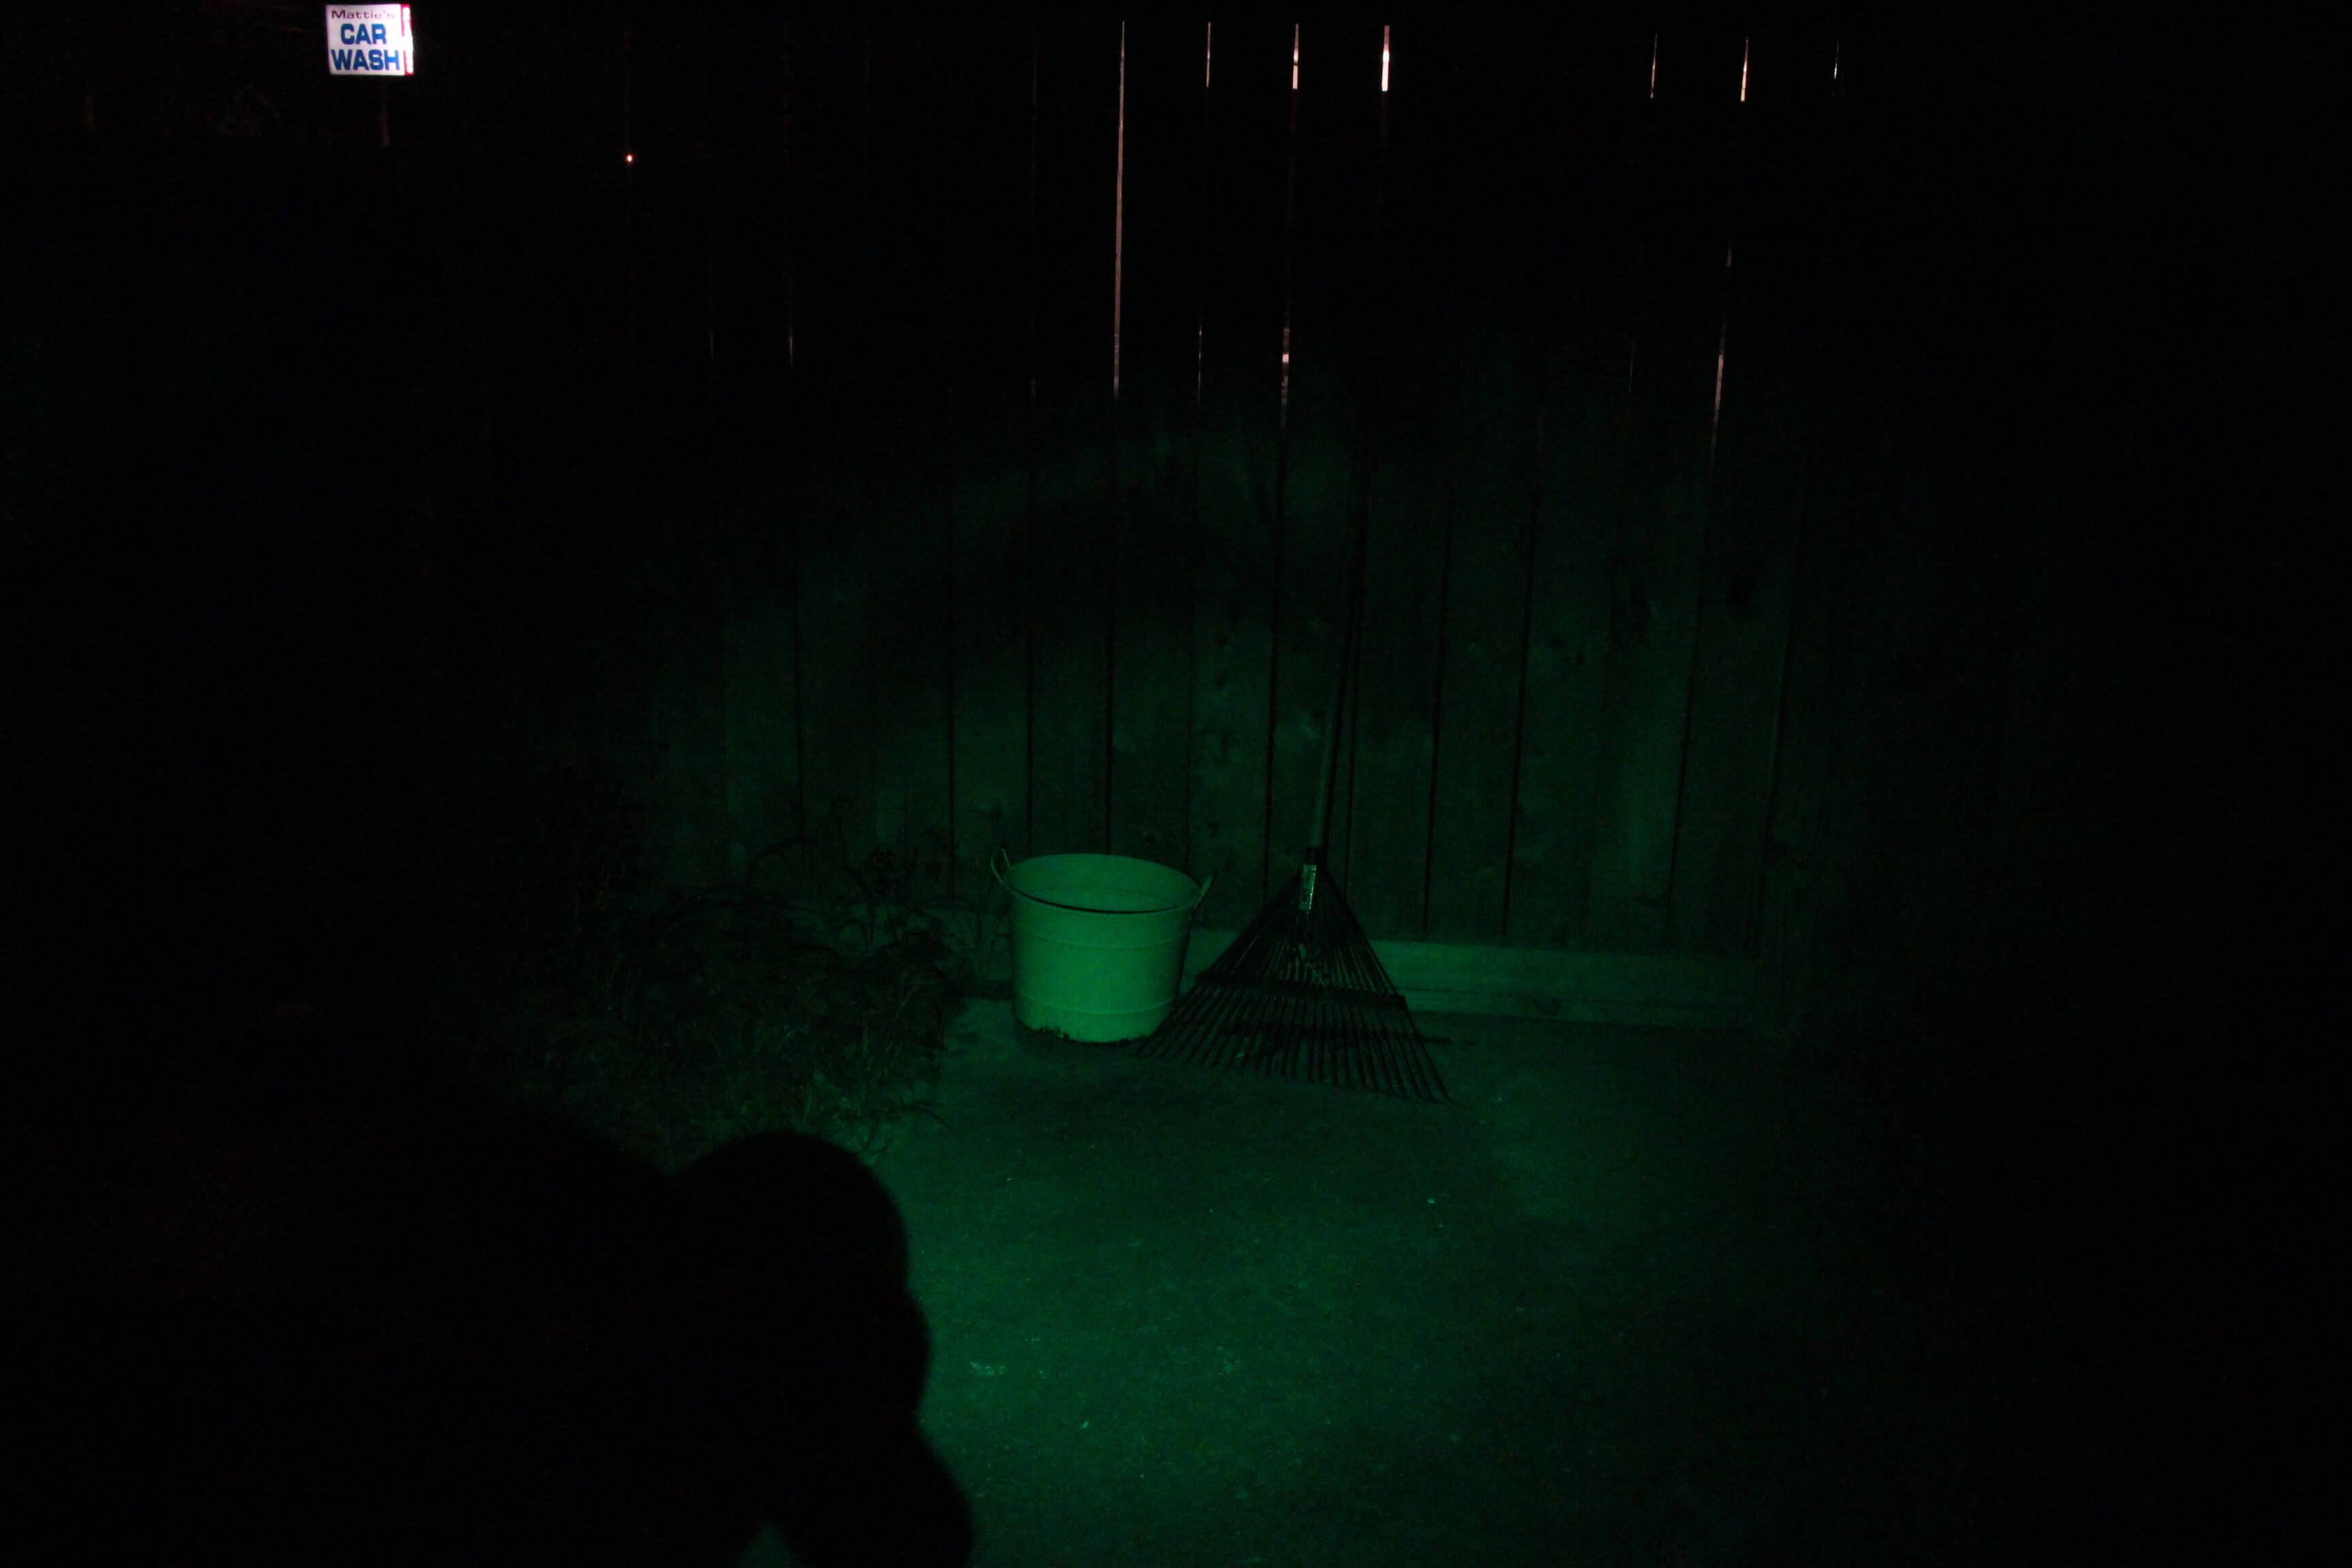
Green
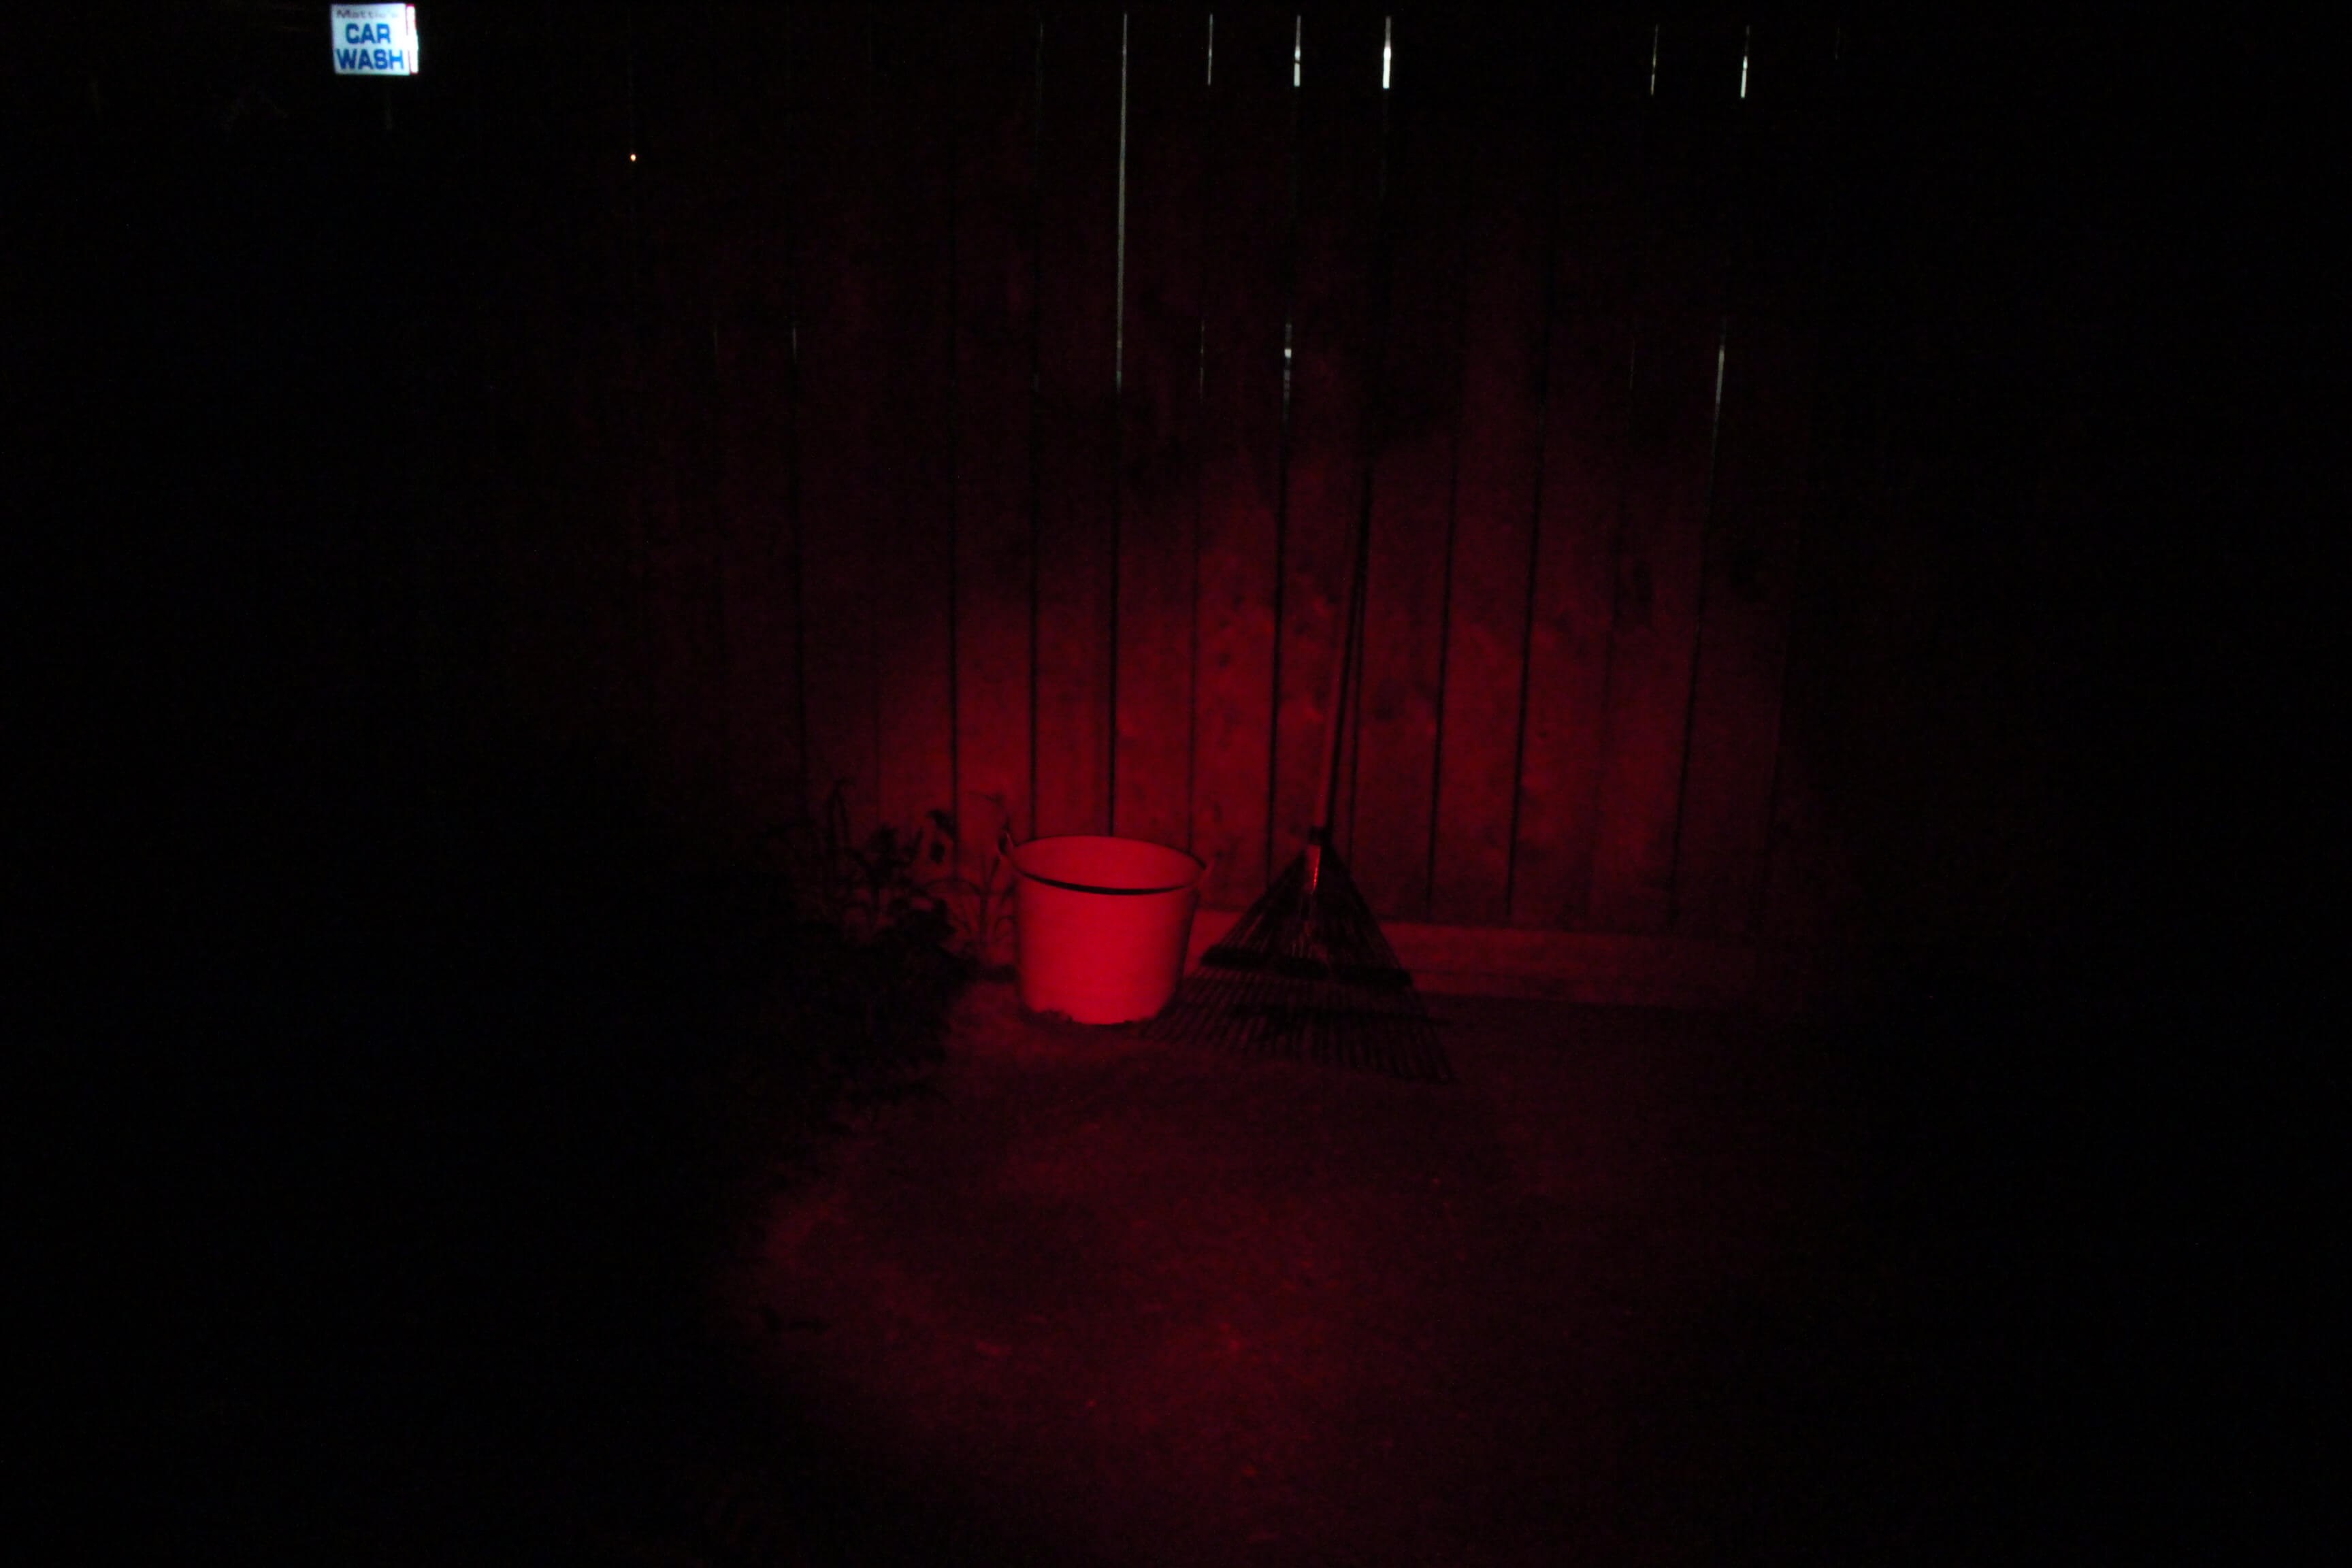
Red
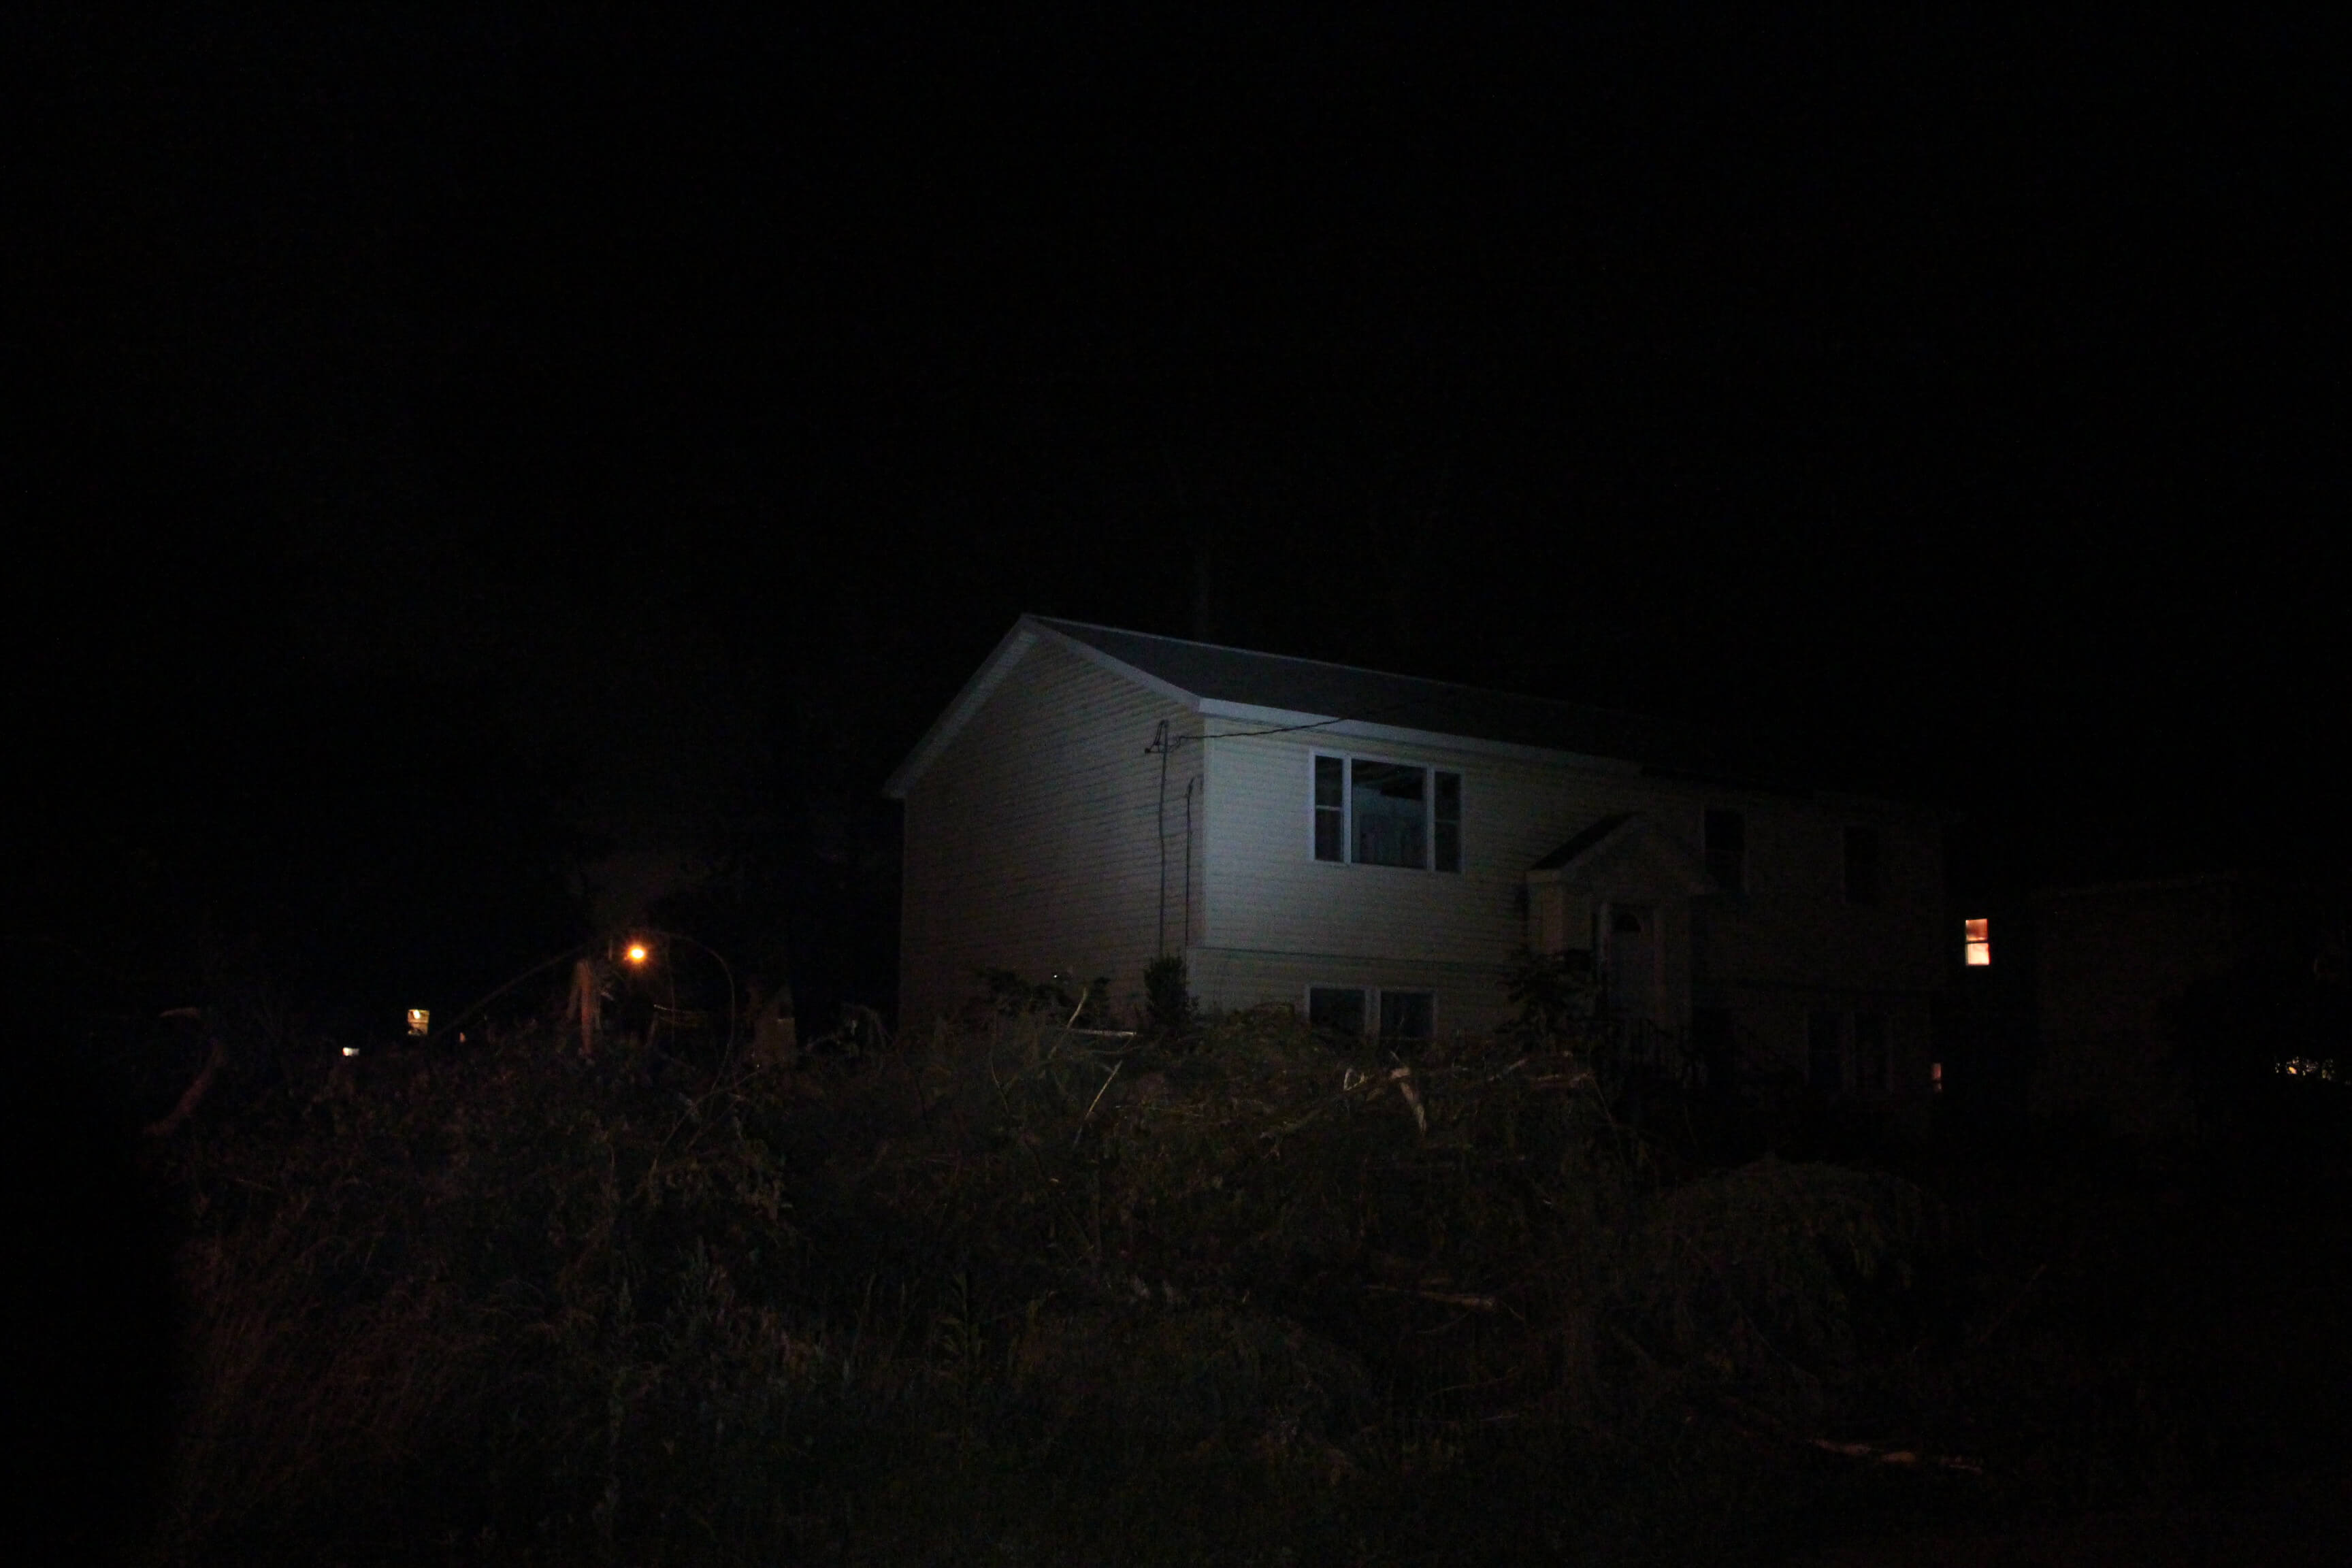
Medium-low

Medium-high

Turbo
Medium-low
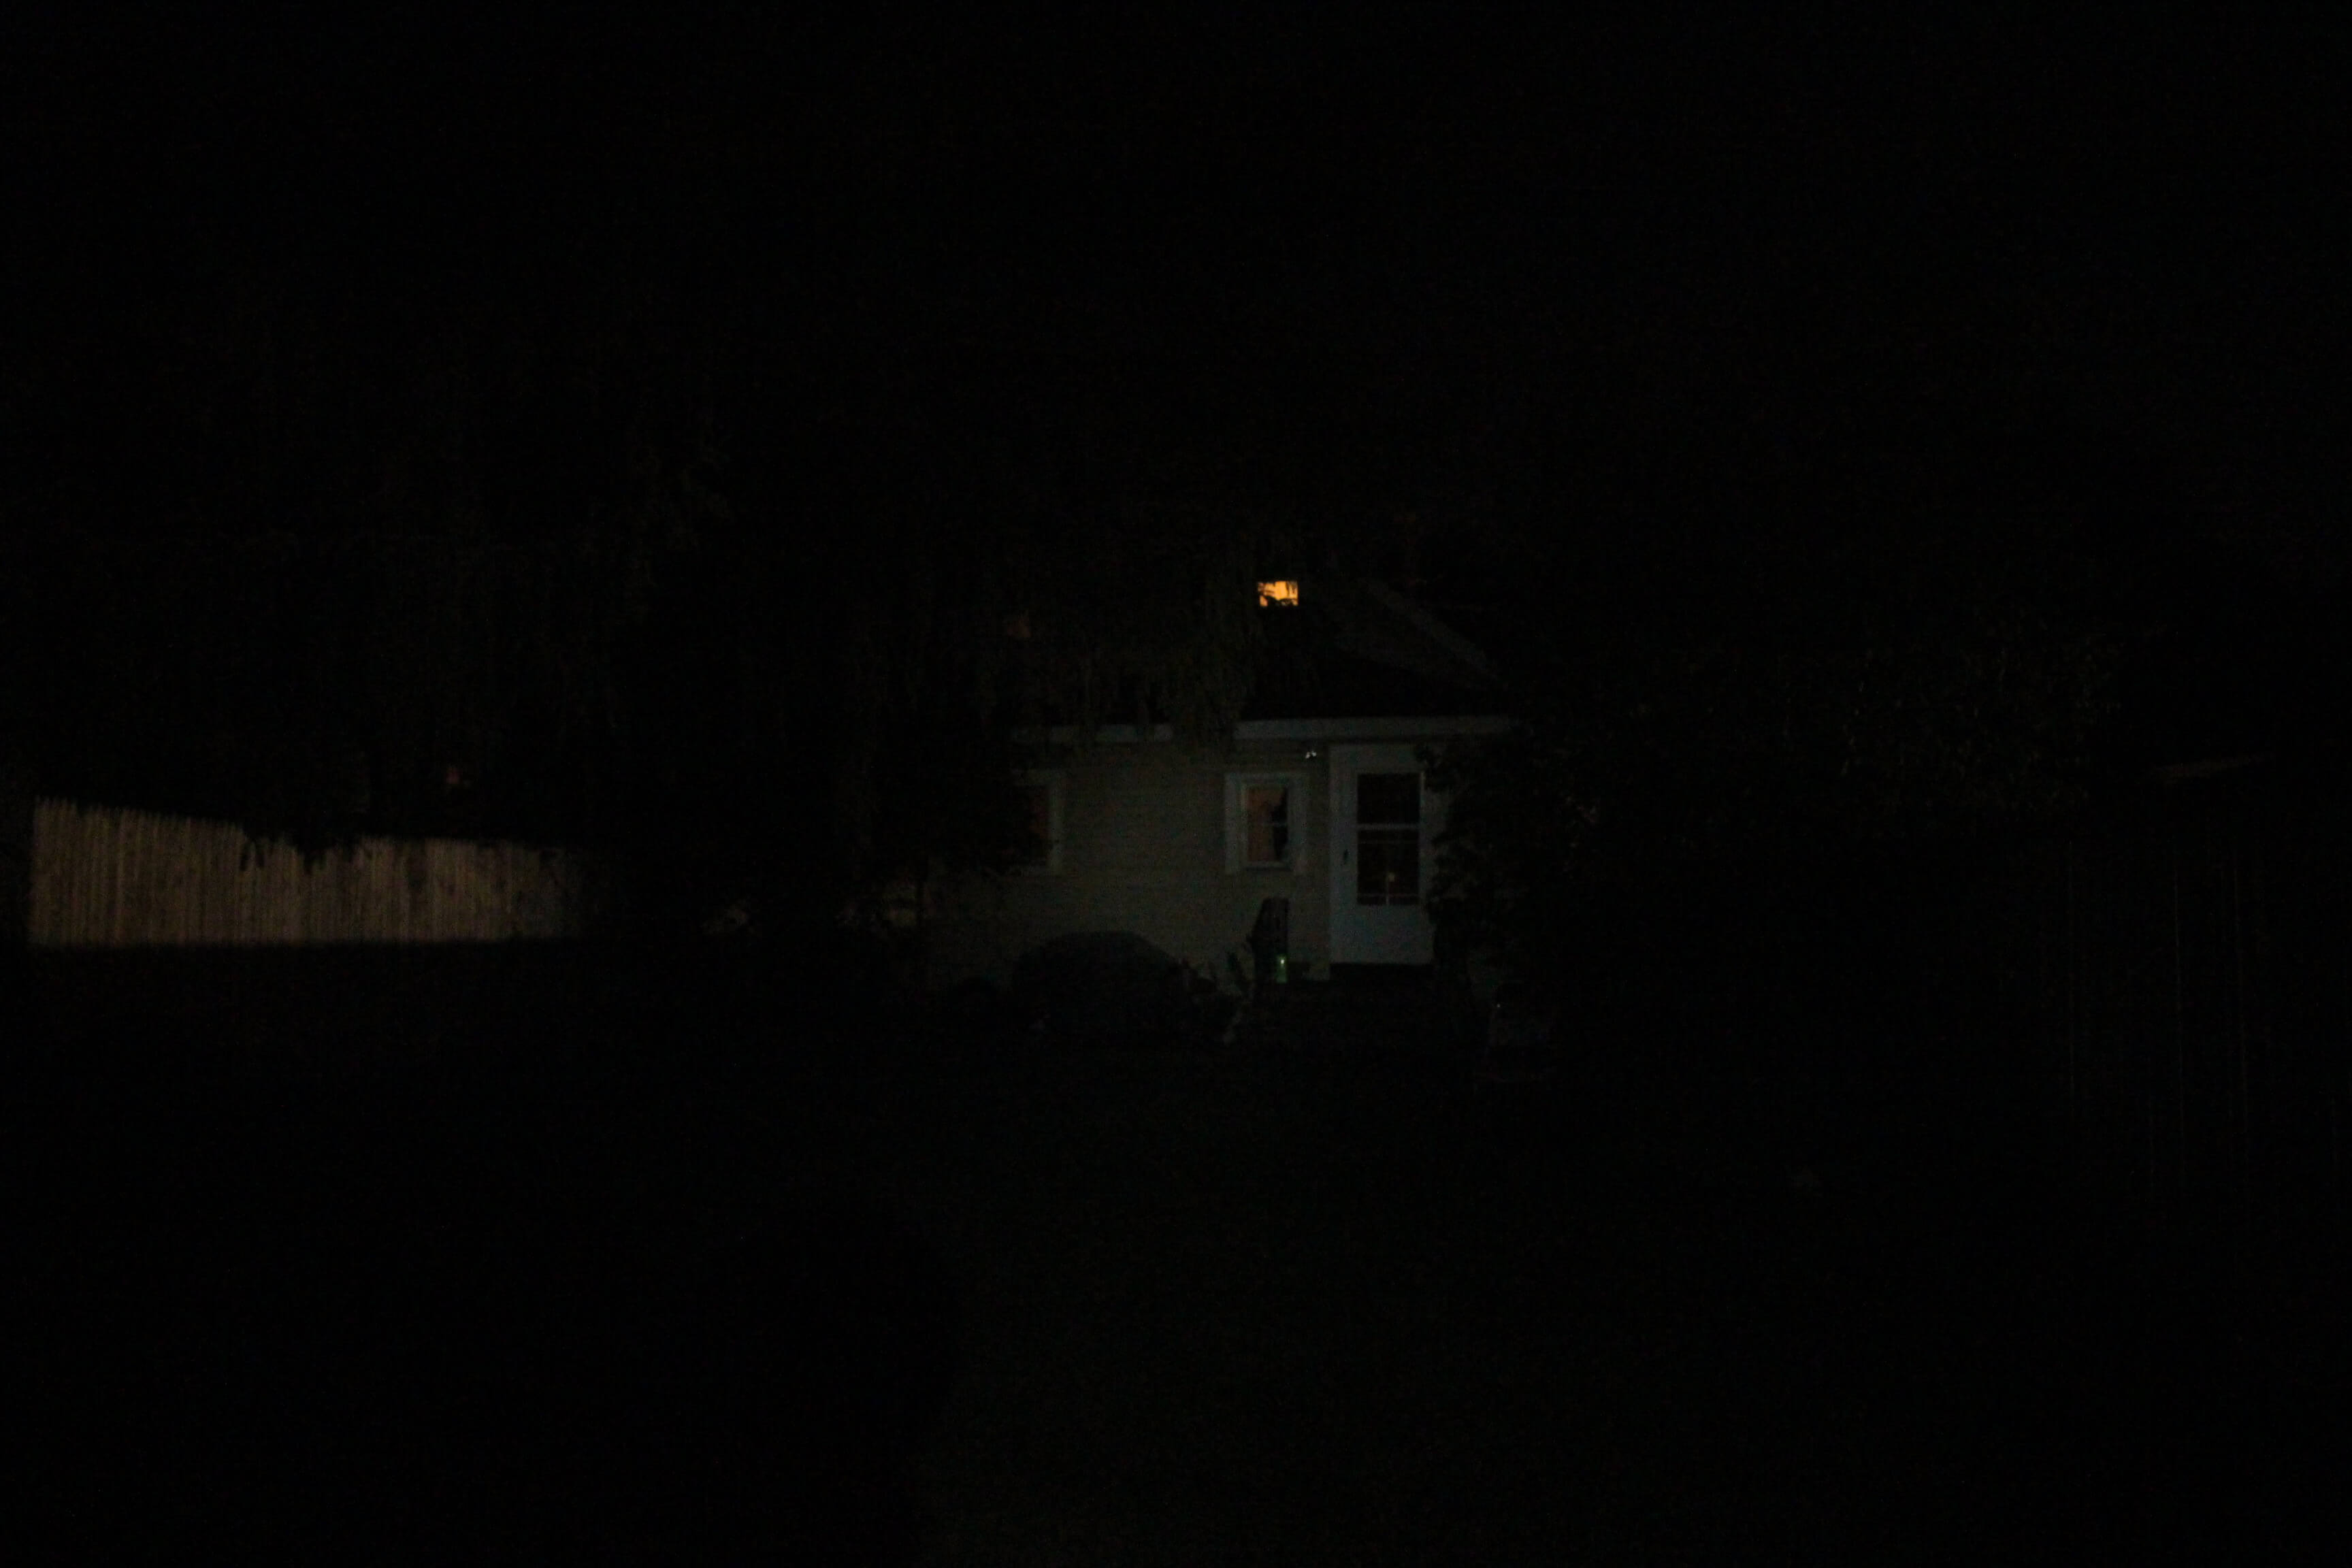
Low @ 60ft

Medium

Turbo@ 60ft
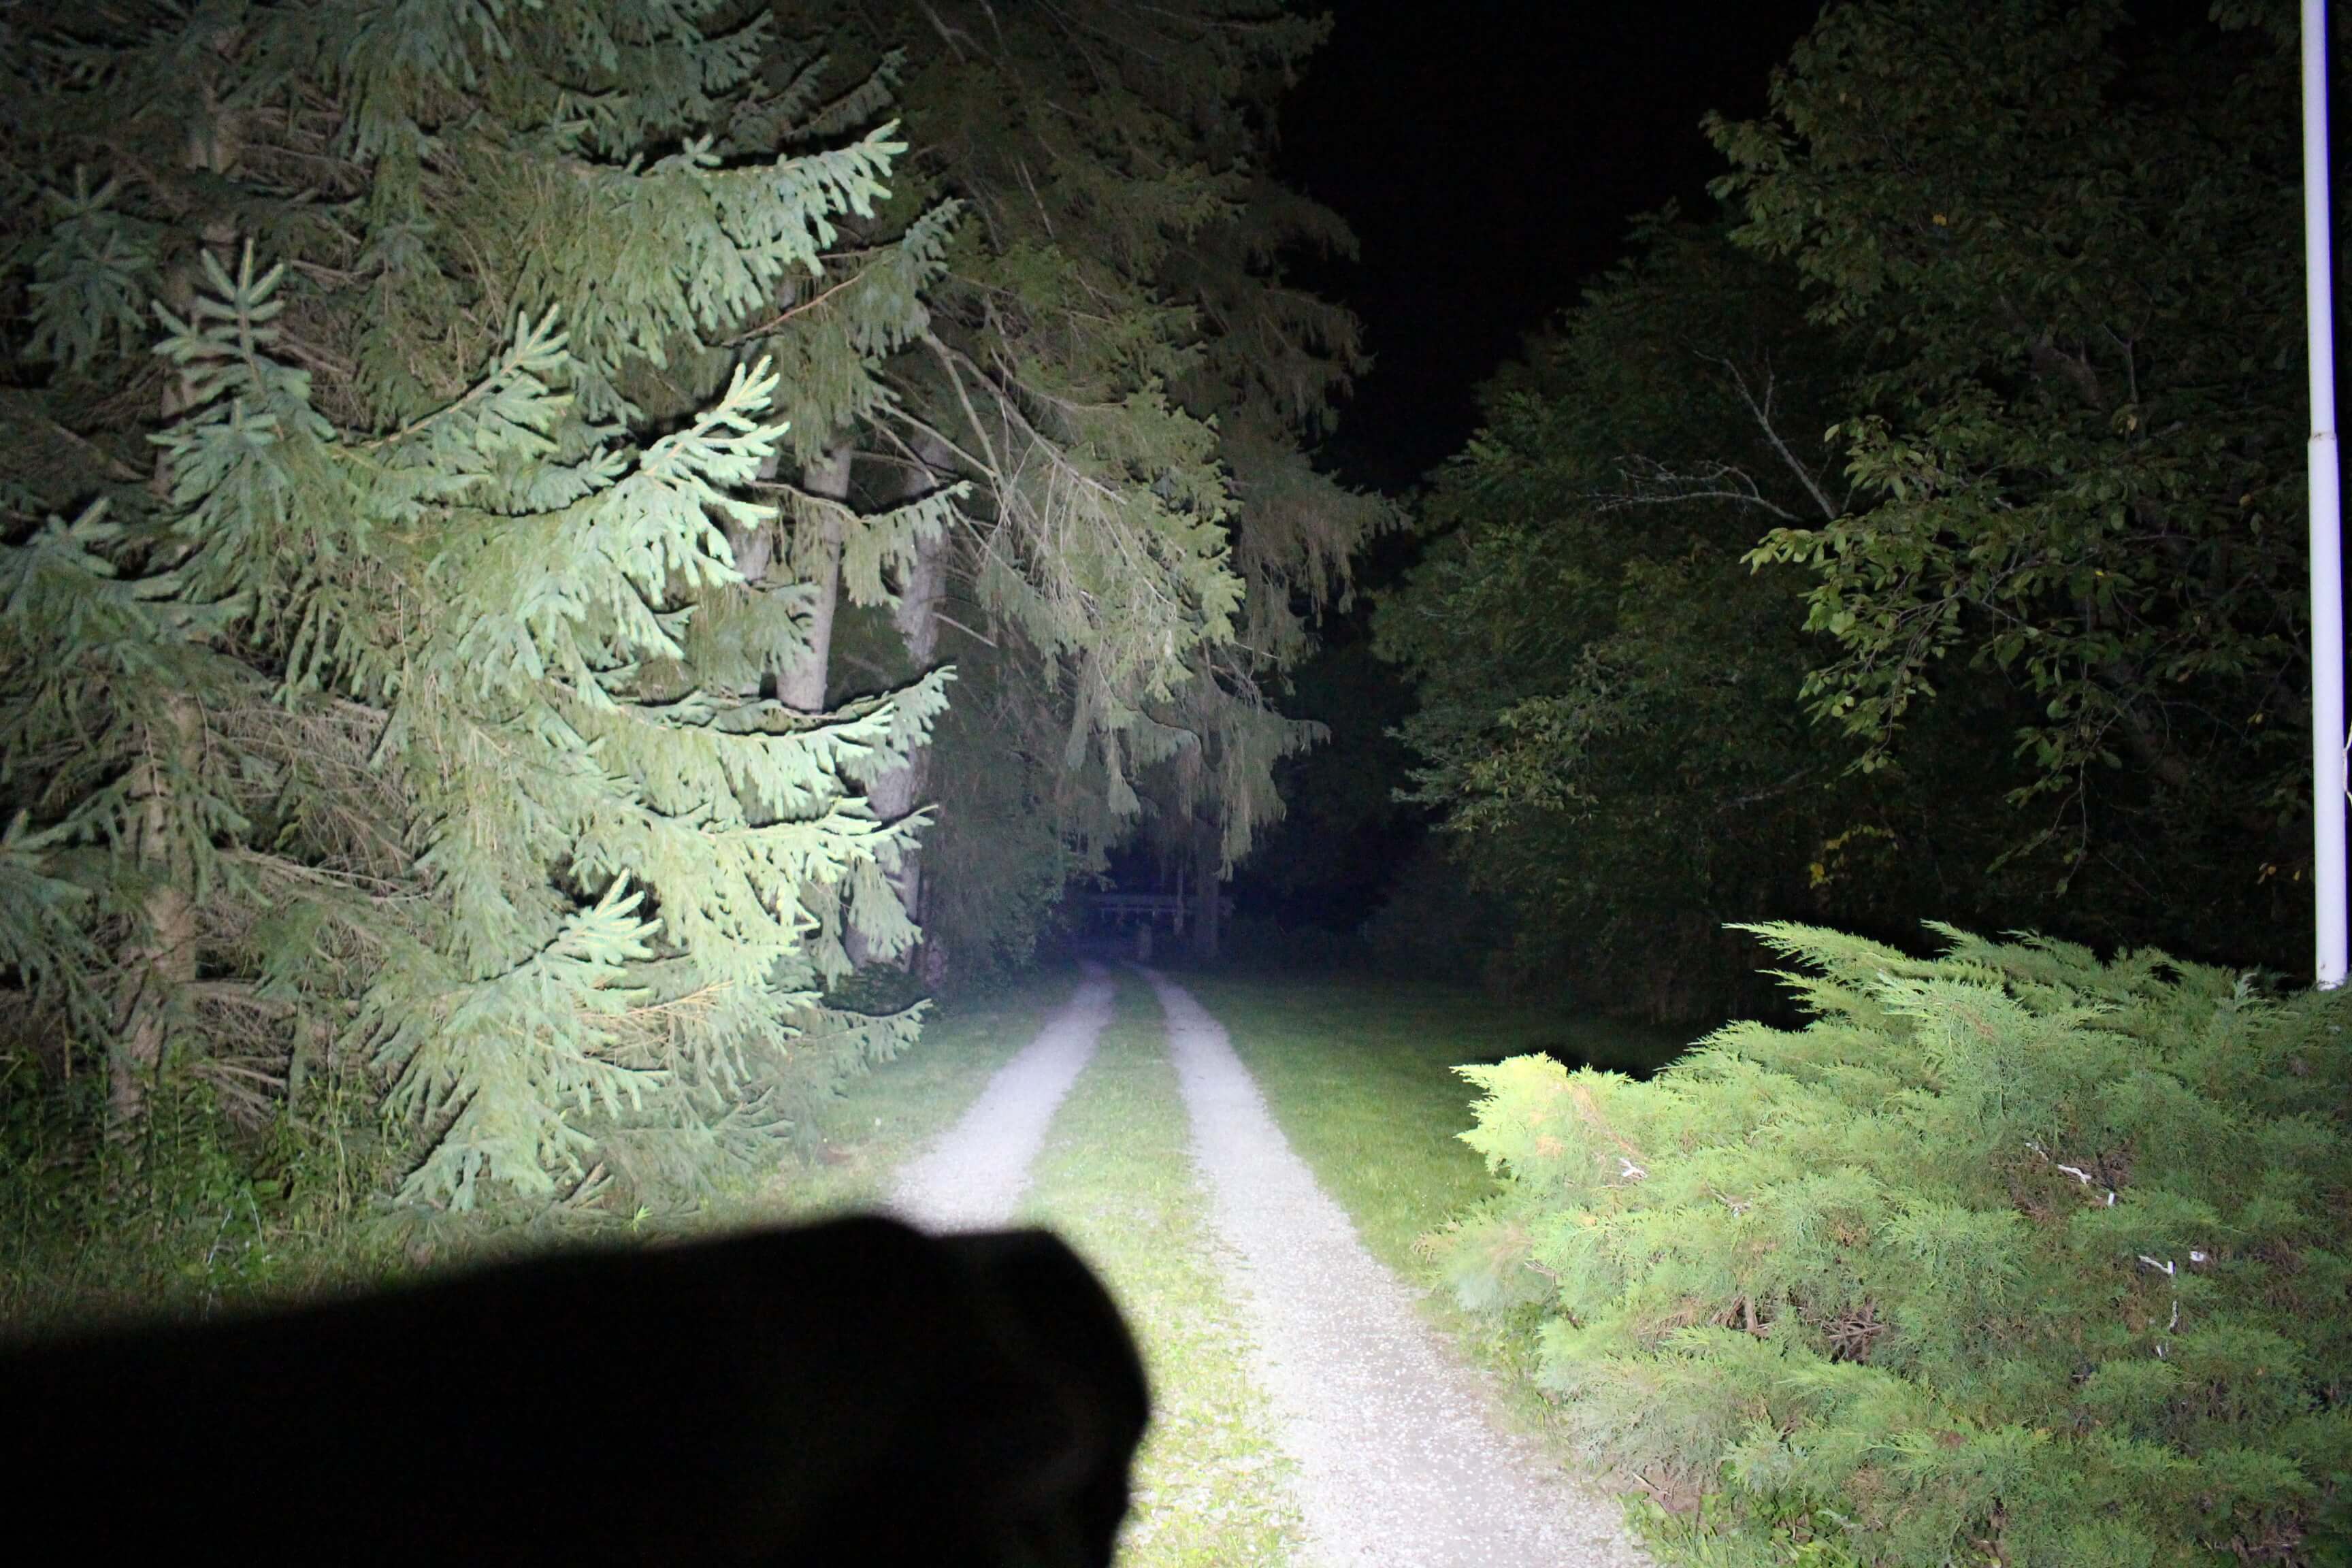
Turbo
Nitecore SRT9 – The Main Deal
One of the great things about the SRT9 (and the magnetic ring) is that while of course it can be turned off in ANY mode… it can also be activated again in any mode! So if you want strobe, or the blue LED… just make sure it’s IN that mode when you shut it off.
The only negative comment I have regarding the ring, is when it’s set to the main LED. When turning it low, to what’s considered “ultra-low”… the output often cuts out before reaching 0.1 lumens. It gets close, but doesn’t always reach what I consider “moonlight mode“. It’s not a HUGE deal… but noticeable none the less. I’ve seen this happen in other lights which use a magnetic ring. I would only have thought that the technology would’ve improved (by now) to the point where that wouldn’t happen.
This is definitely a professional flashlight. The colored LED’s might not find much use with the “average” user, but for those who require special tints, perhaps for photography, they just might BE quite useful.
On some lights, secondary LED’s can often create artifacts within the main beam. That’s not the case here.
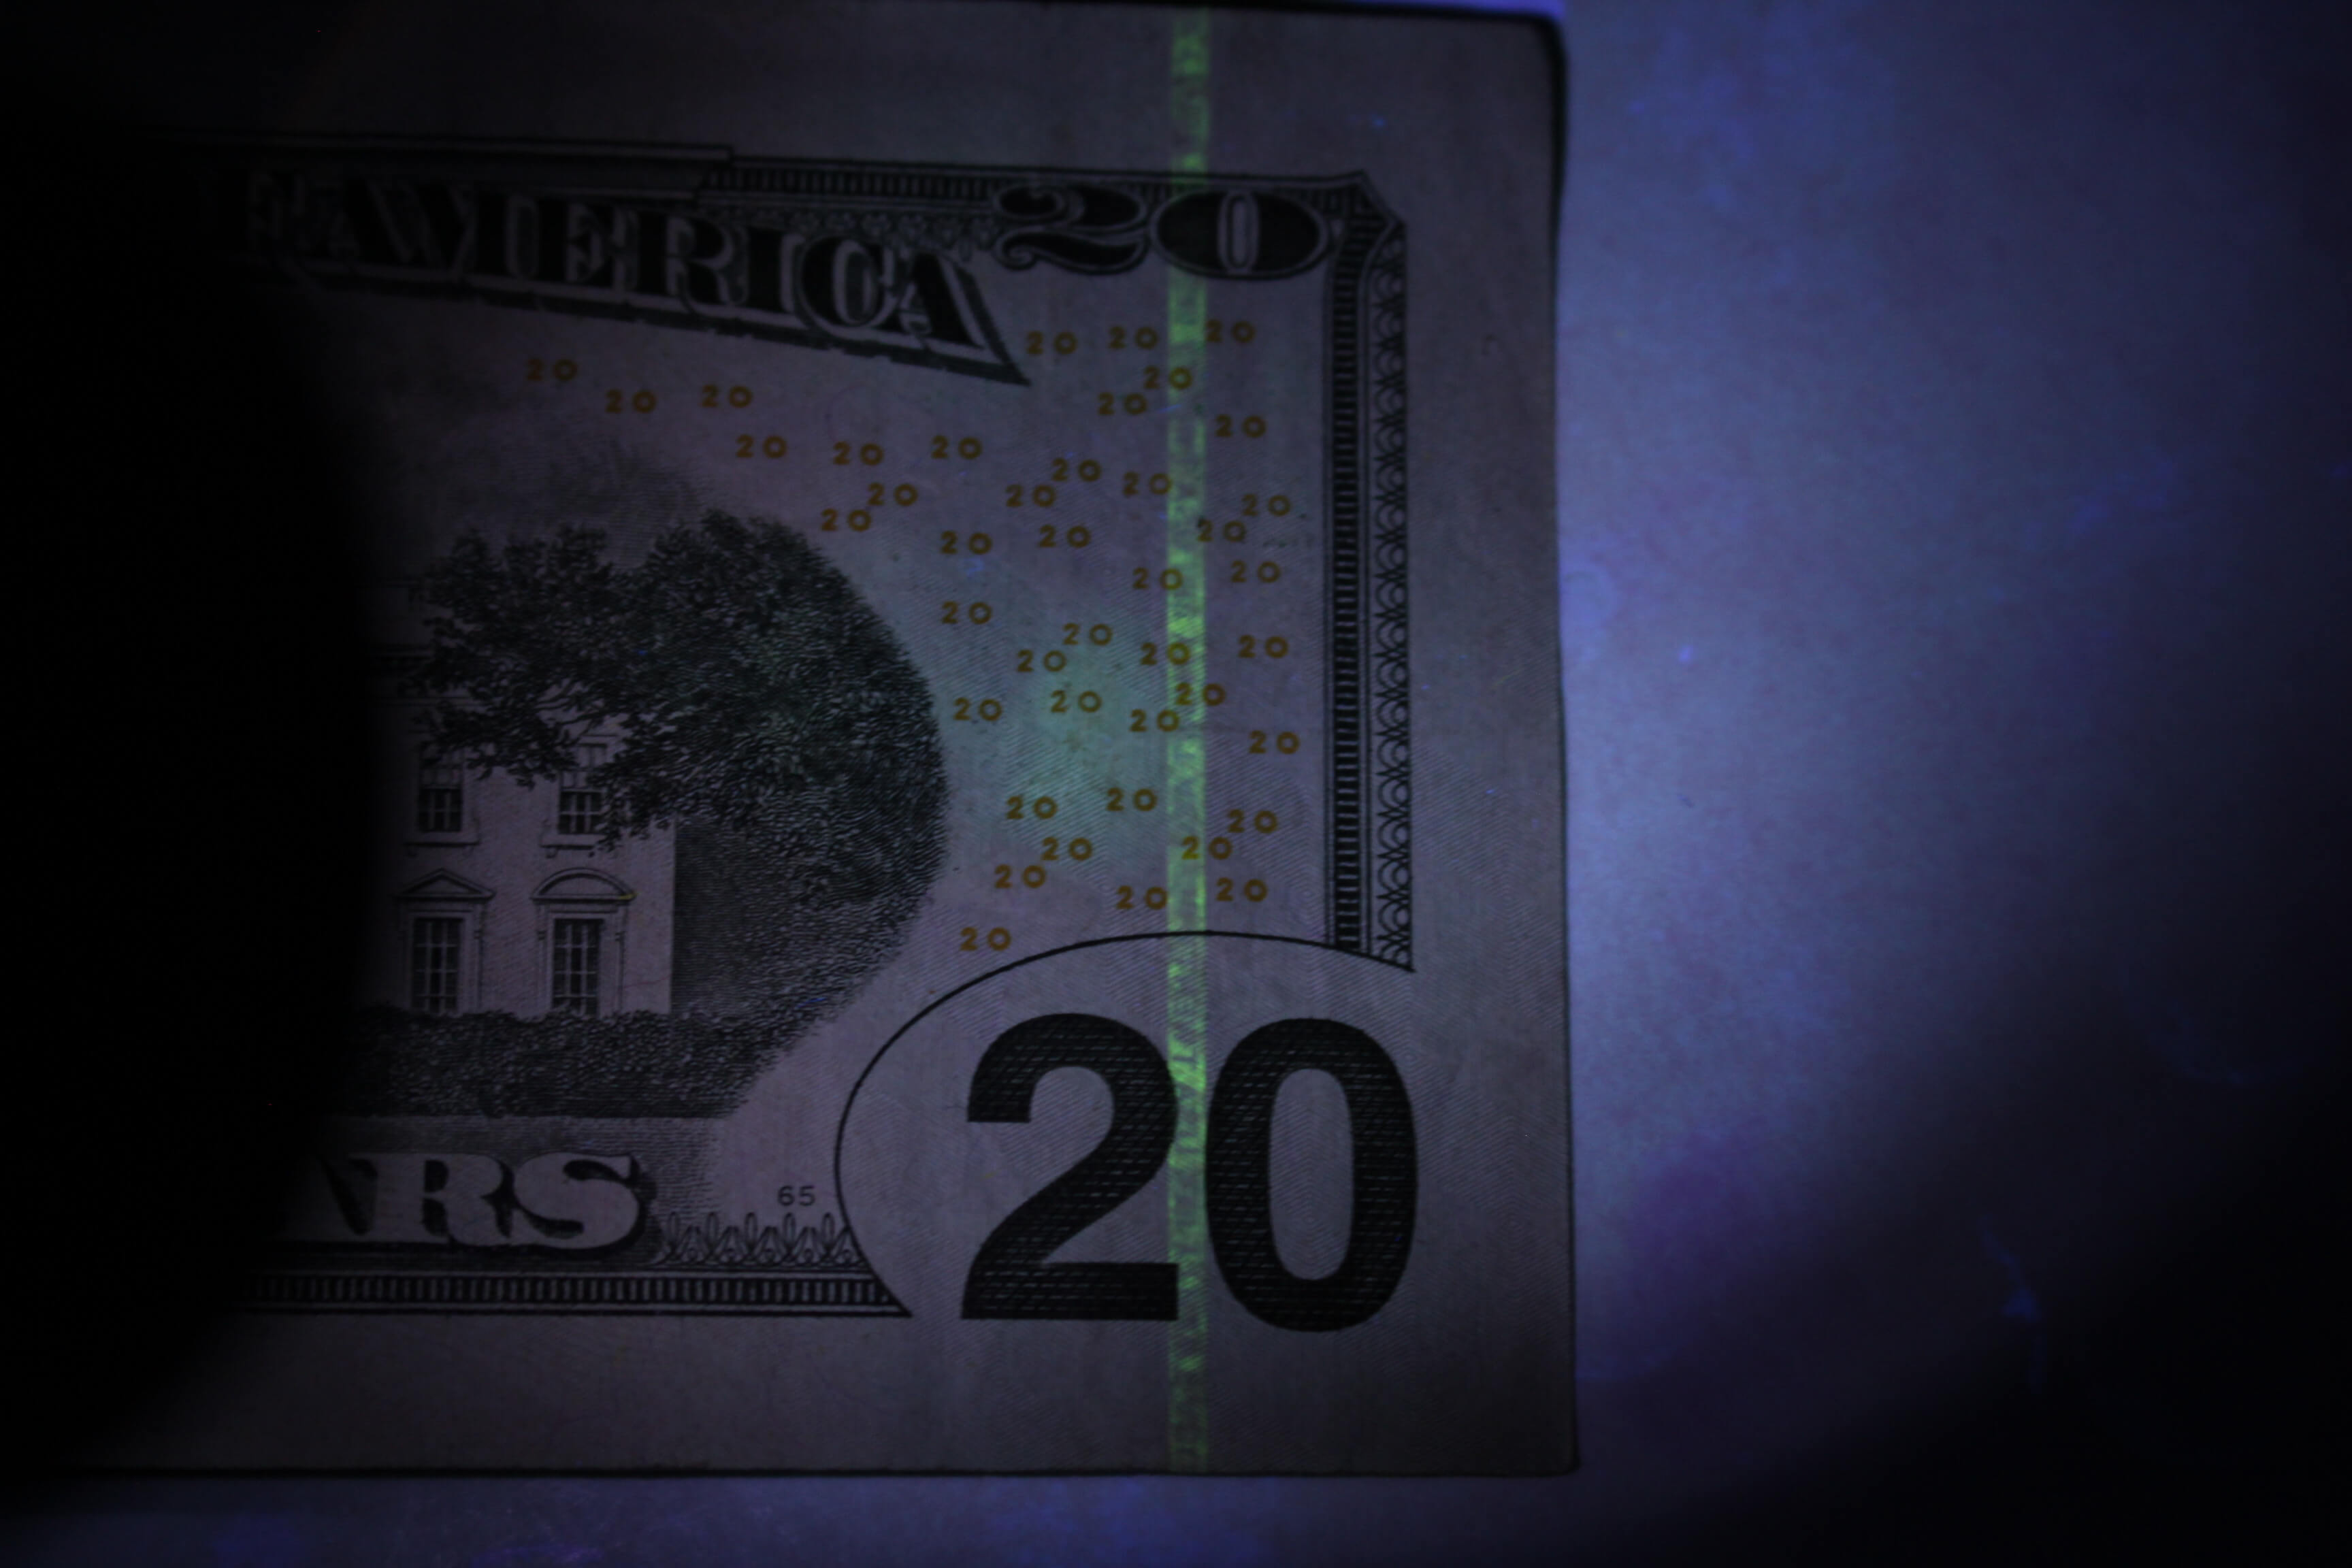
UV light shows hidden details
However the beam patterns of the colored LED’s aren’t as perfect as the main beam… which is typical. To display a “perfect” colored beam, you’d need to use a special lens filter. The “UV” mode works well, and would certainly be useful for someone needing the light for “investigative” purposes.
Mode switching on the SRT9 is quick and efficient. It can easily be done with one hand. One of the things you’ll need to master however, is remembering WHERE on the dial, the modes you use the most, are located. There are NO markings on the ring whatsoever.
Even with its somewhat large rear end, it CAN tailstand… but needs a moment of patience when doing so and a relatively flat surface.

The clamping arms of the cap
The one OTHER semi-annoying aspect of the light, is how the tail cap is designed. To remove the cap for battery installation, you need to press the two buttons (simultaneously) that are on either side of the cap. An arm clamp on each side wraps around the buttons and “snaps” shut. Once the buttons are pushed in, the cap needs to be pulled off. The problem is, if your fingers are weak… you’ll NEVER get it off!! In my opinion, the previous type of cap they used on their EC4GT was far easier to put on and remove.
Recommendation
I’m recommending the Nitecore SRT9 for its professional usefulness.
GearBest was kind enough to supply the SRT9 for review. If you’d like to pick one up… please follow this link!

I have been reading many of your blogs on Tac Lights. From what I get out of your articles is to get a dependable good Tac Light with a good chip, you are going to actually spend $70 to $140 or so depending on what comes with the light !
What is your opinion on Tac ? They have the TC1200 using the XML2 chip ! On there site they sell for $79 however on Facebook adds they offer 2 for 1.
What are your thoughts ?
Hey John, My opinion on those includes language that’s not polite to print! I’ve never used a TC1200, but I don’t have to, to know it’s the same type of garbage (generic) light that’s marketed through every budget company you can think of! It’s worth about $10.
Thanks for the question.