We are gathered here today, to examine another in the "EC" series of Nitecore flashlights.…
Uses 1 - 18650 battery
Since the motto of Nitecore is “keep innovating” please join me now in this review of their new HC65 headlamp.
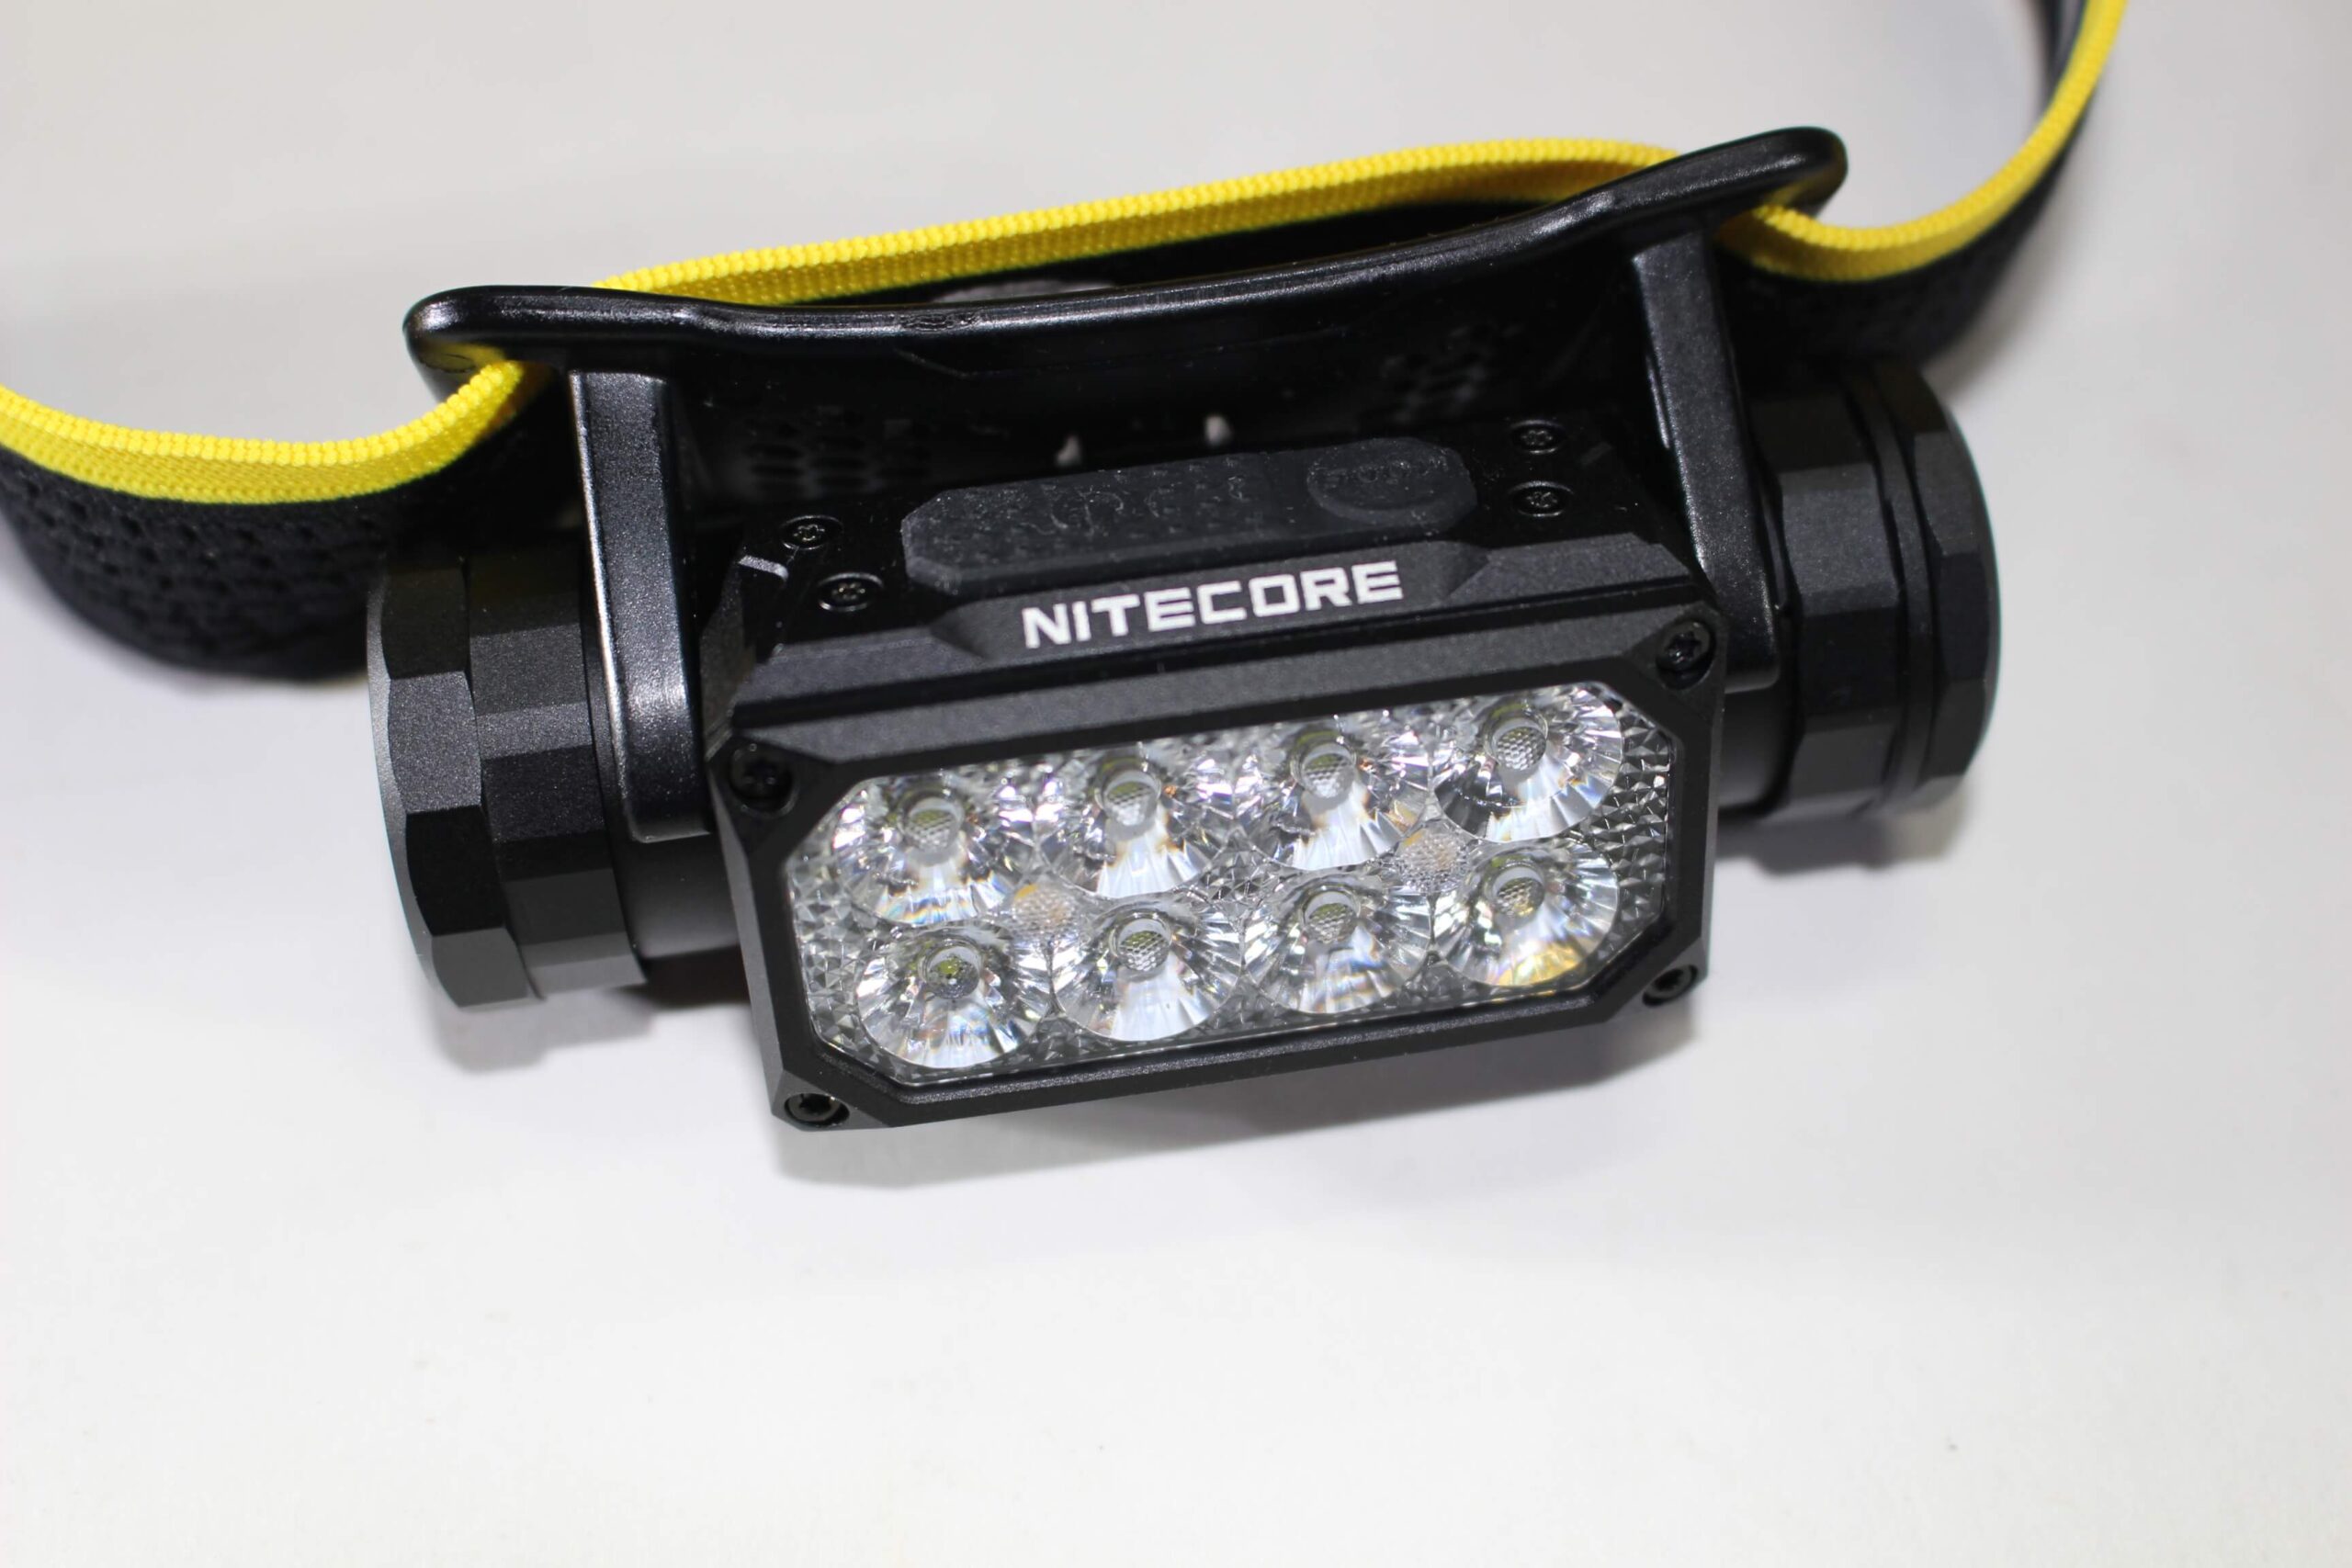
The HC65 is more of a unique headlamp than you’d probably imagine. To simply write it off as “just another headlamp” would be foolish!
Its main feature is the inclusion of two separate “white beams” – a primary, and an auxiliary. Also separate, is a RED auxiliary beam. There are also 8 (count `em) 8 separate UHE LEDs.
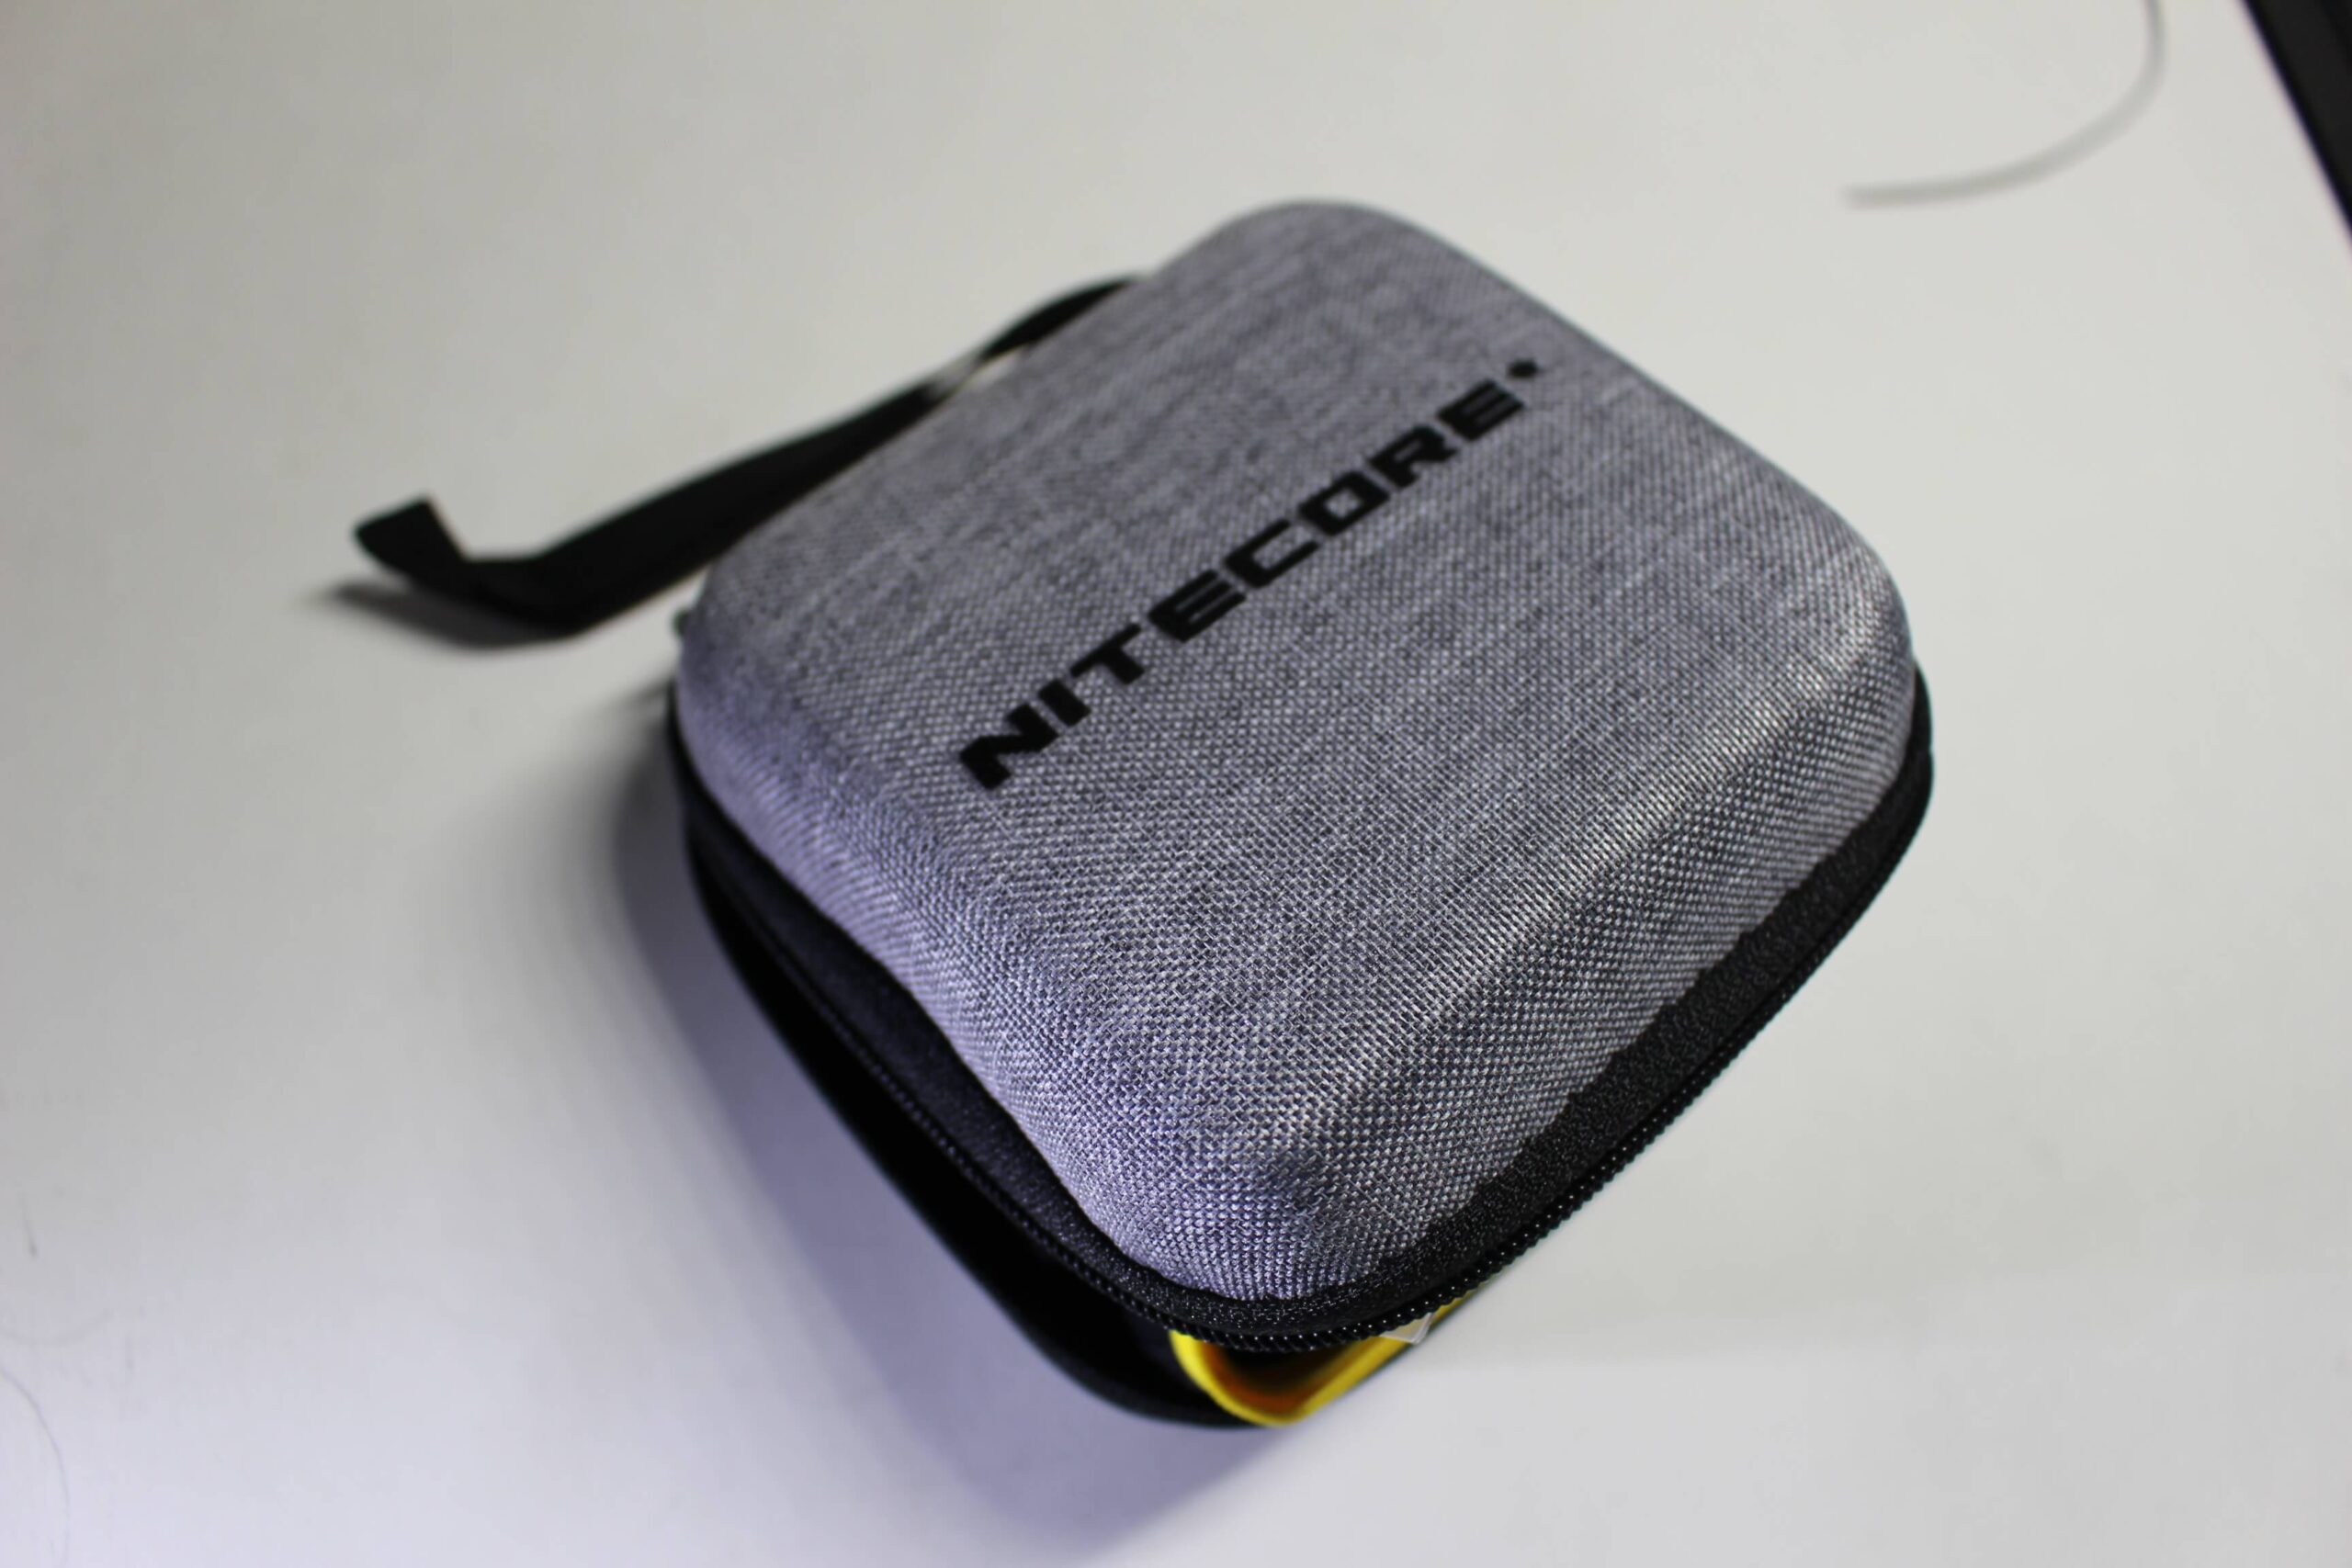
Aside from the standard “box”, the HC65 is packed into a hard-shell zippered case, which also includes a USB-C charging cable, user manual, and a separate headband attachment which (when clipped) stretches across the top of your head.
They’ve already included an 18650 battery…which (hooray) is 100% removable!!
*Turbo is not part of the regular sequence. Must be accessed separately.
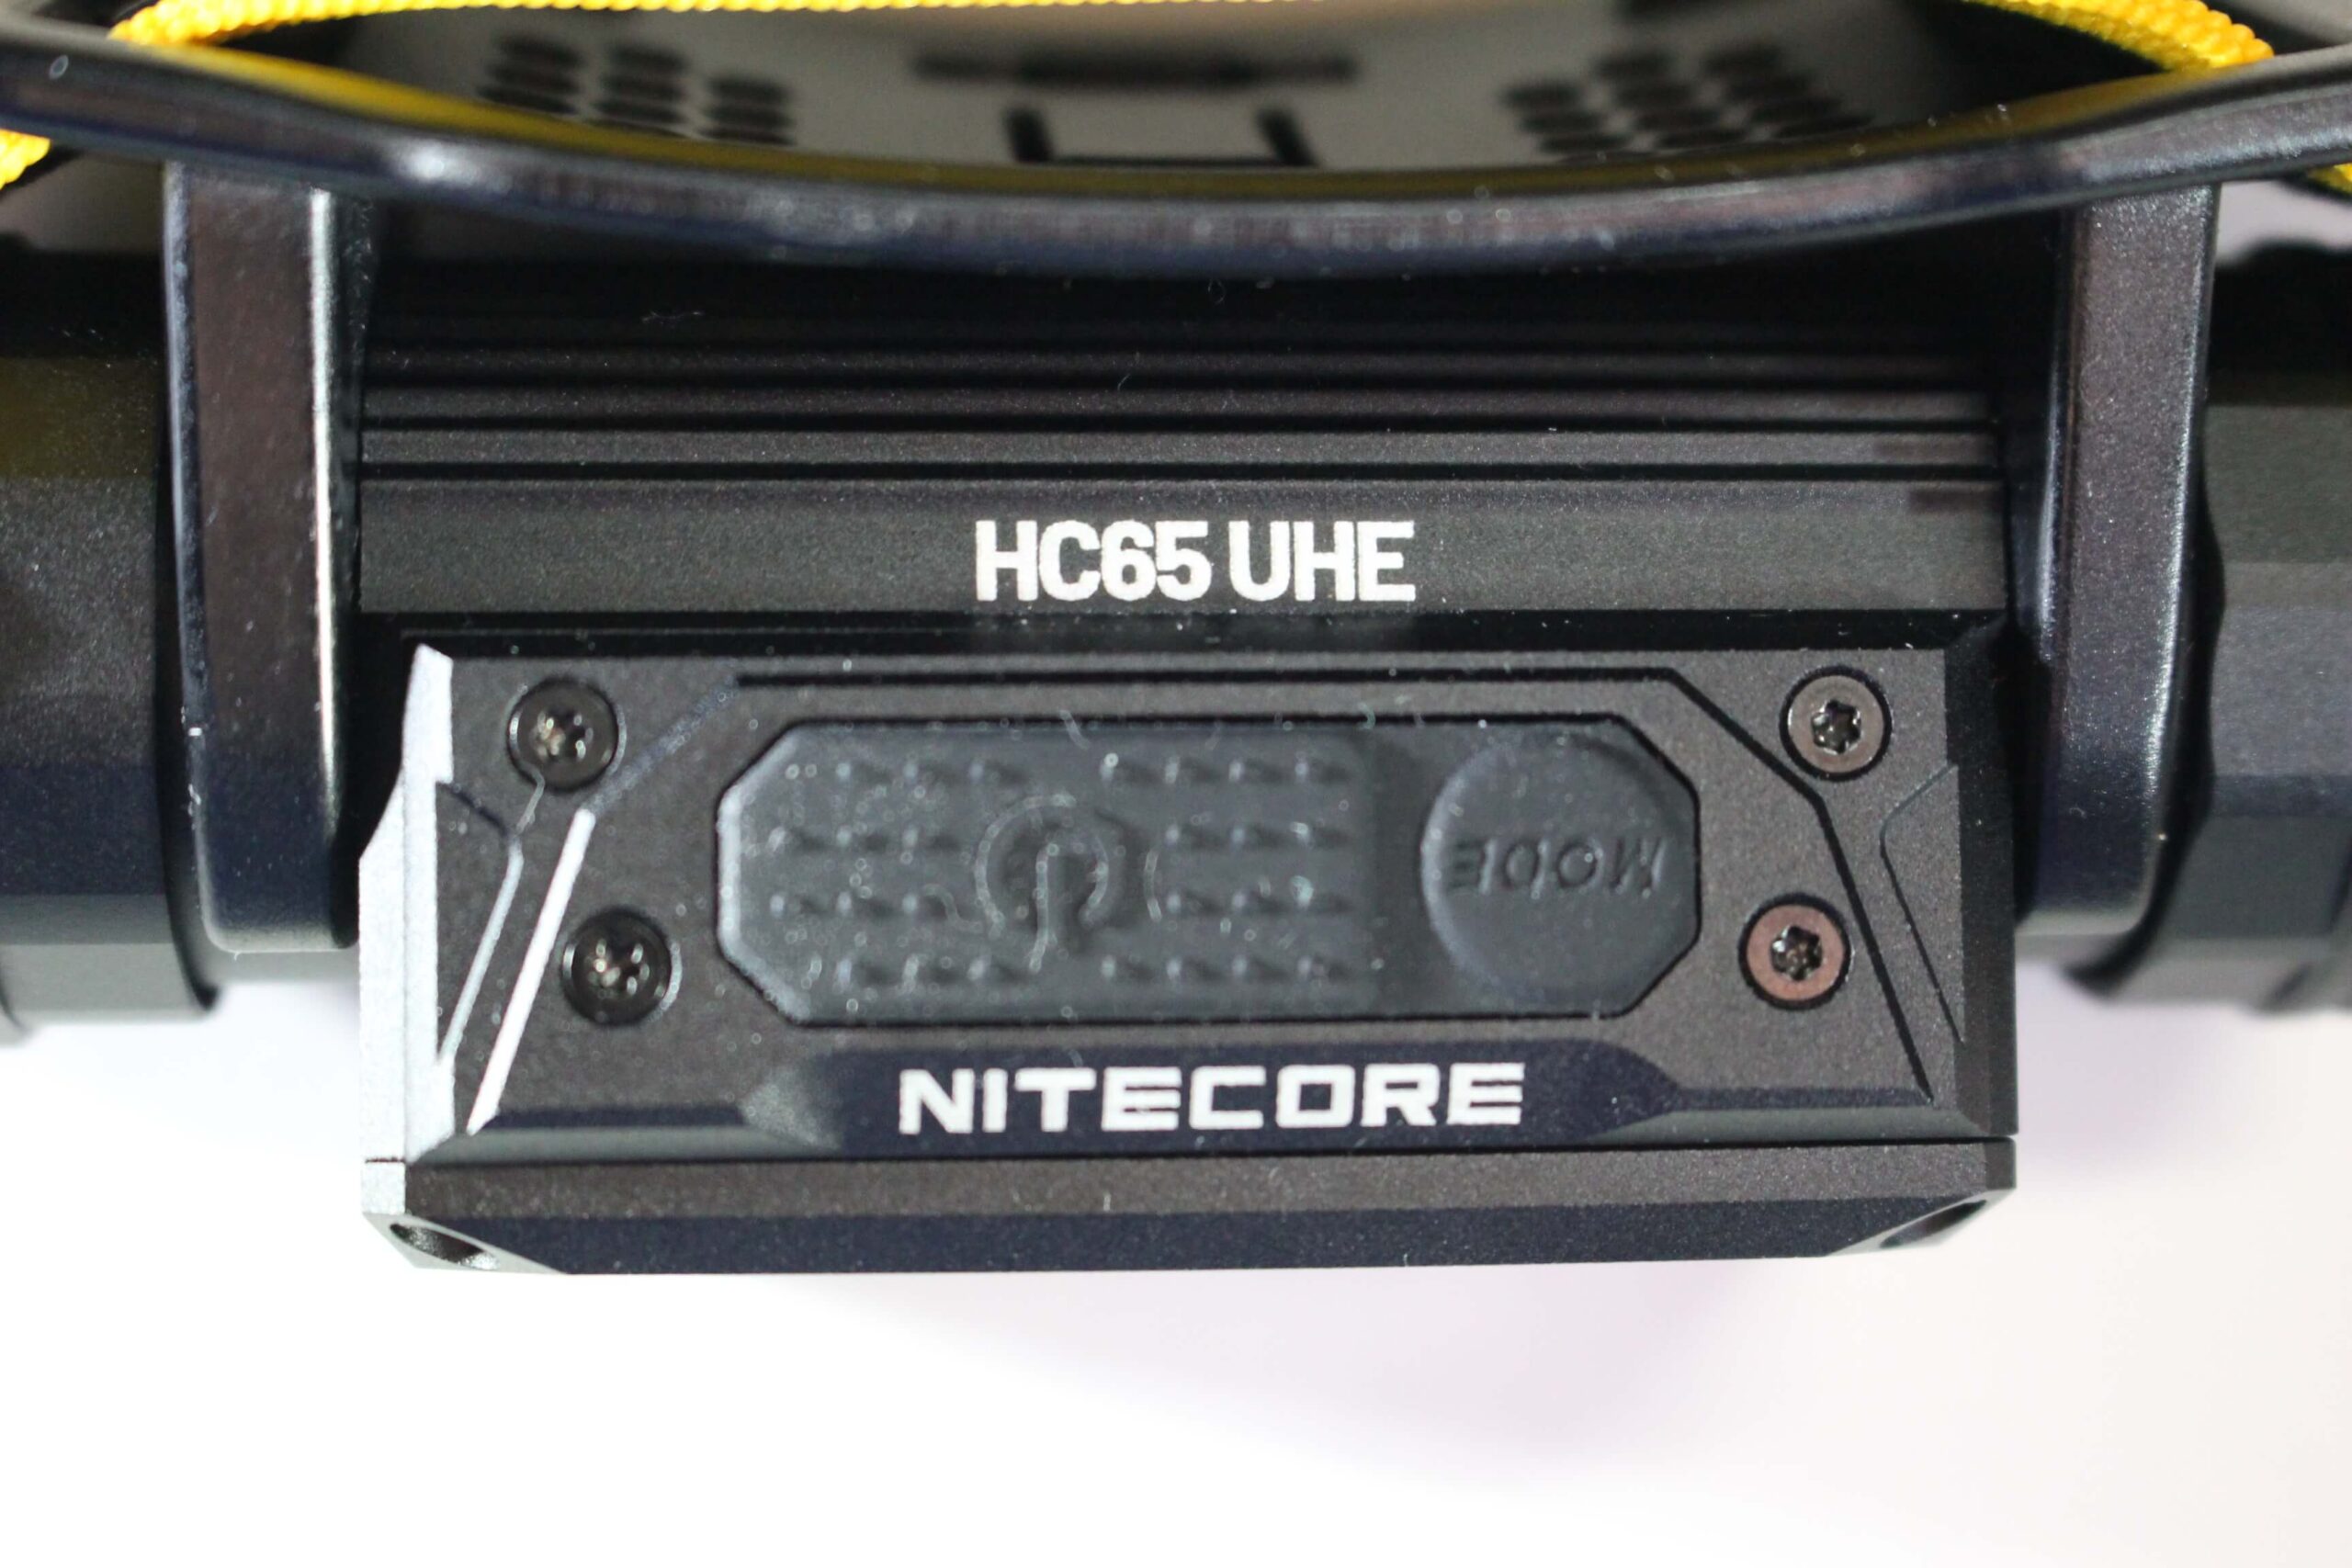
There are two switches on the HC65. One for “mode” and one for “power”.
The primary LEDs will get you “mid – high – higher – turbo – SOS, and beacon”.
The auxiliary LEDs will get you auxiliary WHITE and RED, in “ultra-low – low, flashing mode, and high”.
From OFF, a holding press turns on MID. Each consecutive press advances the modes (except turbo). Another holding press turns it OFF. There’s no mode memory, so each reactivation always begins at MID.
For TURBO, you’ll need to turn it on (at MID) then double-click. A single click from turbo is the only time you’ll think there IS mode memory, as this action will return it to the last mode it was on before turbo was activated.
A double-click from OFF, produces ULTRA-LOW on the auxiliary LEDs. A second click advances to LOW. Continued clicks toggle between the two modes until you do a holding press to turn it off.
To get light from the mode switch, you need to do either a holding press or a double-click. The only result from clicking it once, is to show you the battery level (which you’ll appreciate at some point)
A holding press turns on the RED beam in LOW. If from here, you want RED on HIGH, press the power button. A second click of the power switch will activate “flashing RED”. Pressing a third time will return it to LOW RED.
Pressing mode a second time from “LOW RED” turns on MID with the primary white LEDs! From here, you can actually advance the white LEDs by short presses of the power button.
A third press of the mode button activates ULTRA-LOW on the auxiliary (white) LEDs. Again, if you want LOW with the auxiliary white beam, click the power switch. Each continued click (power) will toggle between “UL and LOW”.
During ANY of these modes, you can turn it off by pressing and holding power.
To get to SOS, you need to double-click the mode button. The headlamp can be ON or OFF (and if already ON, it doesn’t matter which mode it’s set to at the time).
While in SOS you have two choices. A holding press will turn it OFF. A short press of the power button will switch to BEACON. Each subsequent click of power will toggle between SOS and BEACON. Holding press turns it OFF.
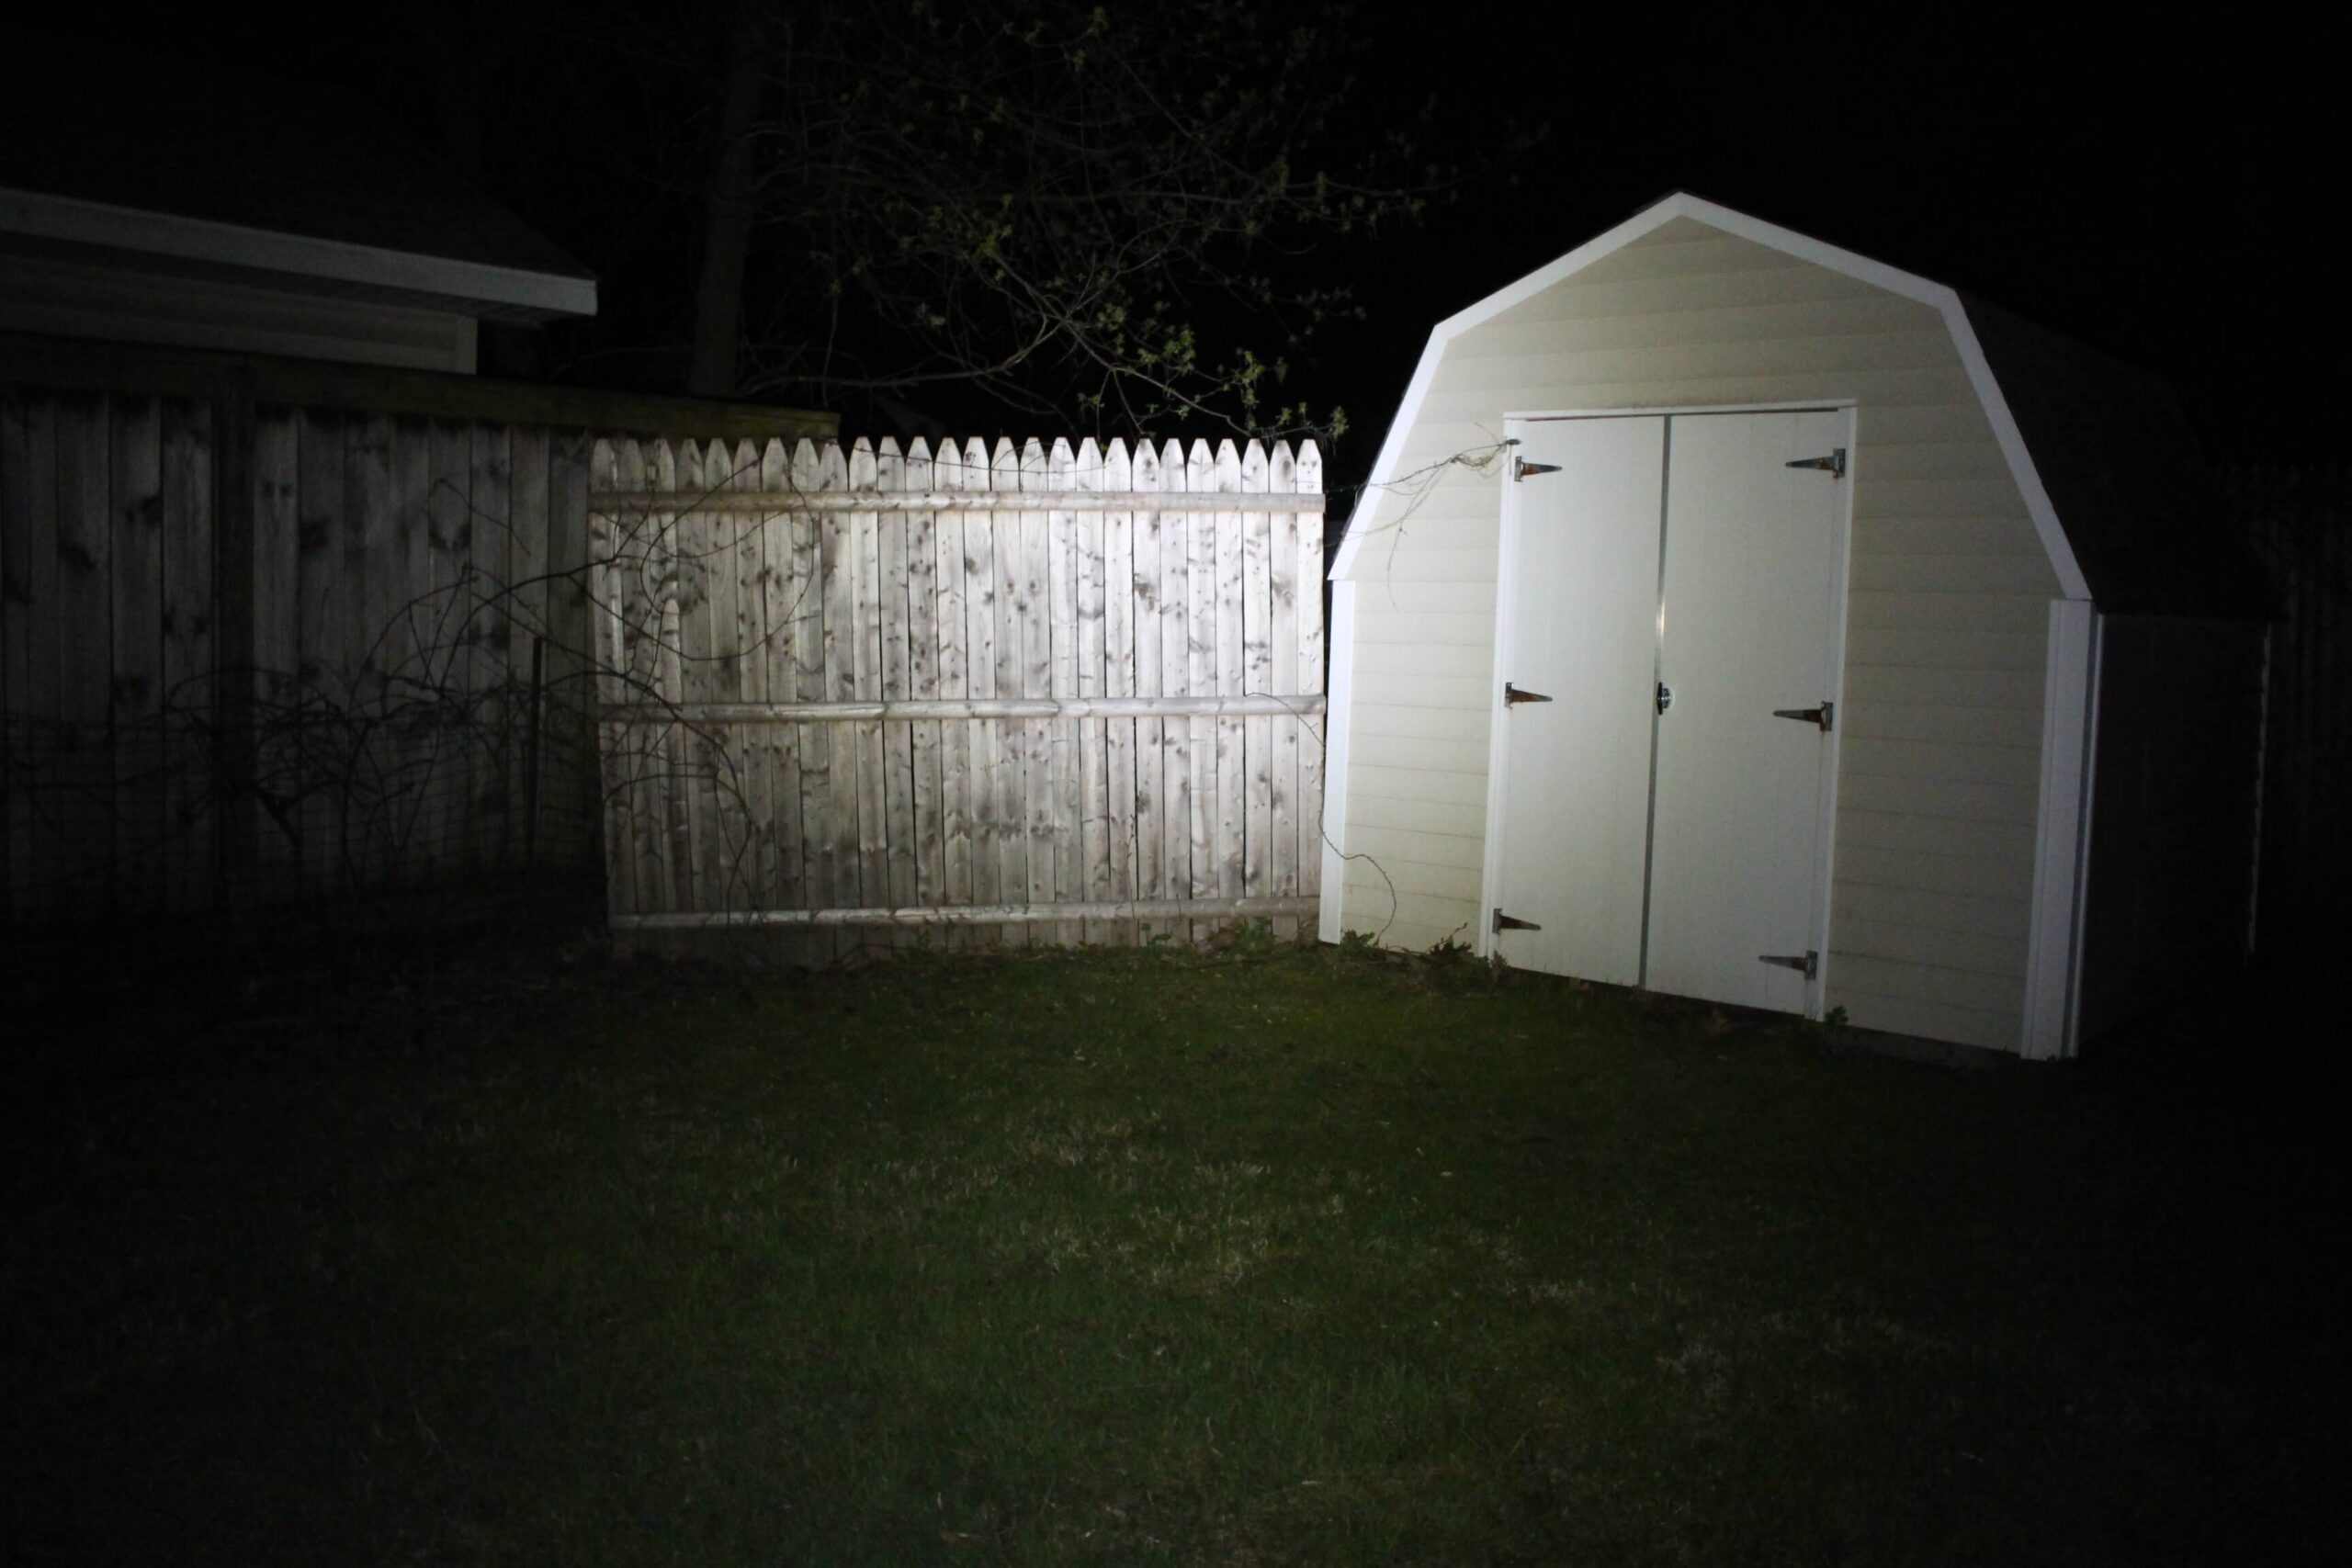
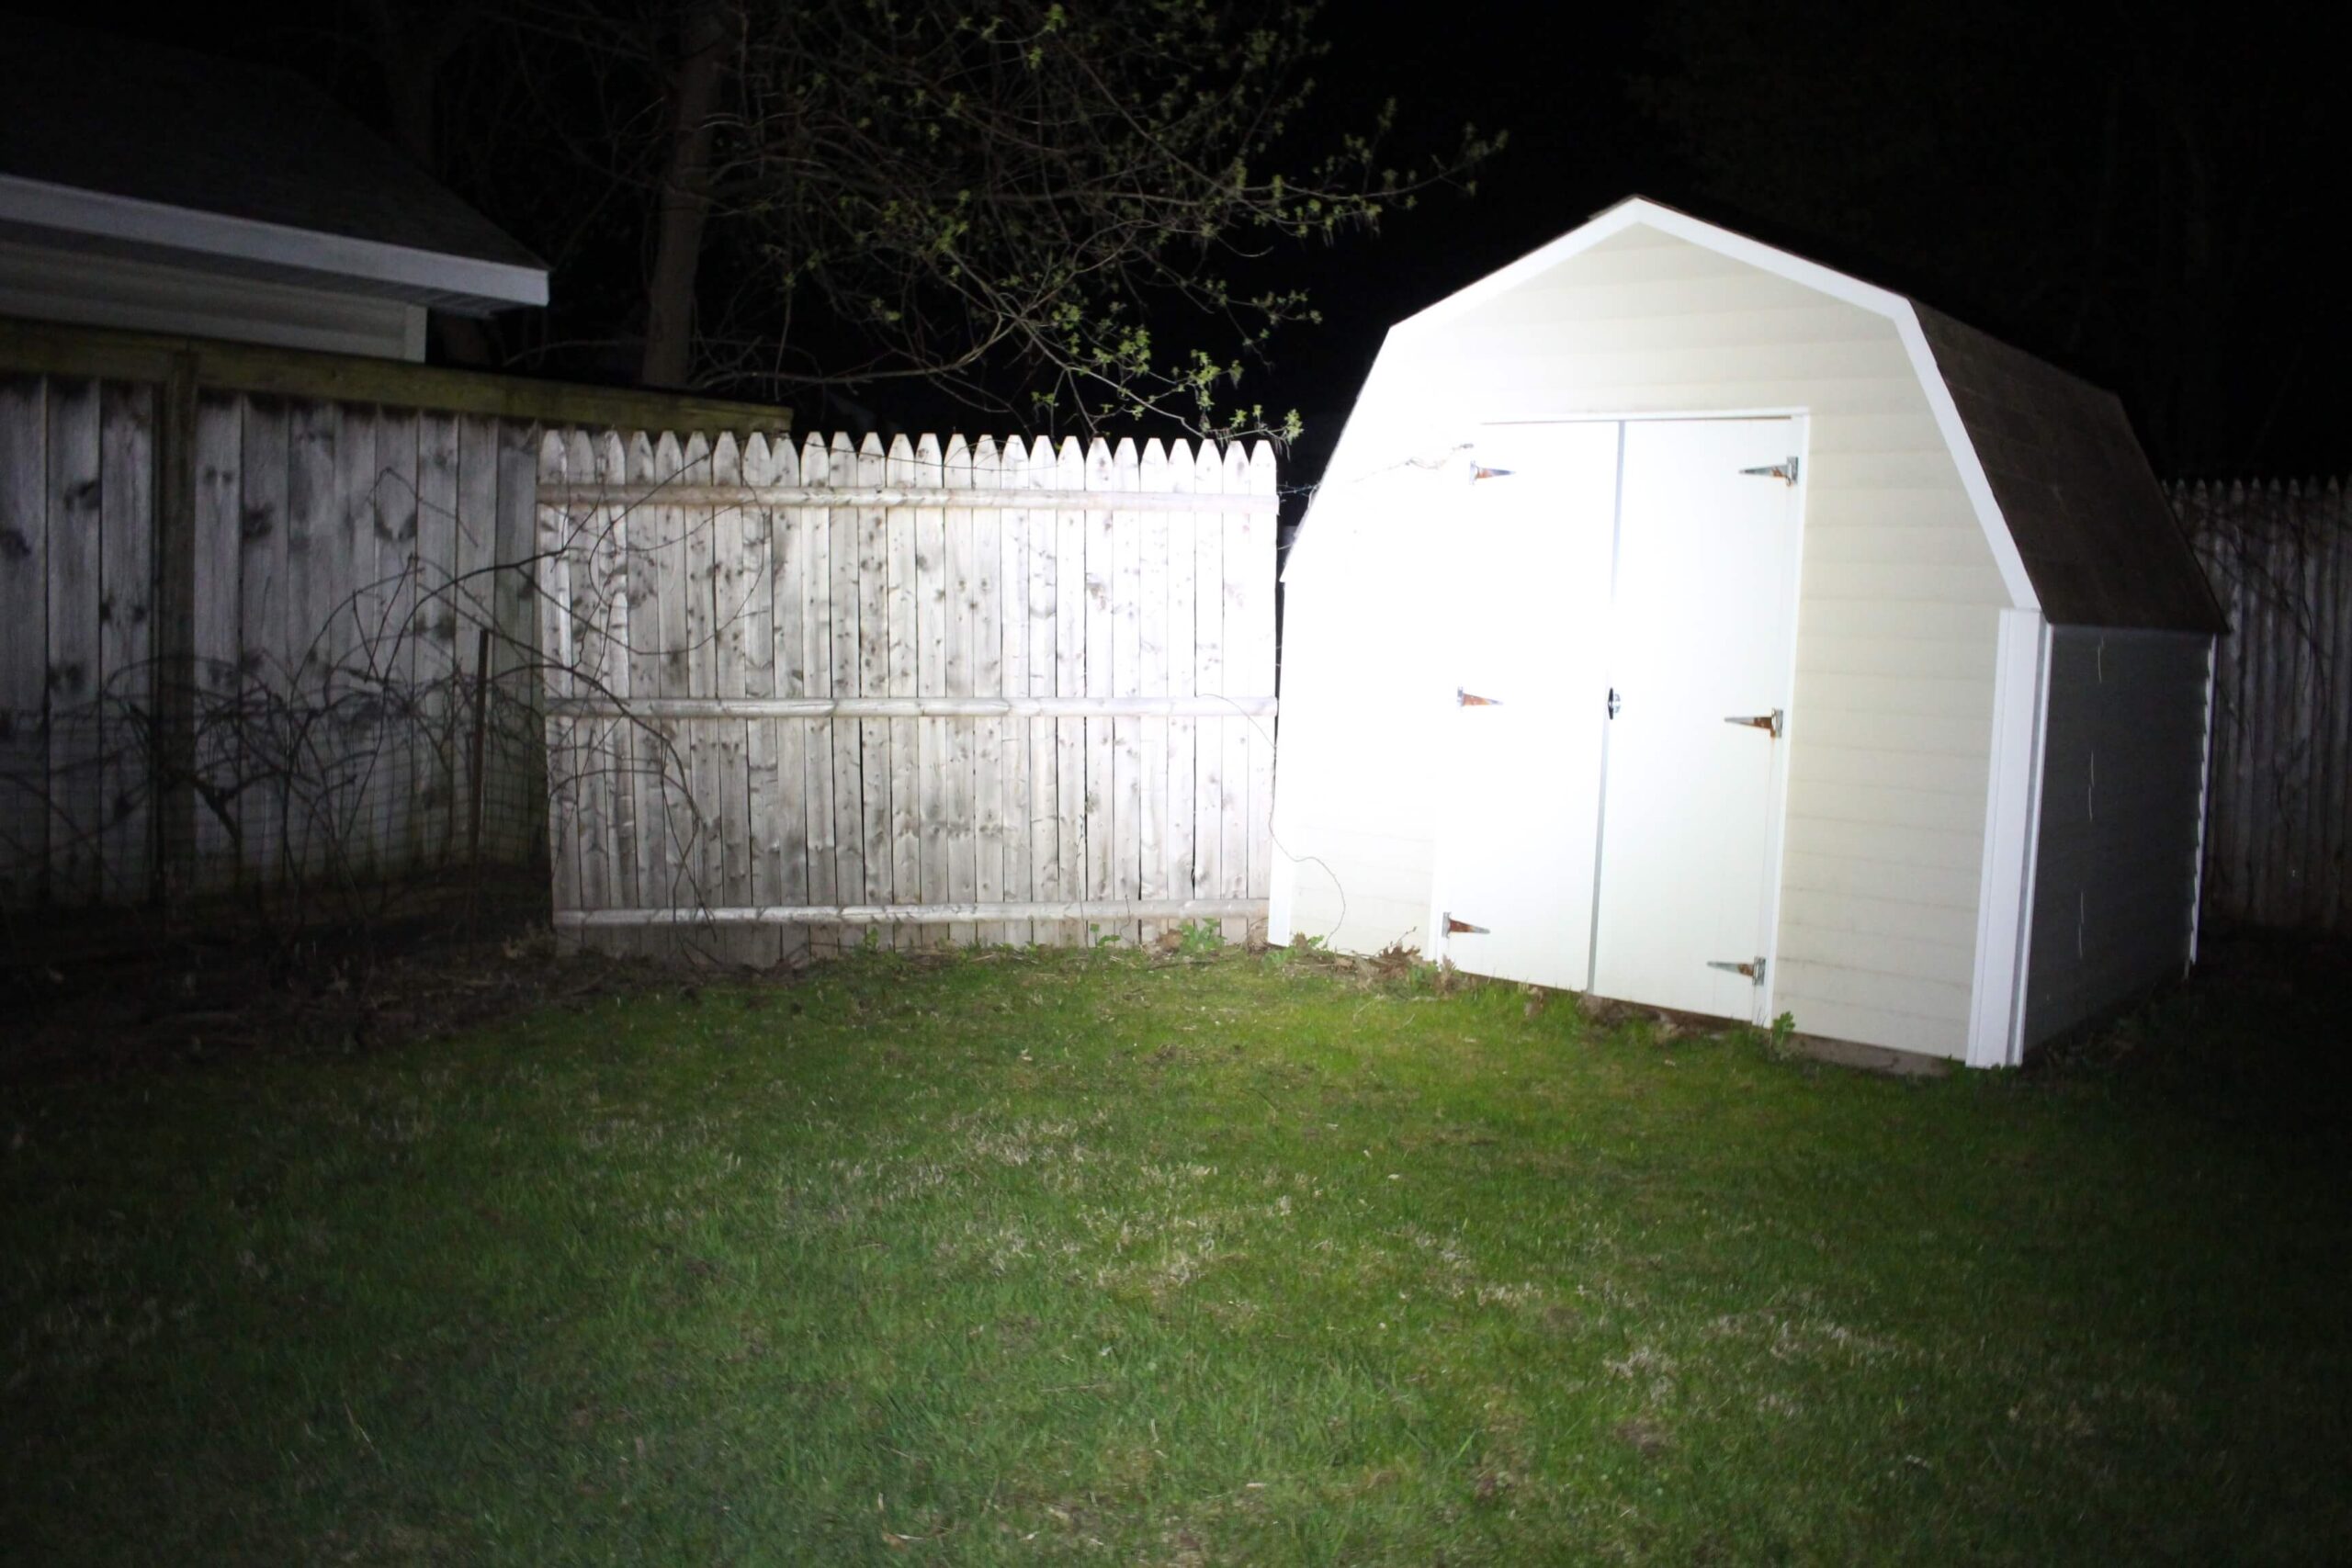
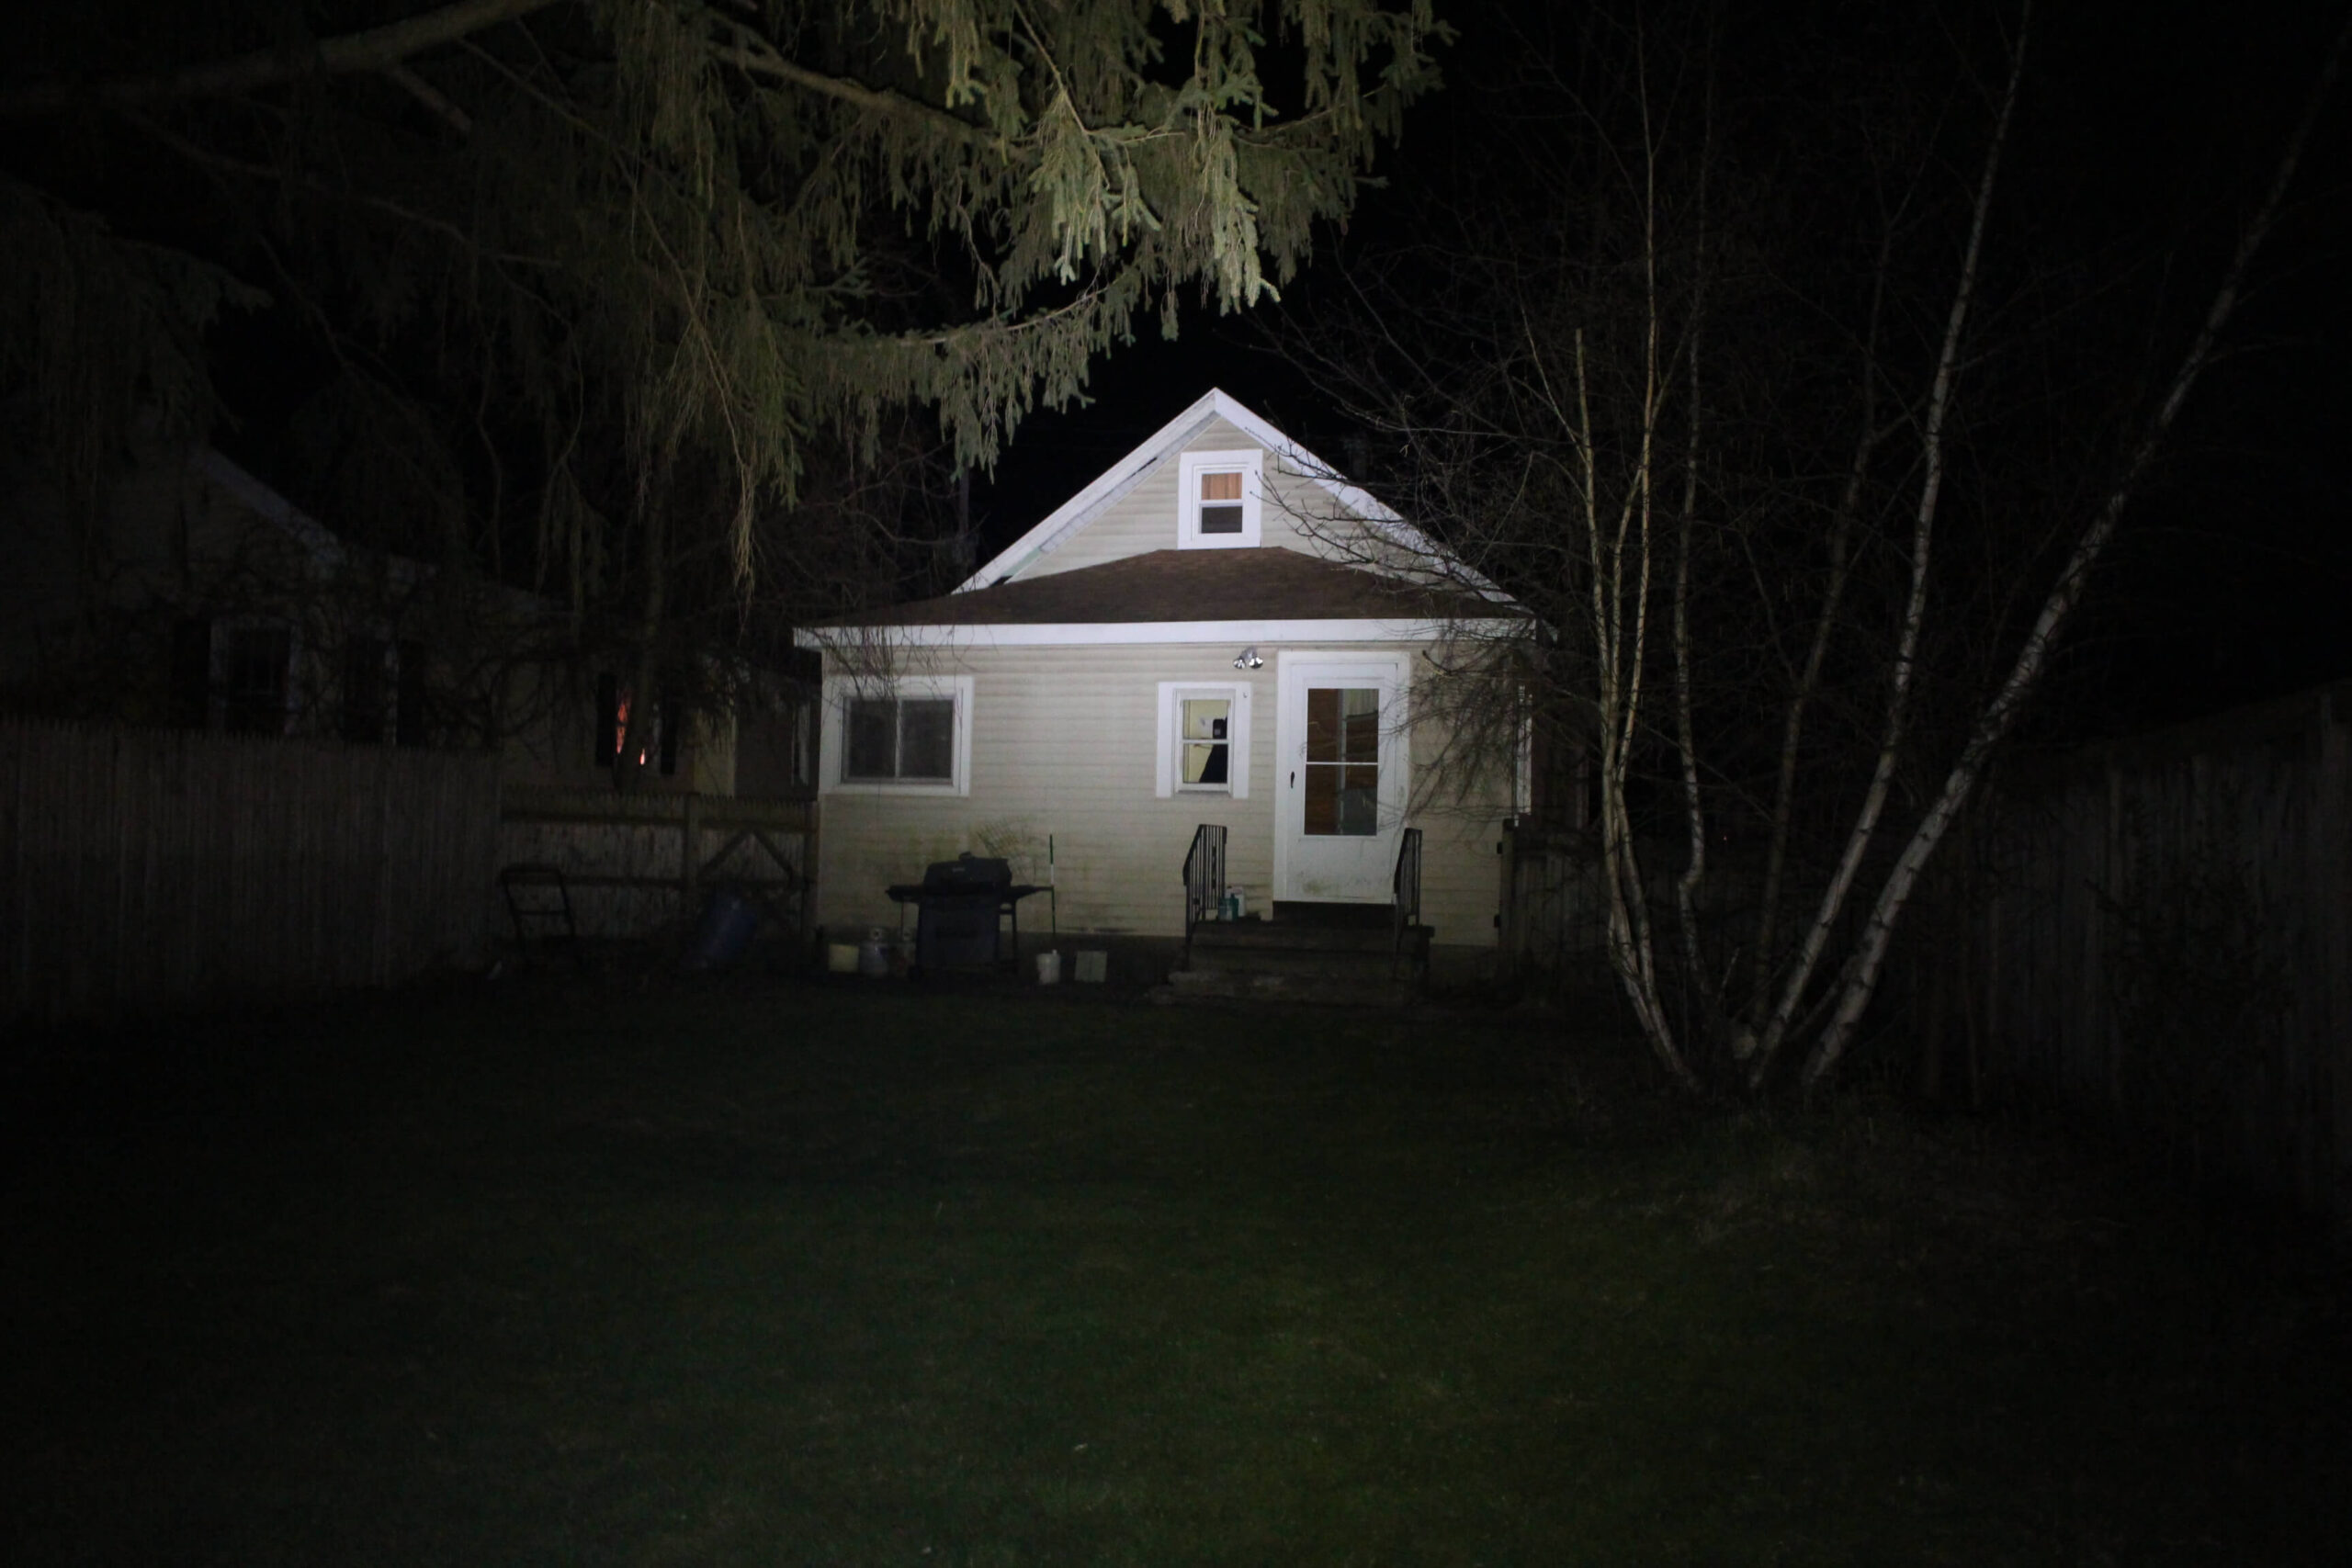
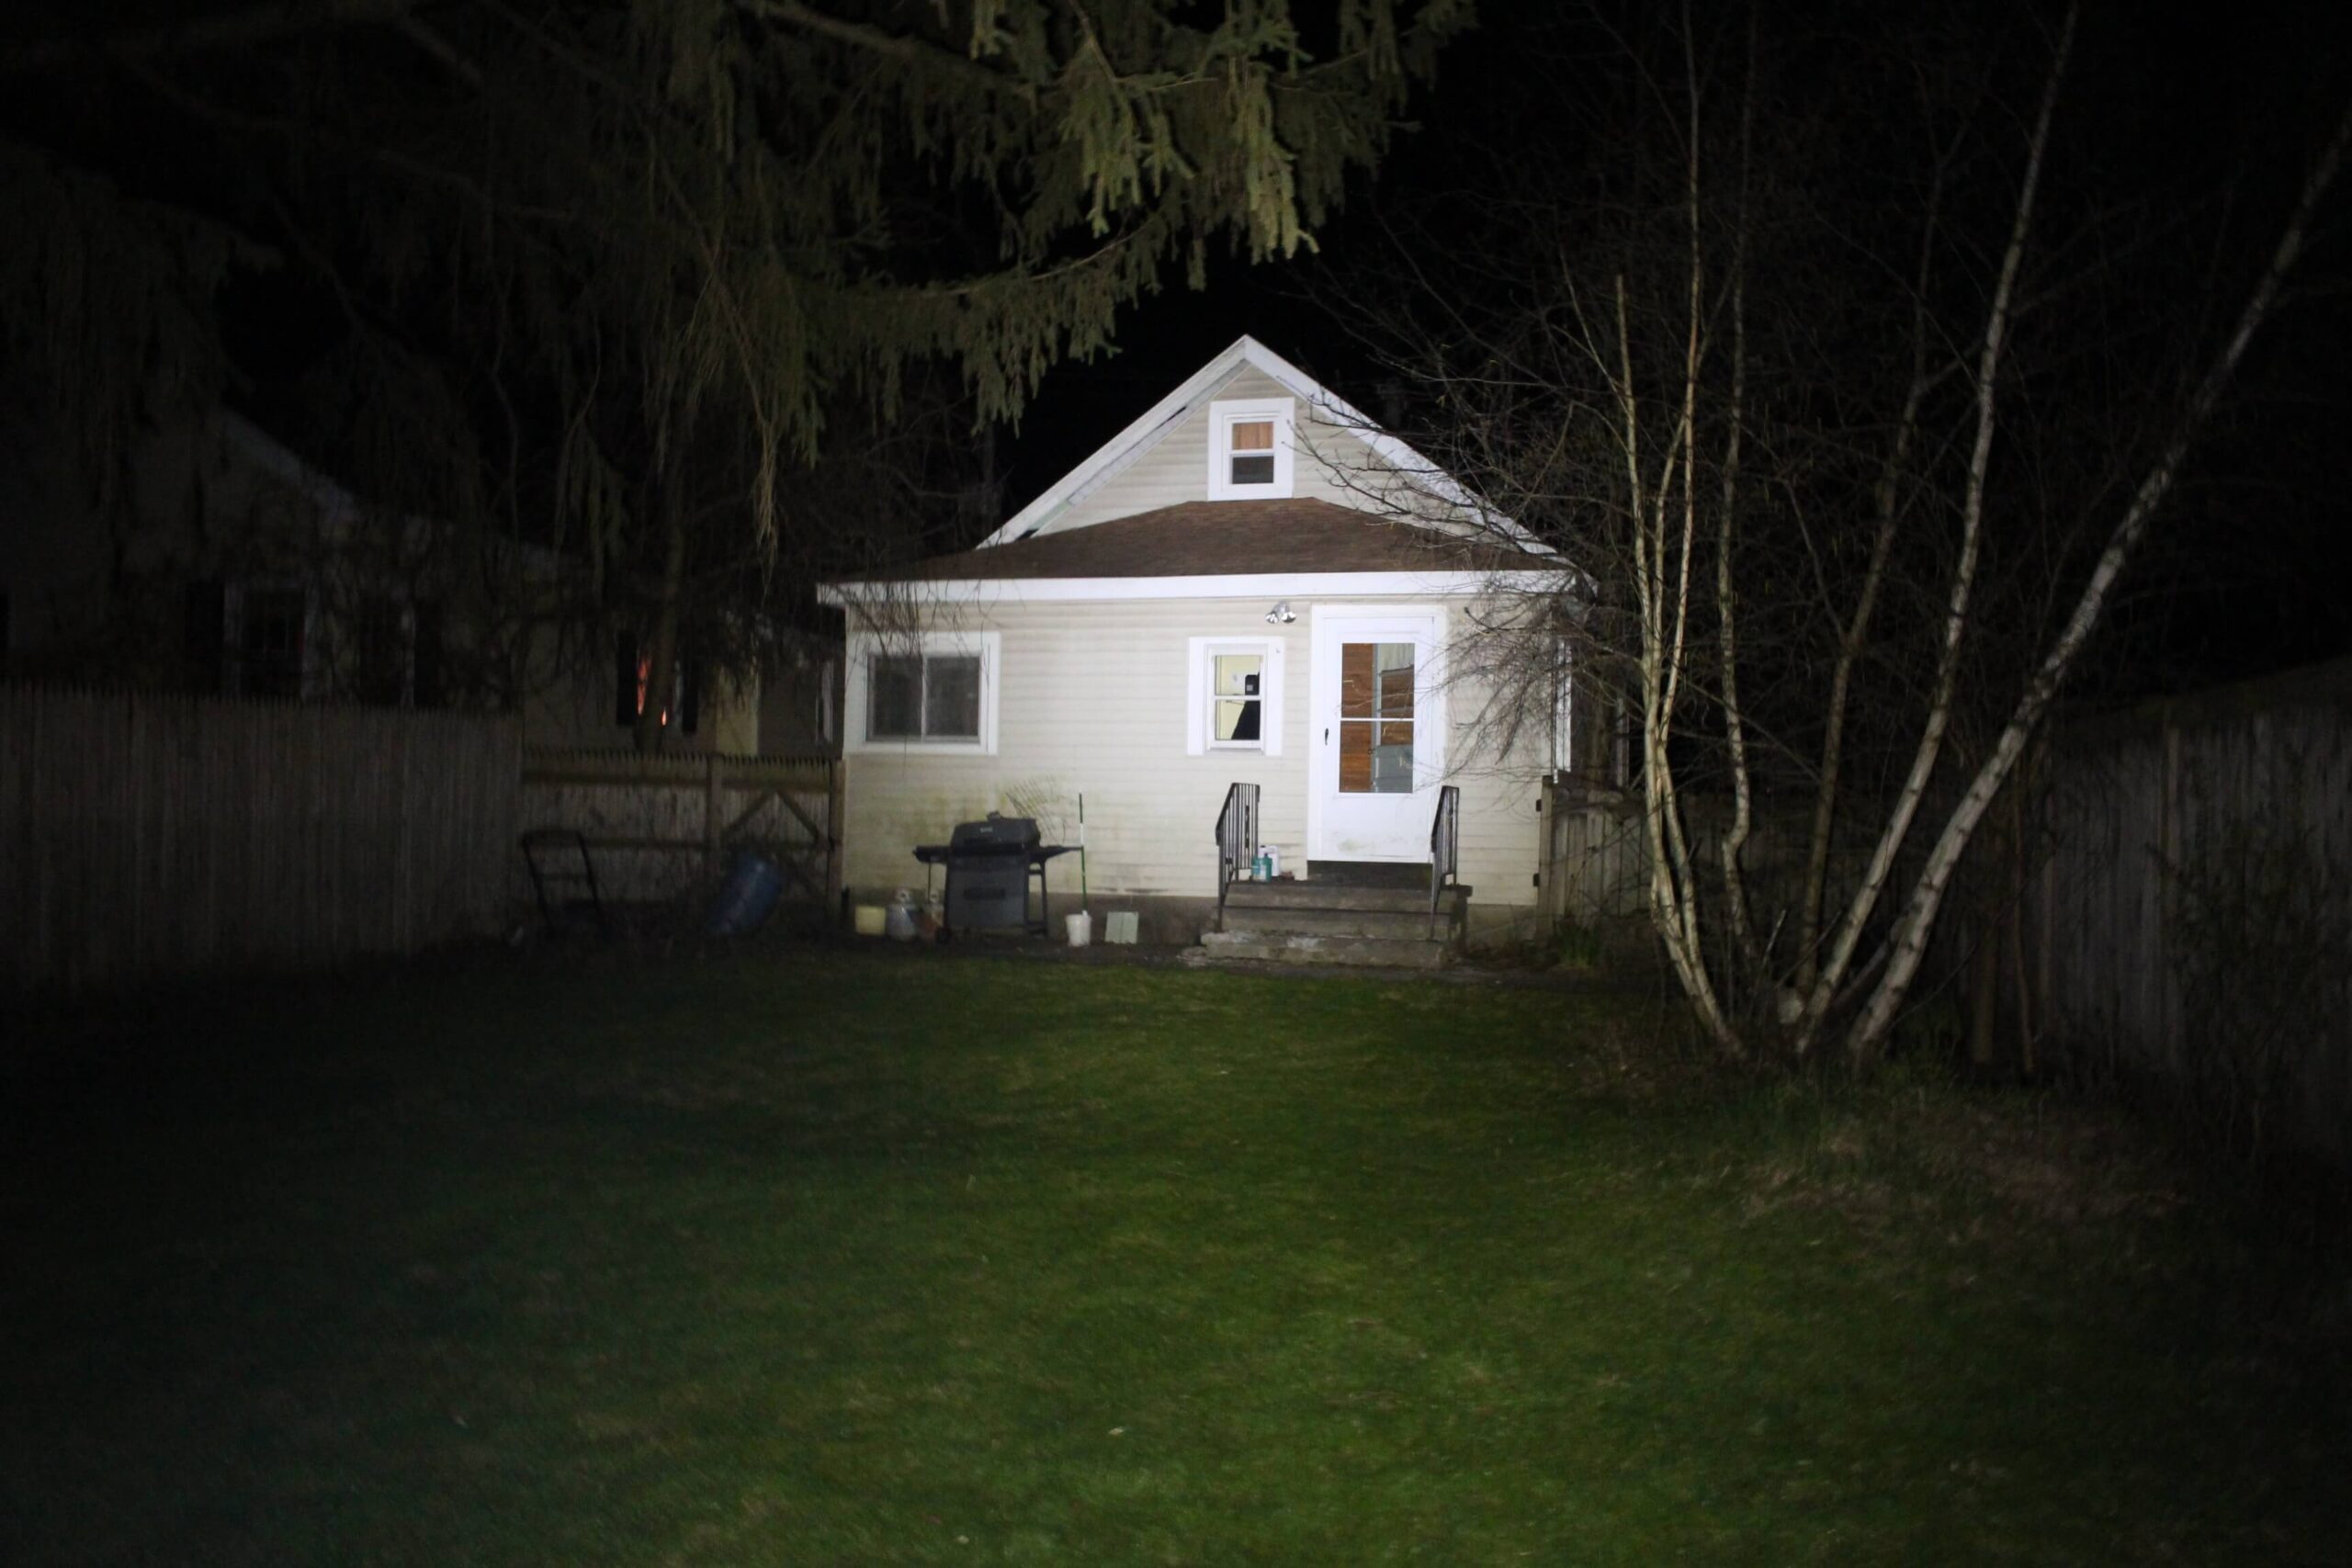
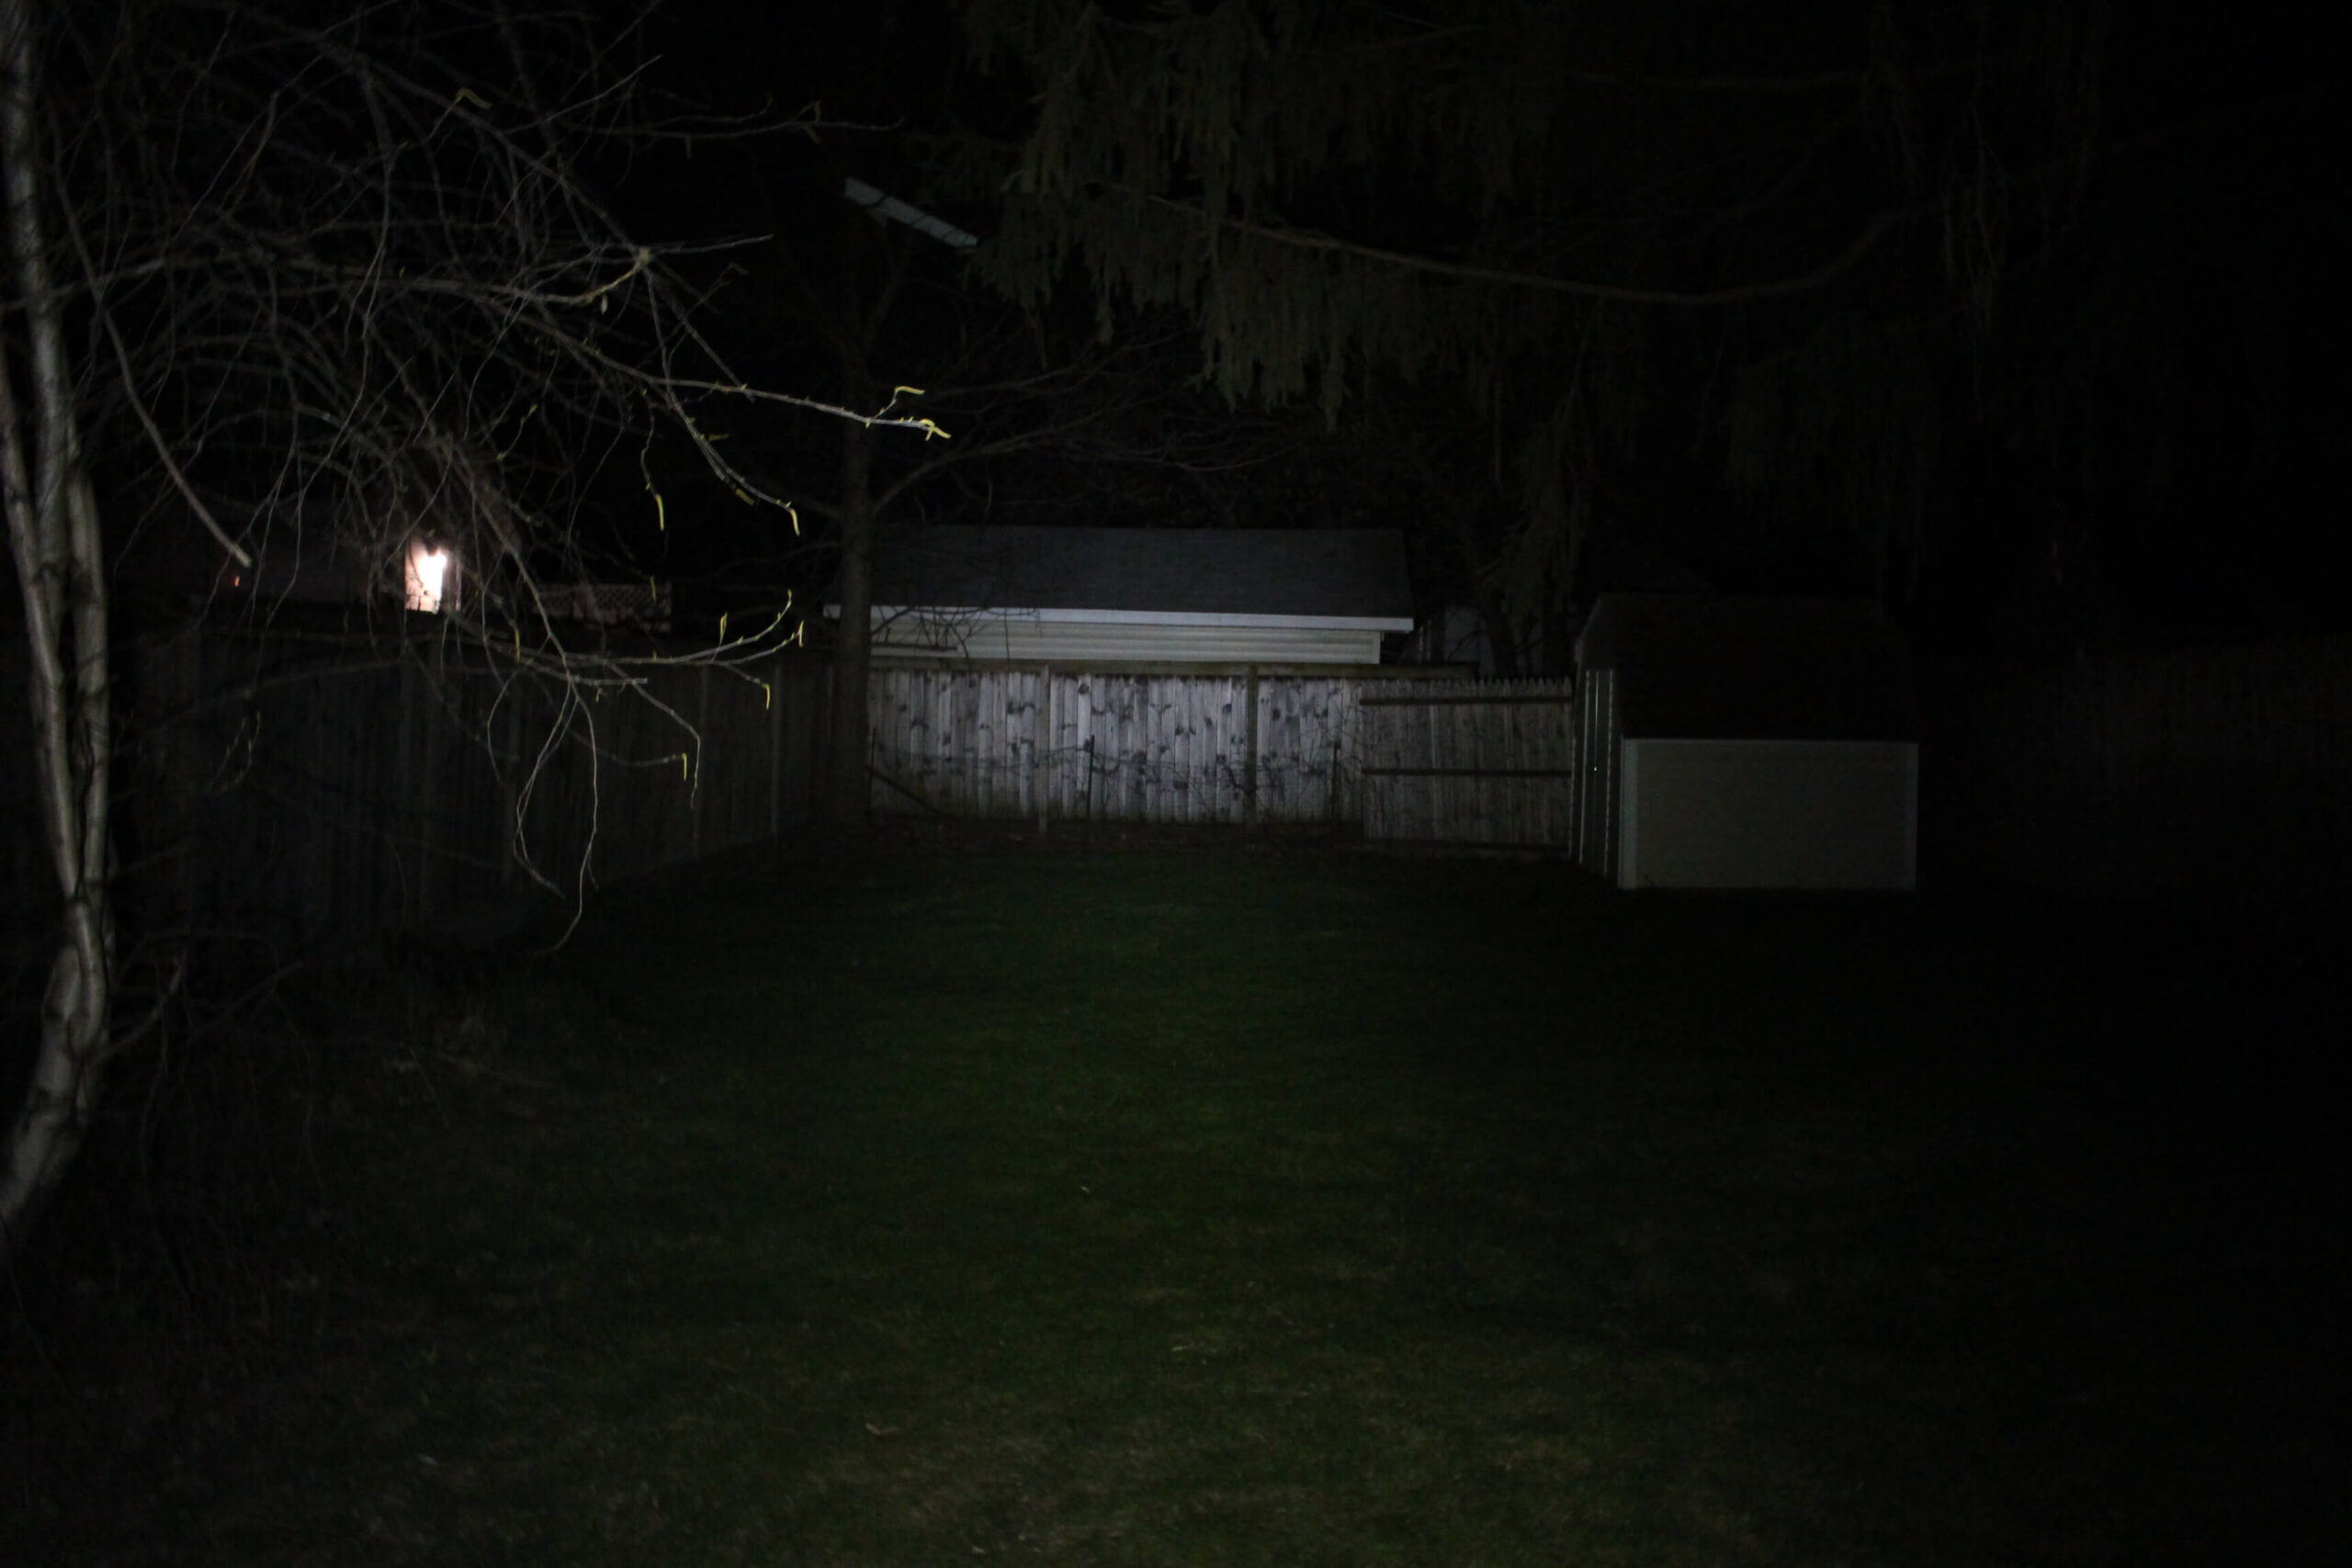
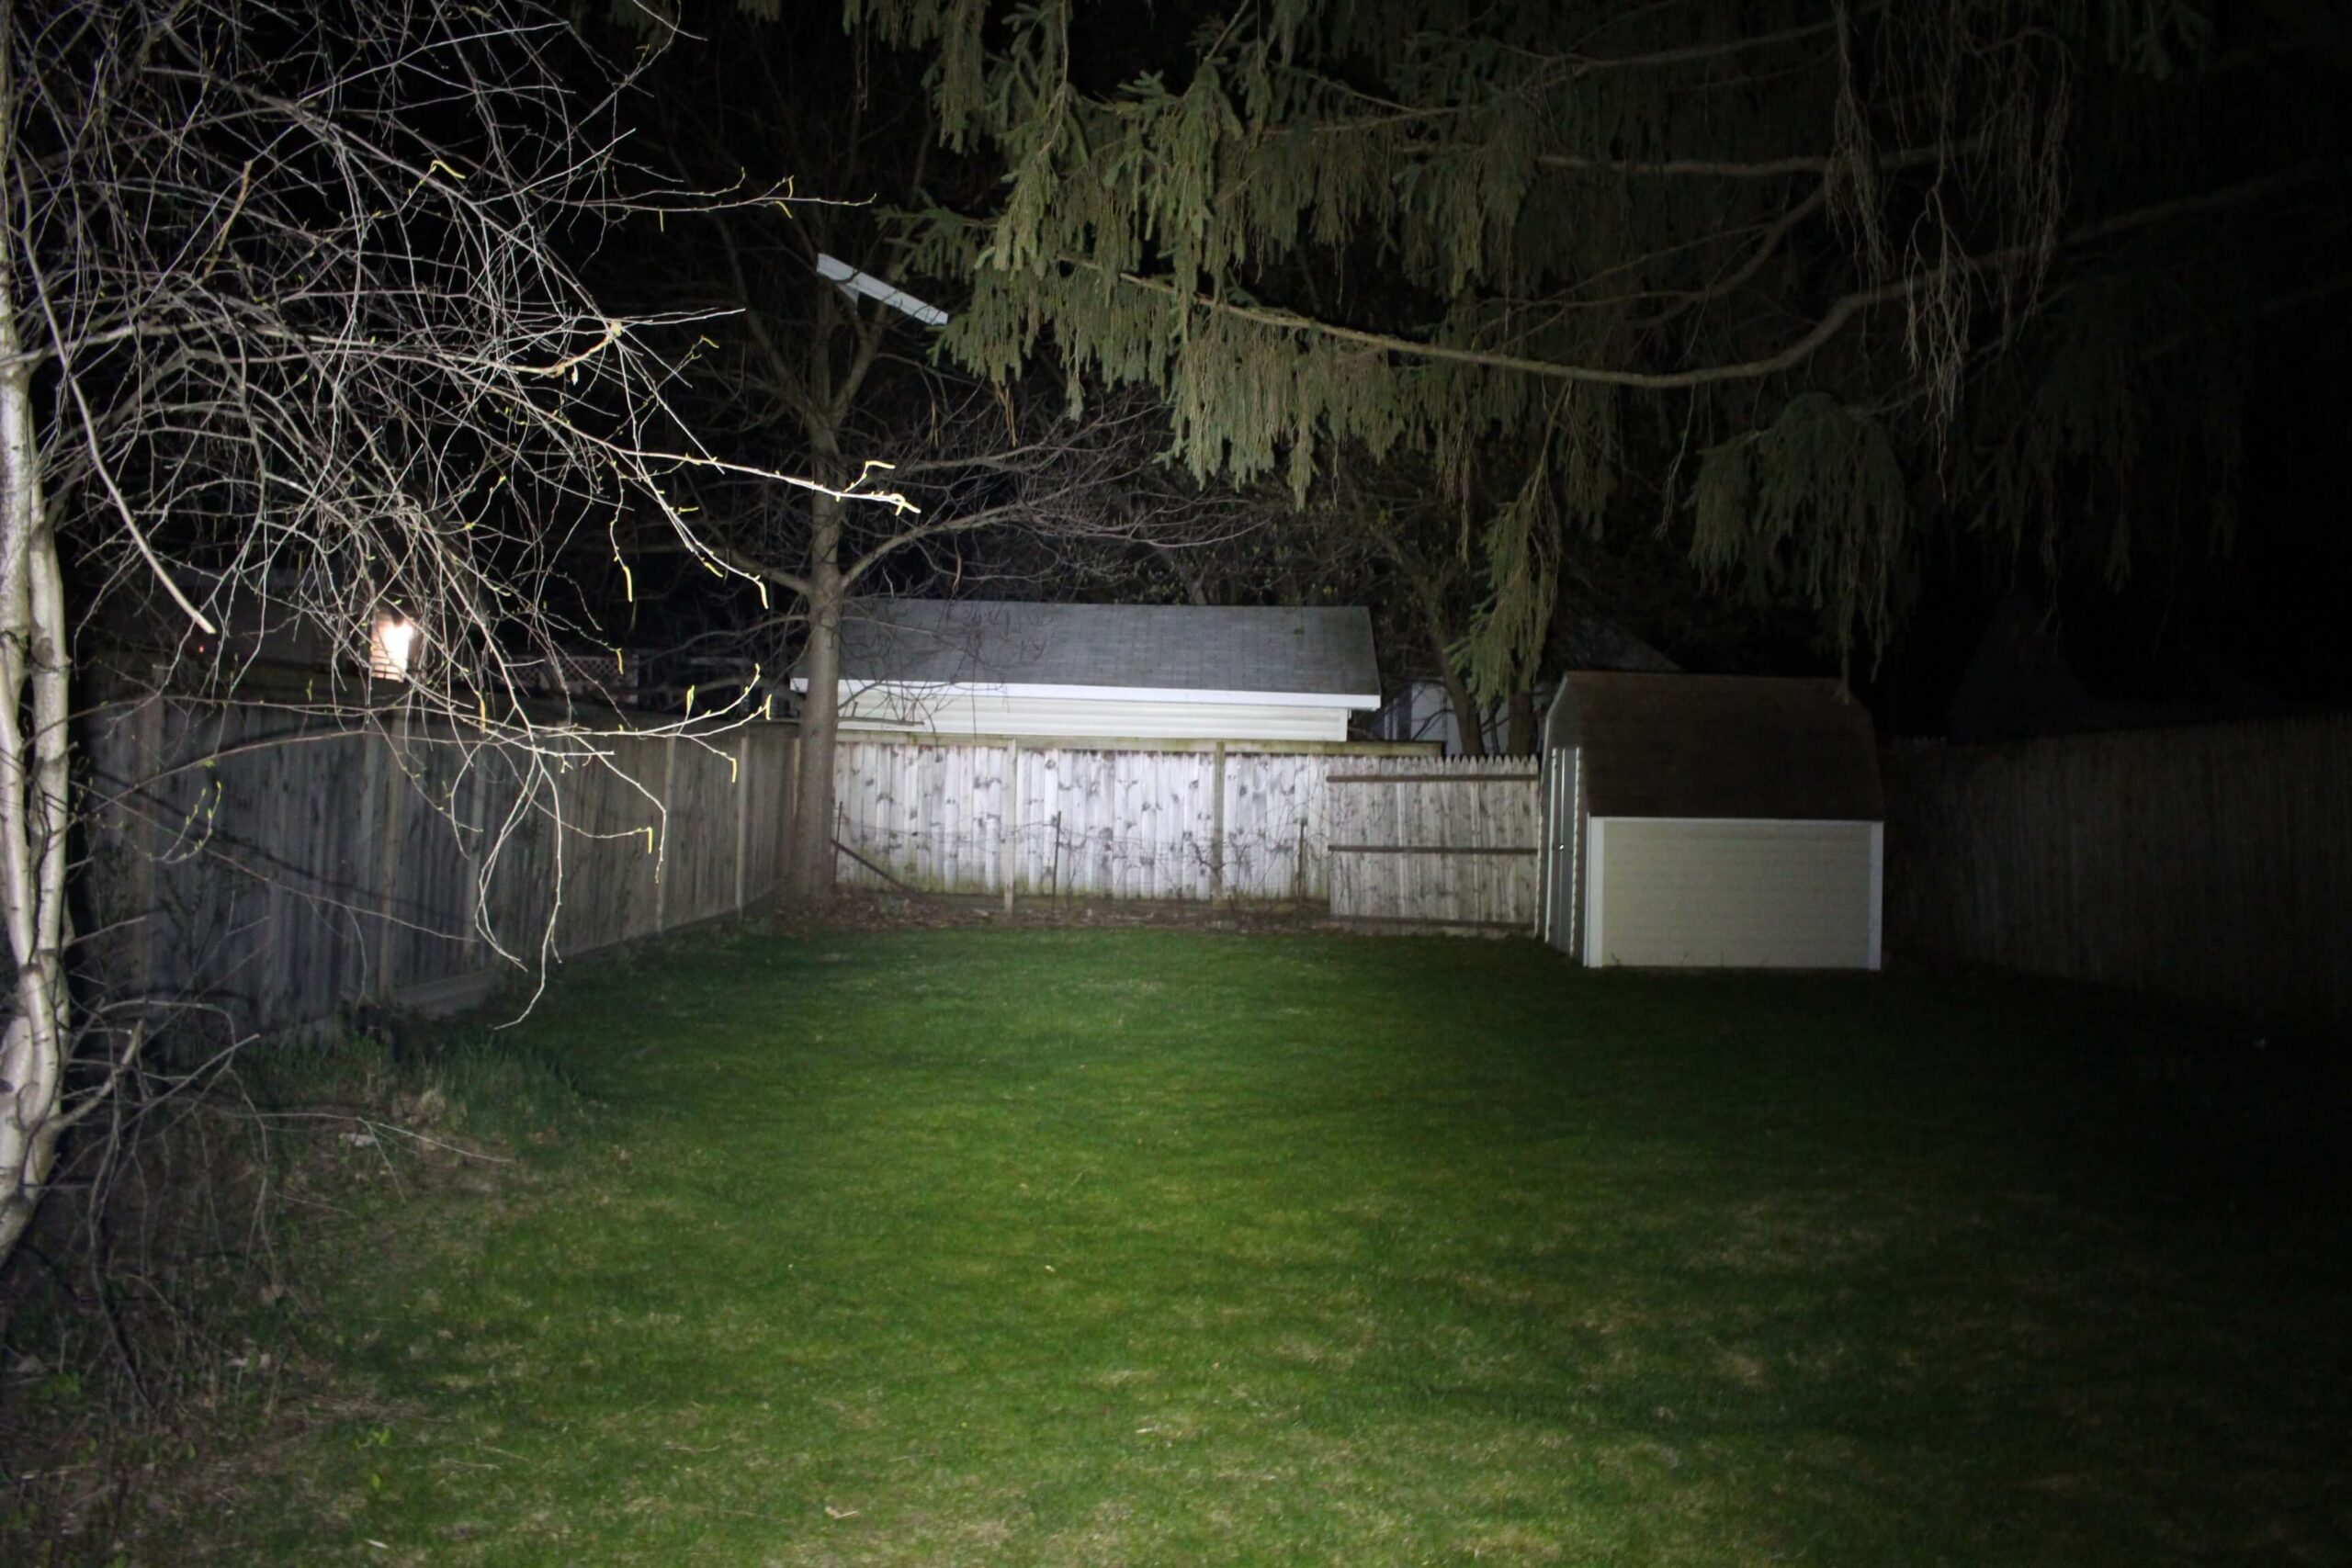
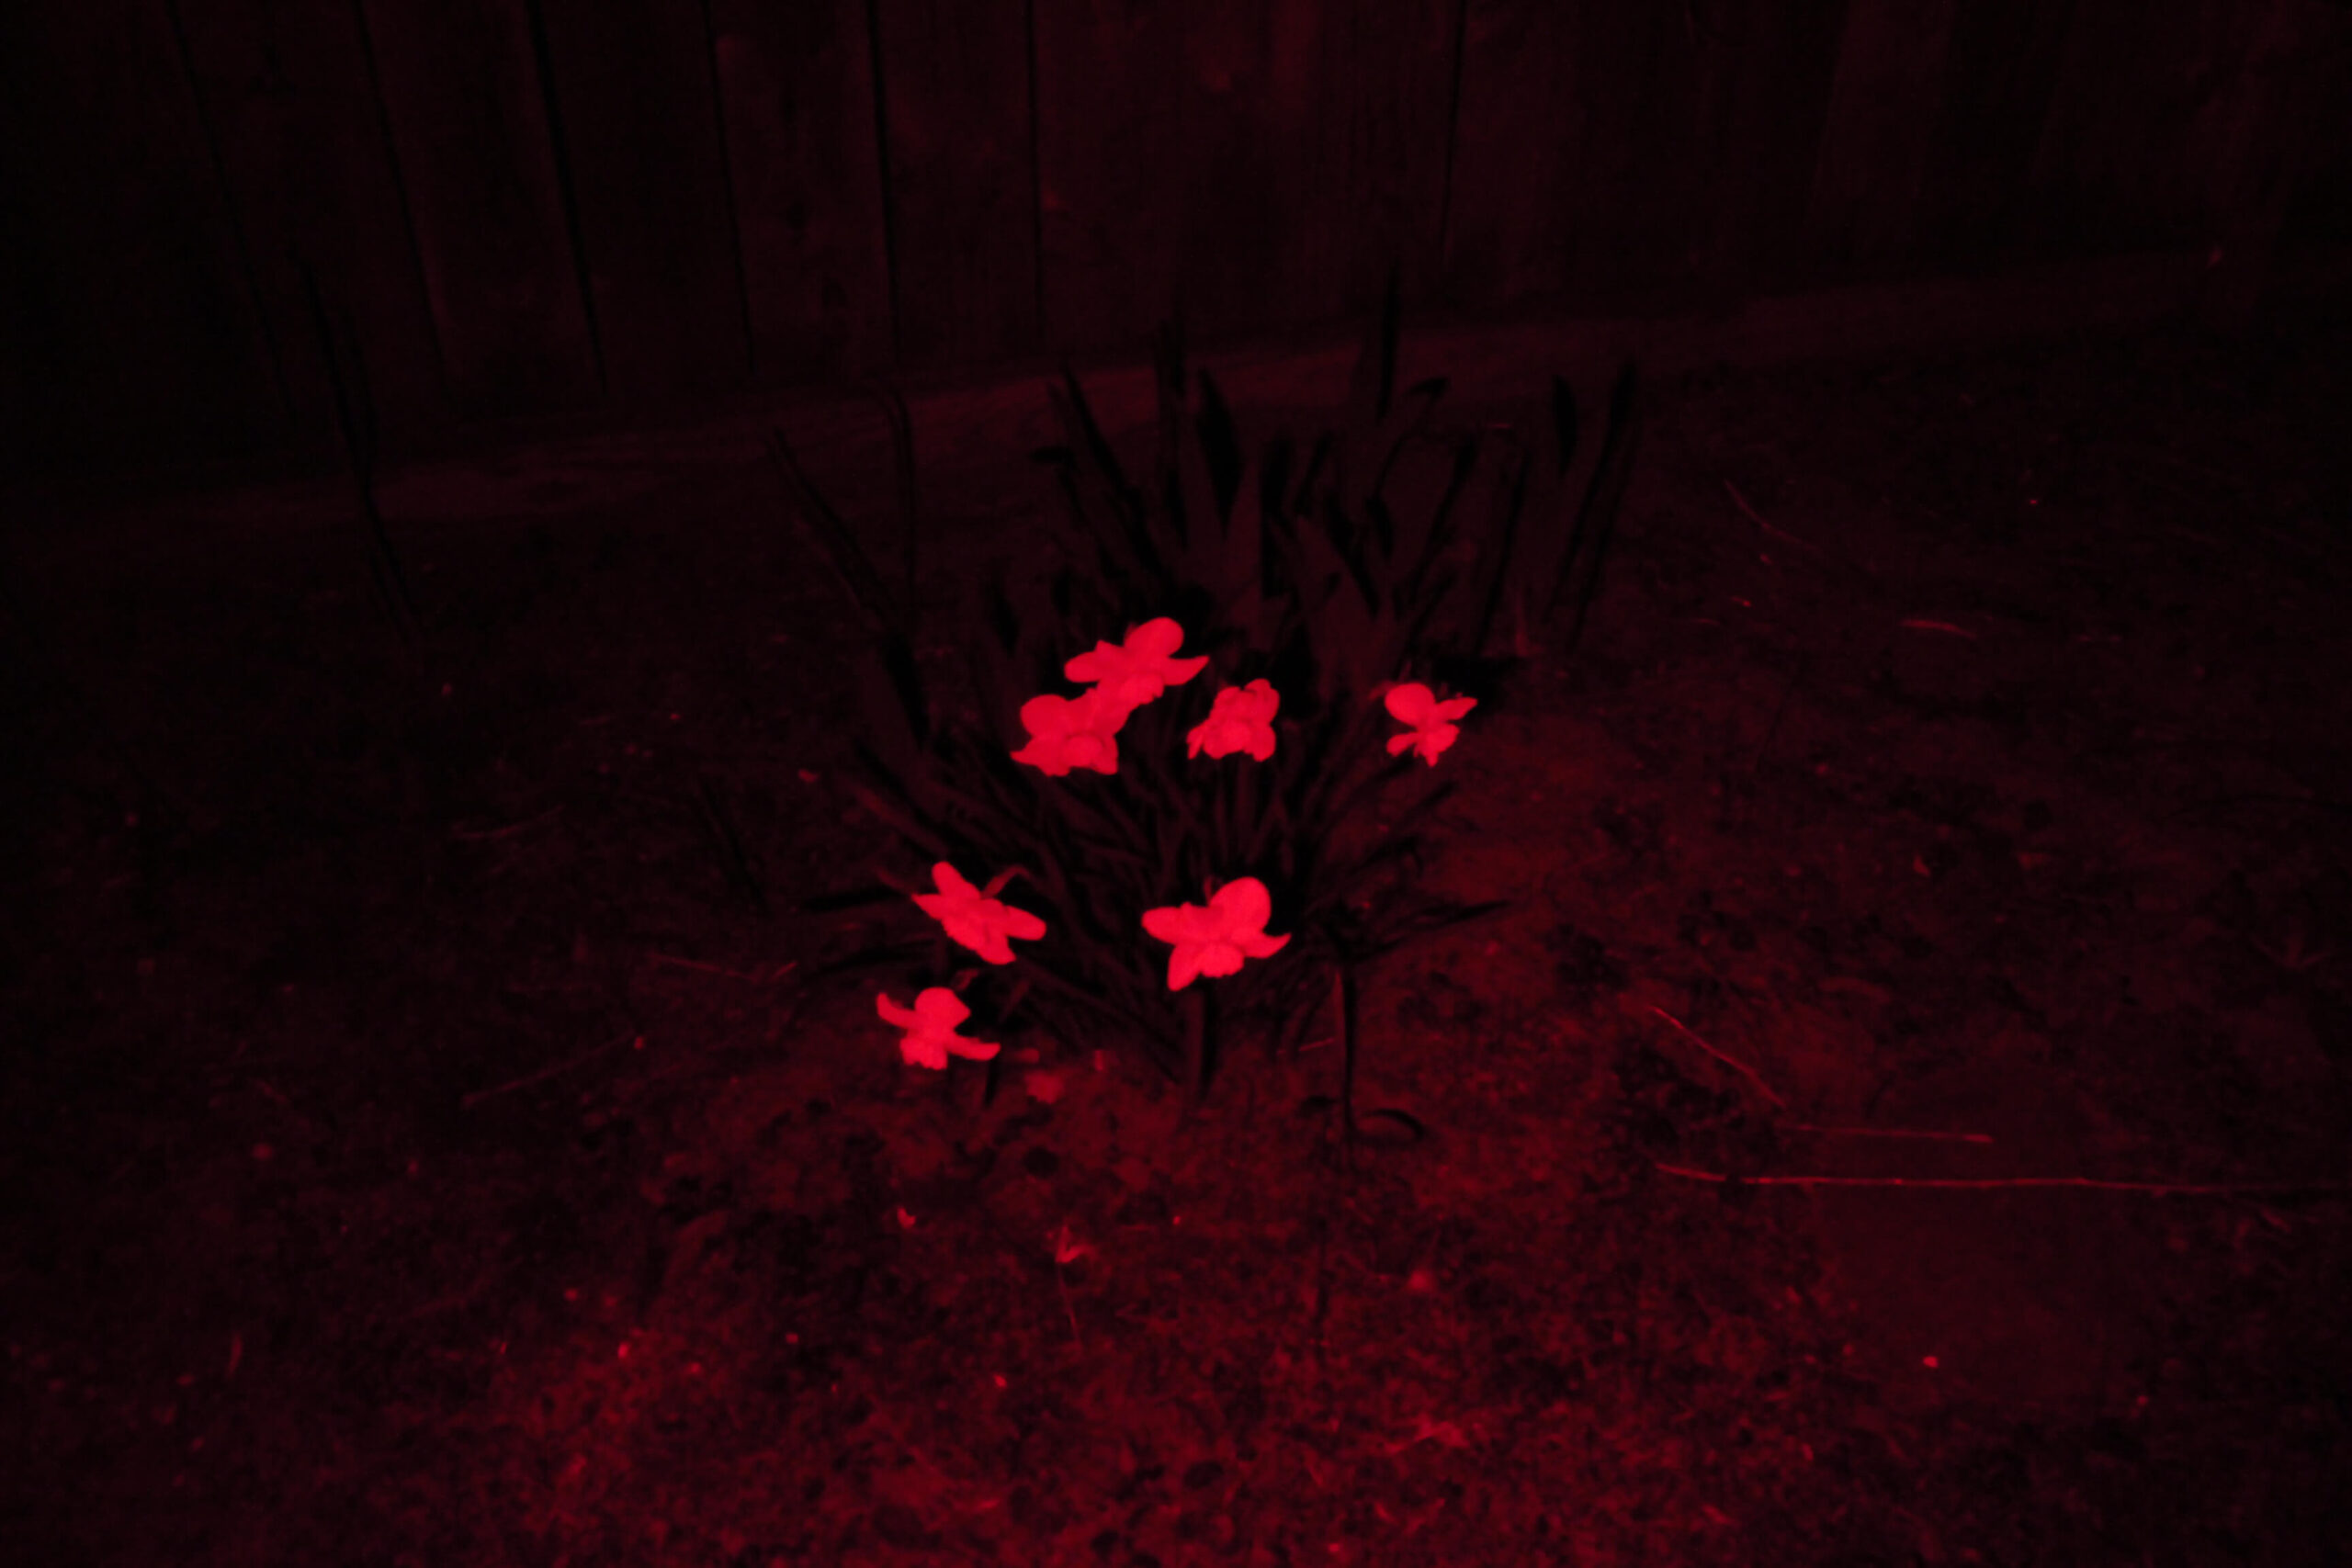
As you can see, the beam is “full of flood” and covers a nice wide area. Even the RED beam (on high) is quite useful.
If you’re fearful of the HC65 turning itself on willy-nilly (which is not likely to happen) simply hold the headlamp with two hands, and firmly PRESS AND HOLD BOTH buttons. A couple of flashes will appear after three seconds to indicate it’s now locked out. Any pressing of power at this point, will only produce a QUICK flash of light. To return to normal operation, press and hold both buttons a second time, and after a couple of seconds it’ll turn on again, this time in auxiliary ULTRA-LOW.
The Nitecore HC65 lets you check battery power anytime. Just press the “mode button” (when it’s off) and the indicators will light up to show power status as follows;
Once the USB is connected, the corresponding indicators will keep you abreast of the charging process.
I have a few headlamps from other manufacturers. This is actually my FIRST from Nitecore, and I’m quite pleased!
This lamp has some nice features, and although the UI might take a bit getting used to, it’ll serve you well in the end.
The most convenient feature is being able to tilt the the beam while snapped to the head-strap. With locking notches built-in to the base of the strap, you can adjust the angle of the beam to roughly 60 degrees, by twisting it all the up or down, or anywhere in between. And it’ll STAY where you put it!
The headband itself is pretty much like any other, but I found making adjustments to fit my small head, pretty easy!!
Since the buttons are well-textured, and of different shapes, it’s fairly easy to tell them apart when the band is strapped on.
The user interface isn’t complicated if you’re content with the primary beam. Learning what the two switches can do takes a bit of practice, since SOME modes can be reached by BOTH buttons, but in a different way.
Kudos to Nitecore for making the HC65 run on a 18650 battery! Internal cells don’t often go over well with some users, and for many it’s a deal-breaker. But here, you can remove the battery and charge it externally if you wish. You can also use an alternate 18650 (other than the one they supply).
One thing to note; TURBO mode is only available when using a 18650 of at least 10 amps.
Watch for the Prime truck when they pull in front of your residence. The guy or gal will swiftly leave a package containing your Nitecore HC65, on your doorstep, or in your mailbox!
Just CLICK HERE to make it happen!!
As Nitecore continues to implement new concepts with LED flashlights, let's dive in with my…
This is different! The Wuben X3 "Owl" is a dual-LED flashlight that features wireless charging…
I've had a few flashlights from Imalent over the years, and today I'm reviewing one…
Today I'm reviewing the Acebeam E75. Stick around for this one....because I think you'll like…
Wuben has been playing around with different designs recently...usually to a positive reaction. Here's a…
Nitecore has been releasing high quality flashlights for many years. Today, I'm looking into the…
This website uses cookies.