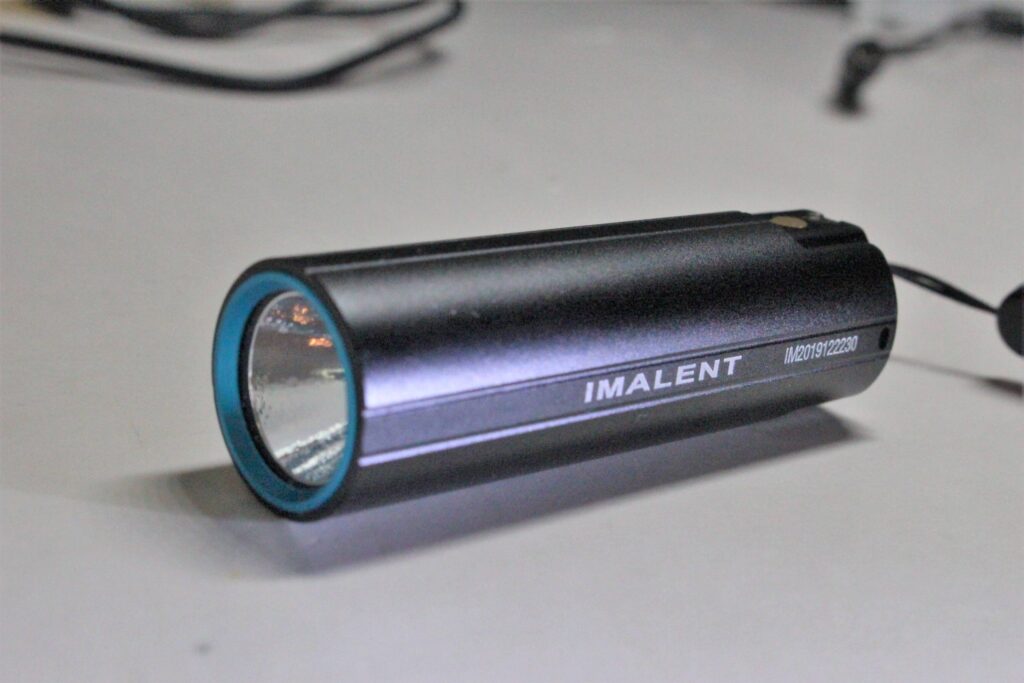
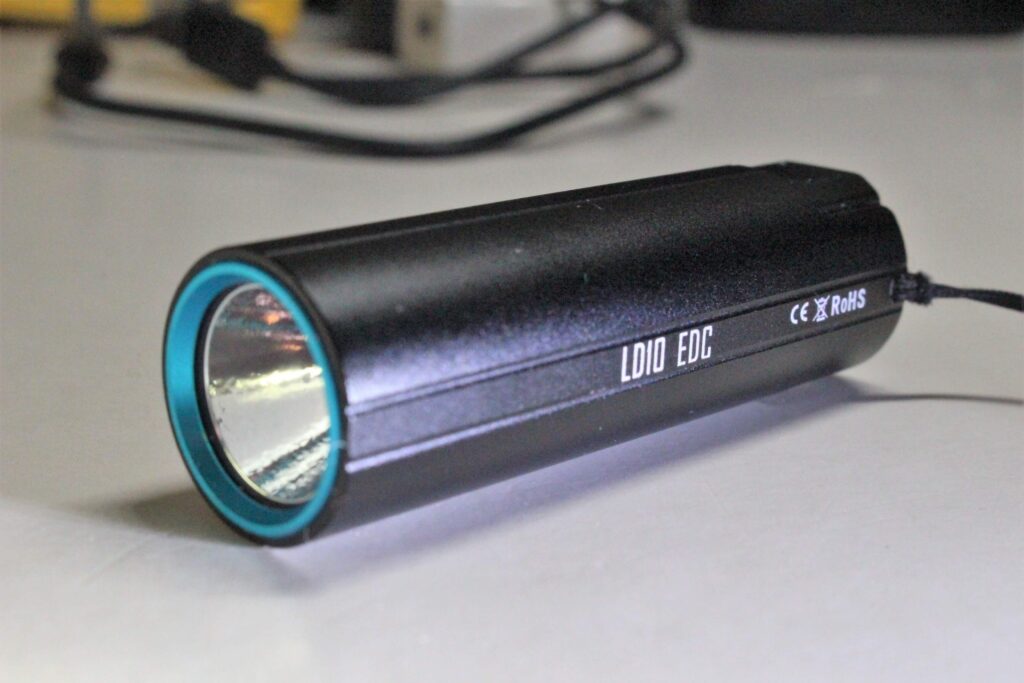
Imalent is not new to the world of flashaholics! Their product catalog spans many flashlights of various size and output. Perhaps one of their smallest lights to date is the subject of today’s review. This is the Imalent LD10.
The LD10 Package
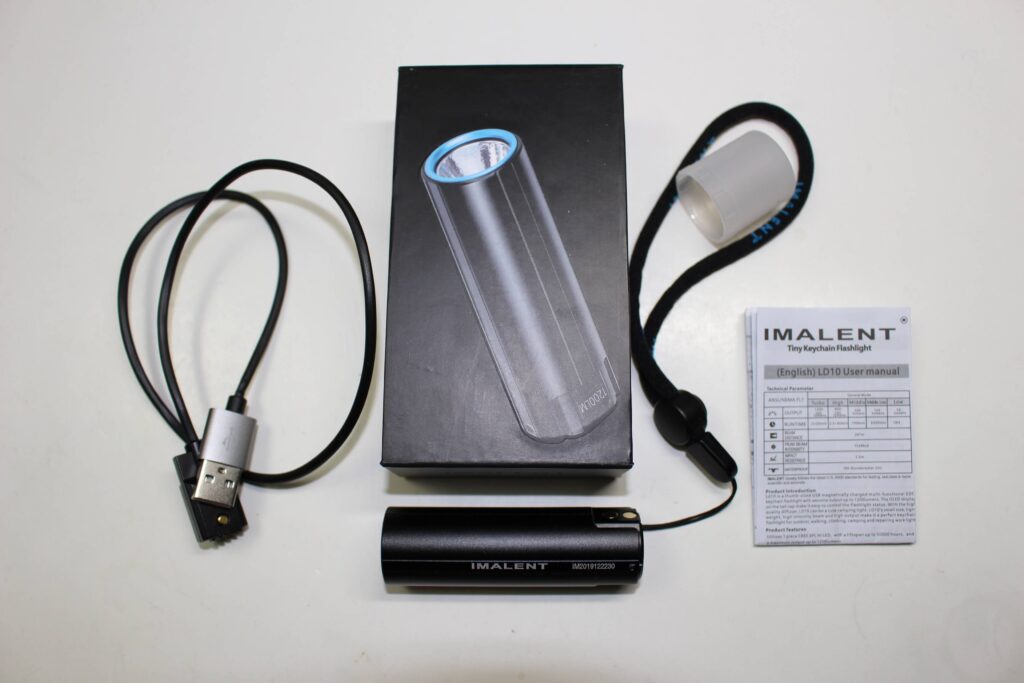
Within the LD10 presentation, is an elaborately crafted little box containing the flashlight, a proprietary USB charging cable, a lanyard, a small diffuser, and a user manual.
Specifications
- LED; Cree XP-L HI
- Lens; Ultra clear coated toughened glass
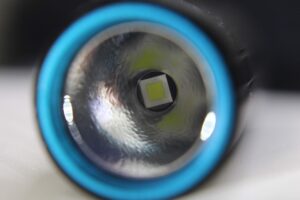
- Orange Peel reflector
- Weight; 2.18 ounces
- Length; 2.8″
- Impact resistant; 1.5 meters
- Waterproof; IPX-8 to 2 meters
- Beam distance; 247 meters
LD10 Features
- USB charging circuit
- Multi-functional OLED display
- Mode memory
- Electronic lock-out
- (Slightly) magnetized base
- Aerospace aluminum body; Type III hard anodized
- High efficiency constant current circuit
- Thermal control keeps unit from overheating
- Soft-touch electronic control switch
- Built-in 18350 rechargeable lithium battery
Modes, Output and Runtime
The LD10 has five regular modes;
- Low; 10 lumens (18 hours)
- Middle-low; 150 lumens (3 hrs 20 min)
- Medium; 500 lumens (1 hr 9 min)
- High; 800-500 lumens (2 min-60 min)
- Turbo; 1200-500 lumens (2 min-56 min)
- Strobe
Basic Operation of Imalent LD10
I’ll be honest, from examining the light for a few minutes, and looking at the illustrations in the manual, it wasn’t immediately clear HOW to turn it on! I’m rarely faced with this type of dilemma when I receive a new flashlight. Thinking back though, every Imalent light I’ve reviewed has a uniquely different power switch. They’re very fond of OLED displays and electronic touchpads.
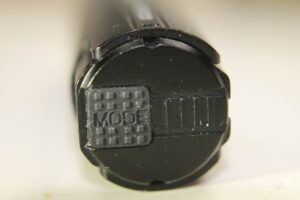
Eventually I realized that the switch is a textured silicone pad on the base… which actually says ‘MODE’ on it (which I didn’t notice at first).
A standard press of the “pad” turns the LD10 on and off. Pressing and holding advances the modes. The only mode you won’t see in the lineup is Turbo. For that, you’ll need to double-click the pad… which can be done from either OFF or ON. For Strobe, you’ll need a second double-click… but it must be on Turbo to get it.
OLED Display
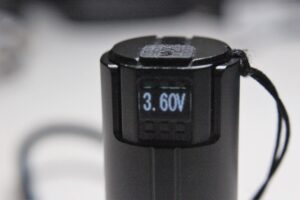
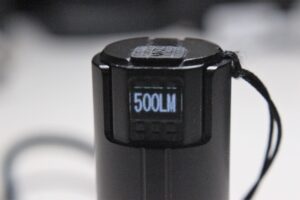
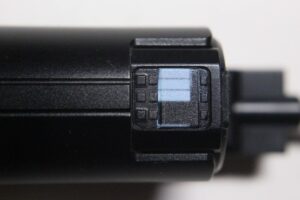
All of the Imalent lights I’ve tried have featured the same OLED display, including the LD10. When the light is switched on, the display toggles the mode it’s on, along with the current voltage… for about 30 seconds. If you change modes the display will reflect that. It reads “STR” when on Strobe… in case you’re confused by the rapidly flashing light and assume it must be Armageddon 😯
Another trick the display does is to show you battery voltage (without activation) for five seconds… when you click the switch pad three times.
USB Charging
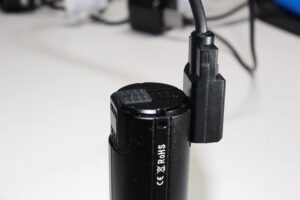
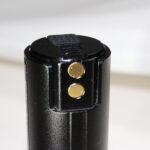
Unique to the newest Imalent lights, is a completely different type of charging system. The cable has a magnetic end which precariously attaches to two metallic hubs near the tail. The magnet on the cable is strong, but can be bumped off the hubs very easily. As long as it’s attached properly, you’ll see an animated battery icon in the display. As soon as it completes the charge, the icon vanishes. There’s also a high-heat warning (icon) which will appear if the internal temperature gets too high.
LD10 Beam Pics
Time for the Wrap-Up
I wasn’t sure at first if the Imalent LD10 was a winner or not. Things got a bit better though after I found the switch!
The most unique part of the light is also the most frustrating. The pictures I included above should give you a good idea of how the charging portion works. When I first went to attach the magnetic end of the USB to the light, I realized how fussy and finicky it can be! If it doesn’t go on right, it won’t charge. And there have been a couple of times when I’ve attached it, and it wouldn’t work 🙁 I’ve had to remove it, and put it back a few times for it to engage. Then if it’s bumped by accident while charging, you have to get it back into place. It’s not nearly as secure as the proprietary charging method used by Olight. Because the internal battery is an 850mAh 18350, charging time is relatively quick.
One thing I WISH they had included on the light, is a pocket clip!! I attached the lanyard (after having a VERY hard time threading the nylon loop into the small hole) but it’s not as handy as a clip. Also, due to the location of the “holes” it’s virtually impossible to attach it to any type of key ring.
Imalent advertises the LD10 as having a magnetic base. But I’m afraid it’s too weak in that area to stick to anything without being upright.
The power (pad) switch is the other unique feature which presents its own set of challenges. It needs to be pressed in the center, and responds best to a finger nail! It’s also a REAL challenge to locate the pad in complete darkness. They’ve tried to make it easy, but I’ve had significant fumbling-time trying to find it in the dark.
Other than the described problems, it works fine 😕 The beam is great. It fits well in the palm. The OLED display is handy and easy to read.
Recommendation
Obviously if you think you can live with its faults (and just like with a spouse — they can’t be changed) then CLICK HERE to make it your own and give the Imalent LD10 the best try you ever gave a pocket/keychain flashlight before!
For additional information you may also visit the official Imalent store!


