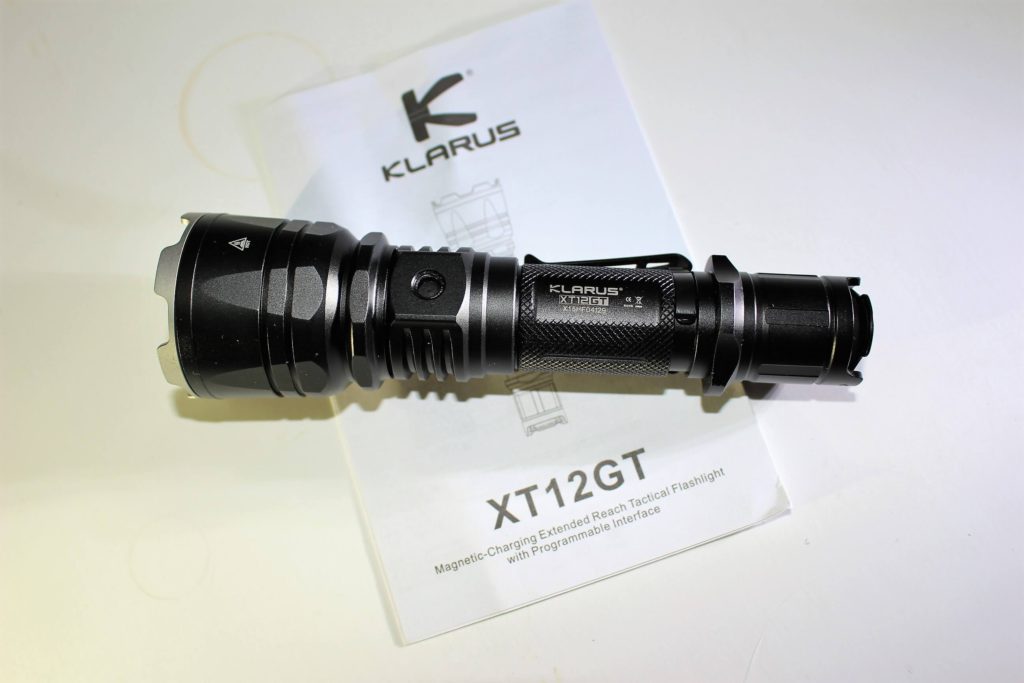
Klarus wasn’t too well-known a few years ago. How times change! Not long ago I reviewed their XT11S, a powerful flashlight with a long-range beam throw. Today, the Klarus XT12GT takes the stage, to prove once again that even subtle changes to a good design can be welcome.
Box of Goodies!
The whole “GT” package
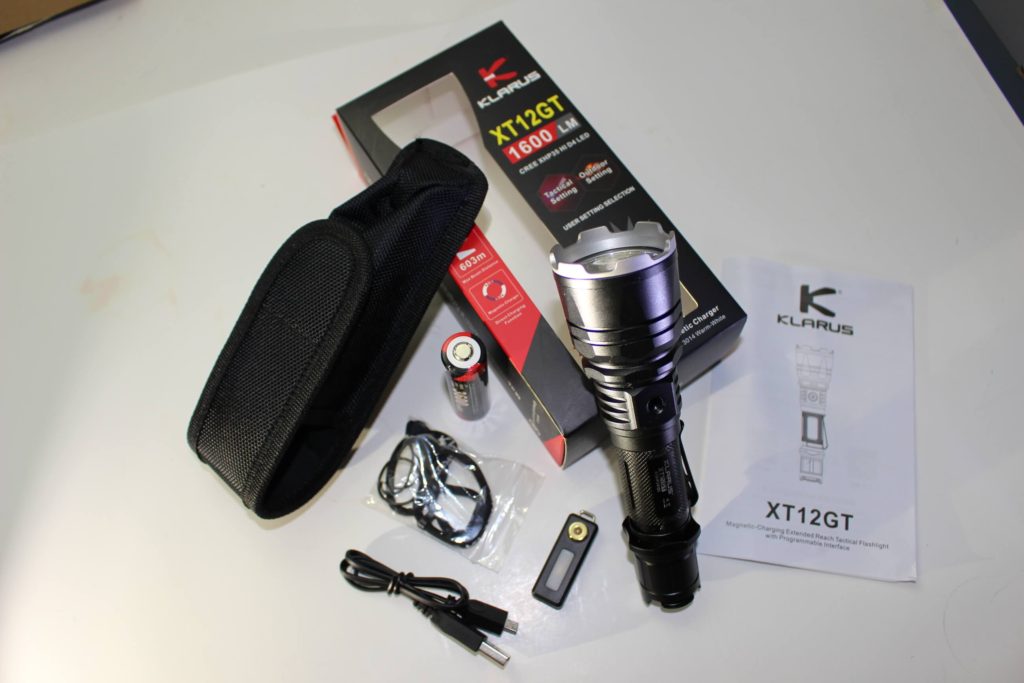
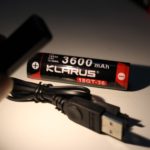
So here’s what’s included in the Klarus XT12GT package.
Flashlight, user manual, belt sheath, spare o-ring, adjustable lanyard, micro USB cable, magnetic “mini” charger, and a 3600mAh 3.7v 18650 rechargeable battery.
Specifications
- Weight; 203 grams (including the Klarus 18650 battery)
- Length; 6.3″
- Head width; 1.7″
- Tube width; 1″
Main Features of the Klarus XT12GT
- LED; Cree XHP35 HI D4
- Fully integrated charging circuit, with magnetic charger/key chain light

Into the lens

Cree XHP35 HI D4
- Two user-selected programming modes
- Dual tail-cap power switches
- “ITS” temperature control, which monitors the flashlights’ internal temperature and adjusts the output accordingly
- Battery voltage indicator
- Tough aluminum alloy body (6061-T6) with TypeIII military spec hard anodozing
- Scratch resistant mineral glass lens
- IPX-8 Waterproof (submersible 2 meters)
- Impact resistant to 1 meter
- Maximum beam distance of 603 meters
Battery; Klarus includes one of their own, 3600mAh, 3.7v 18650 rechargeable batteries. Other accepted batteries are either; (2) disposable 3v CR123’s or (2) rechargeable 3.7 16340’s, or (2) rechargeable 3.7v 18350’s. Please note that internal charging will only work with an 18650.
Tested Output and Runtime
There are four regular modes and two emergency modes.
- Low - 10 lumens (200 hours)
- Medium - 100 lumens (14 hours)
- High - 400 lumens (4 hours)
- Turbo - 1600 lumens (1.2 hours)
- Strobe
- SOS - 100 lumens (42 hours)
Klarus contends that unless you use THEIR 3600mAh (or comparably powerful battery) you won’t get the full 1600 lumen output. They say with a “normal” 18650 cell, or with (understandably) 2 - CR123’s, you’ll get 1300 lumens instead.
Two Programmable Settings
As is the same with other Klarus models, they give you the choice of two different settings; tactical and outdoor.
On the tail cap are two buttons; the mode switch and the primary switch. The primary is the round one, and the mode is the flat one.
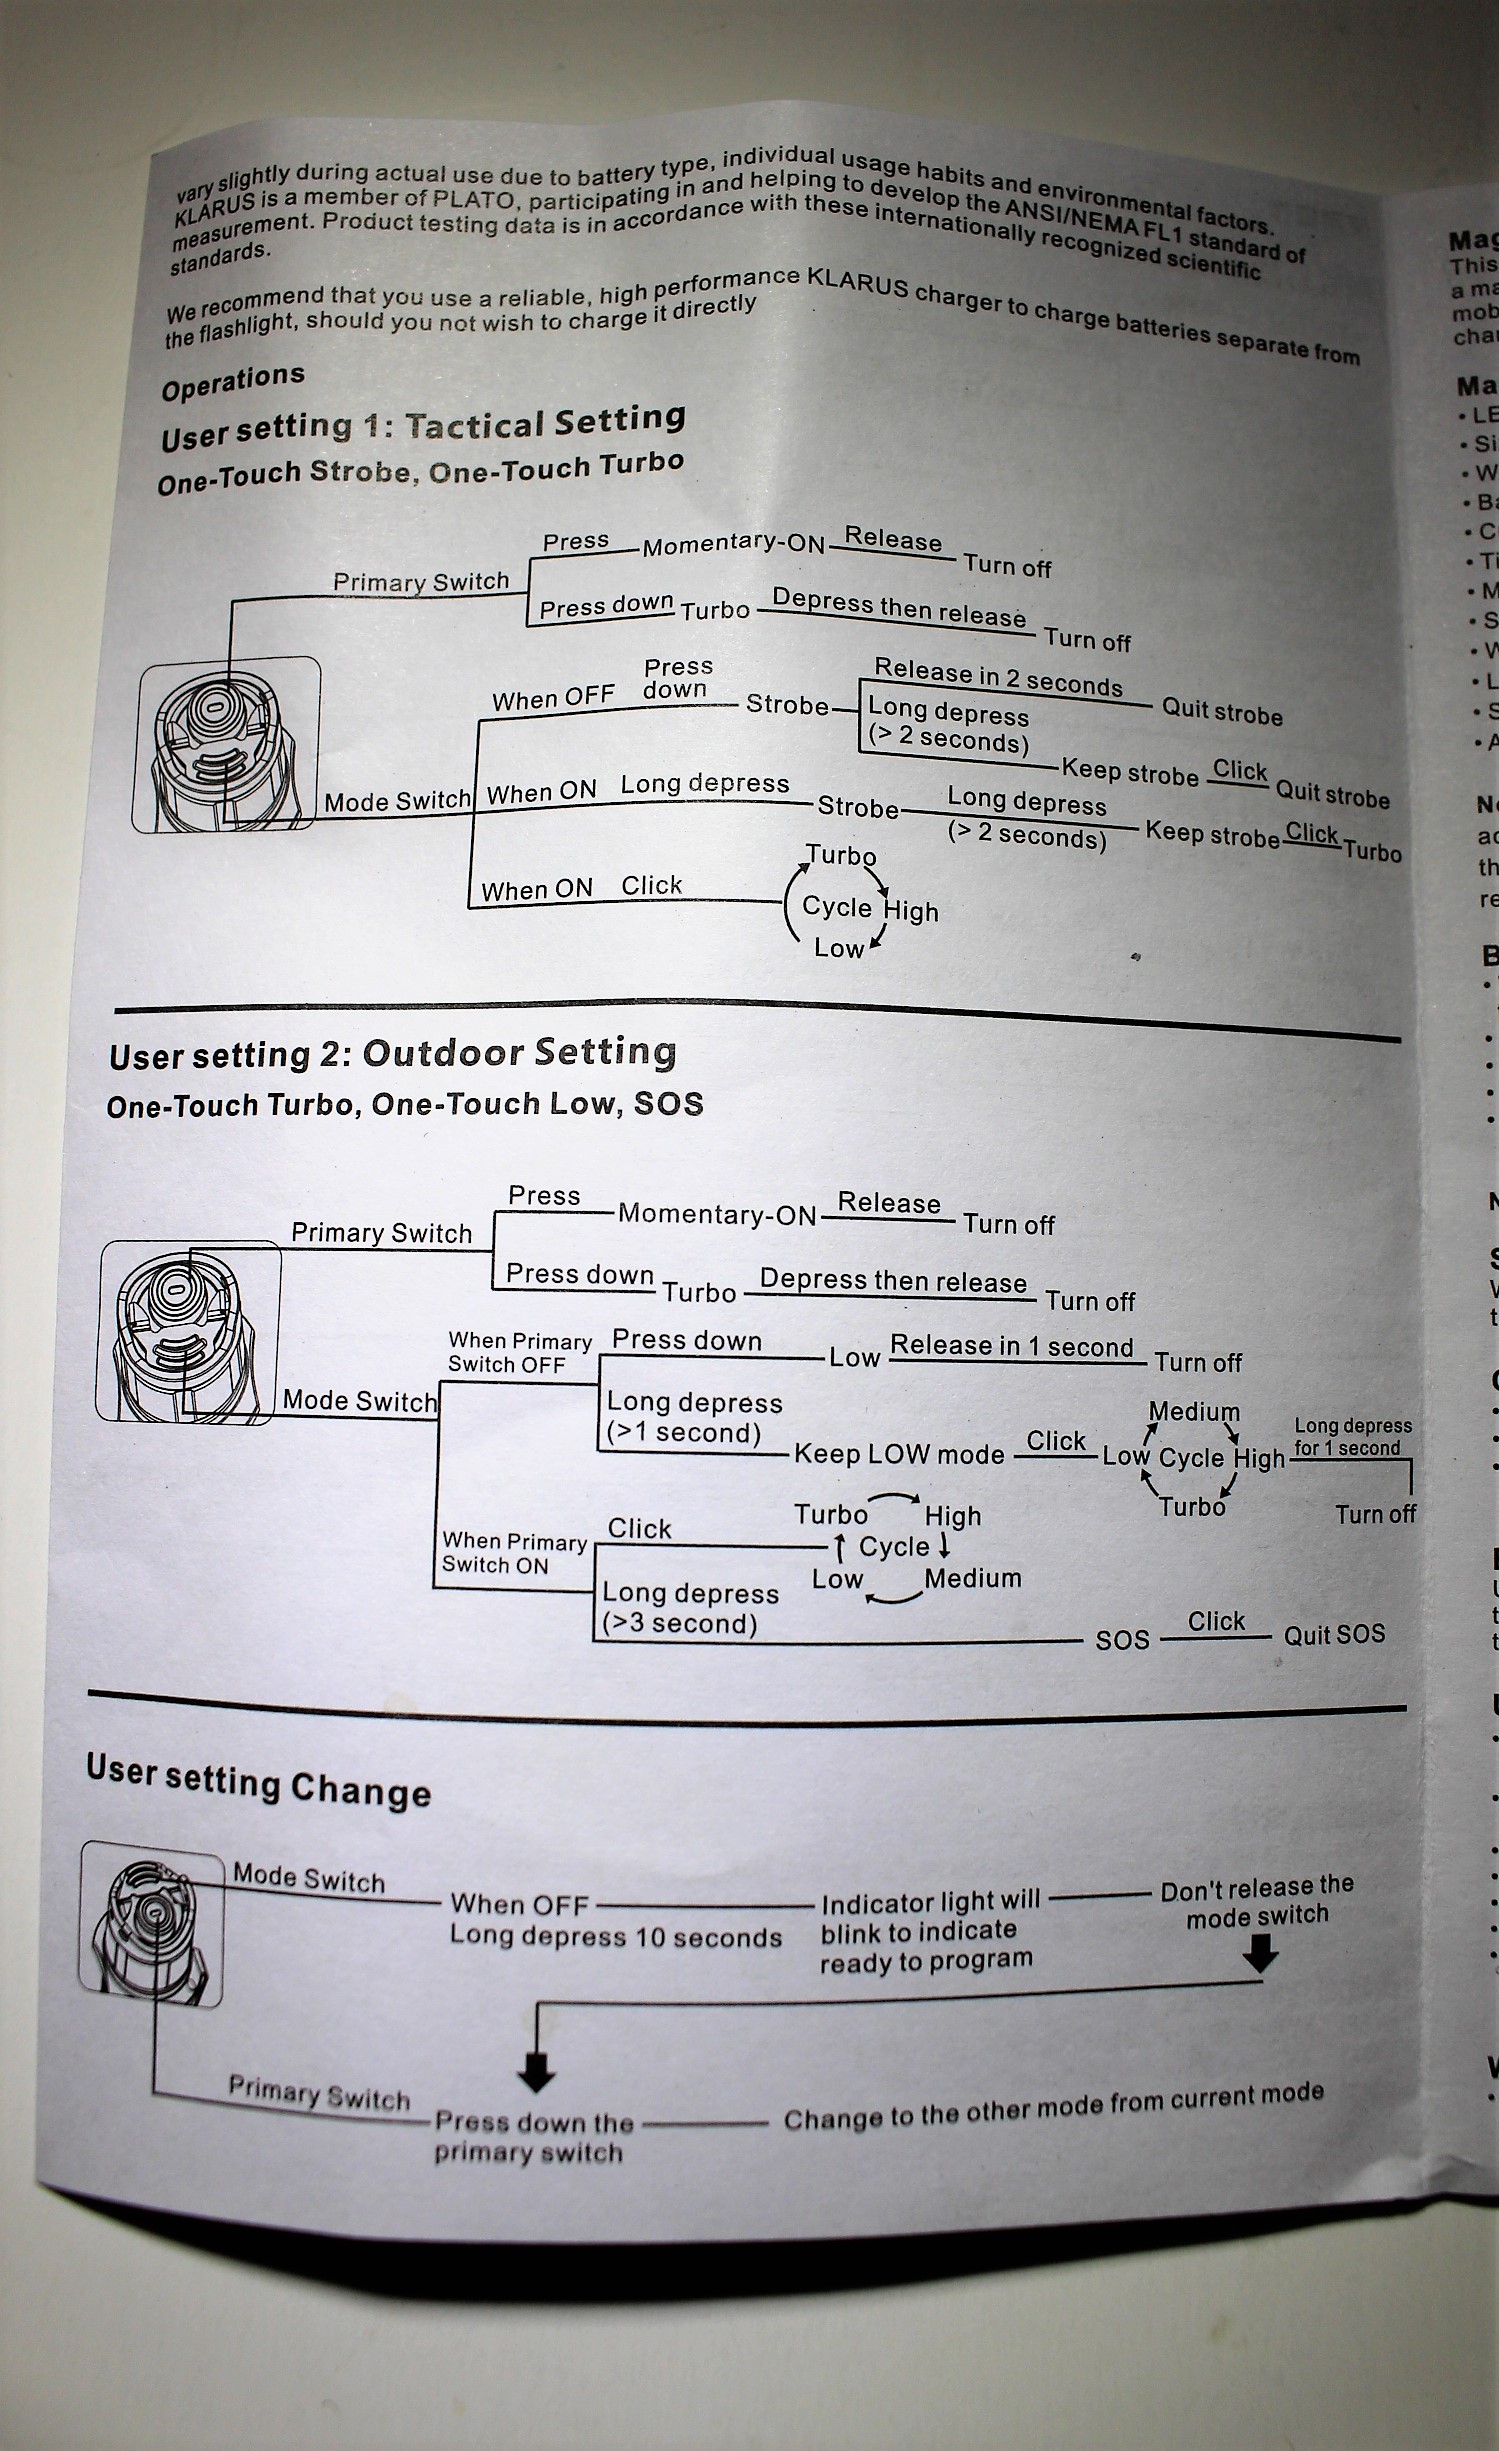
The two settings
By default, the XT12GT is in the Tactical setting. Here’s what that means;
- By fully pressing the primary switch you’ll get turbo mode. A half-press will give you “momentary” use of turbo.
- Pressing the mode switch will activate strobe. It’ll be momentary if you release the button after a couple of seconds. If you hold for longer, strobe will LOCK and continue flashing until you click the mode button again.
- If the primary switch has been clicked on, (from the start) then clicking ‘mode’ will cycle through turbo, high, and low. Alternatively, a HOLDING press of the mode switch will again turn on strobe. To turn off the light from cycling the three modes, press the primary button again.
Now, the Outdoor setting;
- Pressing the primary switch will give you instant turbo…either momentary, or constant. Once in constant turbo, press the mode button to cycle through low, medium and high. For SOS, press and hold ‘mode’ for a few seconds. To exit SOS, press ‘mode’ again.
- Pressing the mode button will activate low, either momentarily, or constant (by HOLDING the button for 3 seconds) Once on constant low, you can continue pressing ‘mode’ to cycle through medium, high and turbo. To turn it off, half-press the primary switch (for turbo) and release.
To change from one setting to the other;
- From the OFF position, PRESS AND HOLD the mode switch for about 15

The switches. Primary is round
seconds. Doing so will activate whichever mode (strobe or low) is current depending on the setting you have. The voltage indicator will illuminate for a few seconds, then go out…but DON’T RELEASE THE BUTTON! Keep HOLDING until the indicator comes on a SECOND time…where it will go back and forth from red to green. At this point, with your finger STILL pressing the mode switch, press the primary switch as well. THEN release both buttons. Test that the setting has changed by pressing ‘mode’.
Please refer to the instructional image above if my explanations seem complicated.
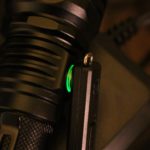
Battery Voltage Indicator
Each time the light is switched on, the illuminating ring that surrounds the magnetic charging button, glows for a few seconds to indicate battery power.
- Green = 75 to 100%
- Orange = 30-70%
- Red = less than 30%
- Flicking Red = 10% or less
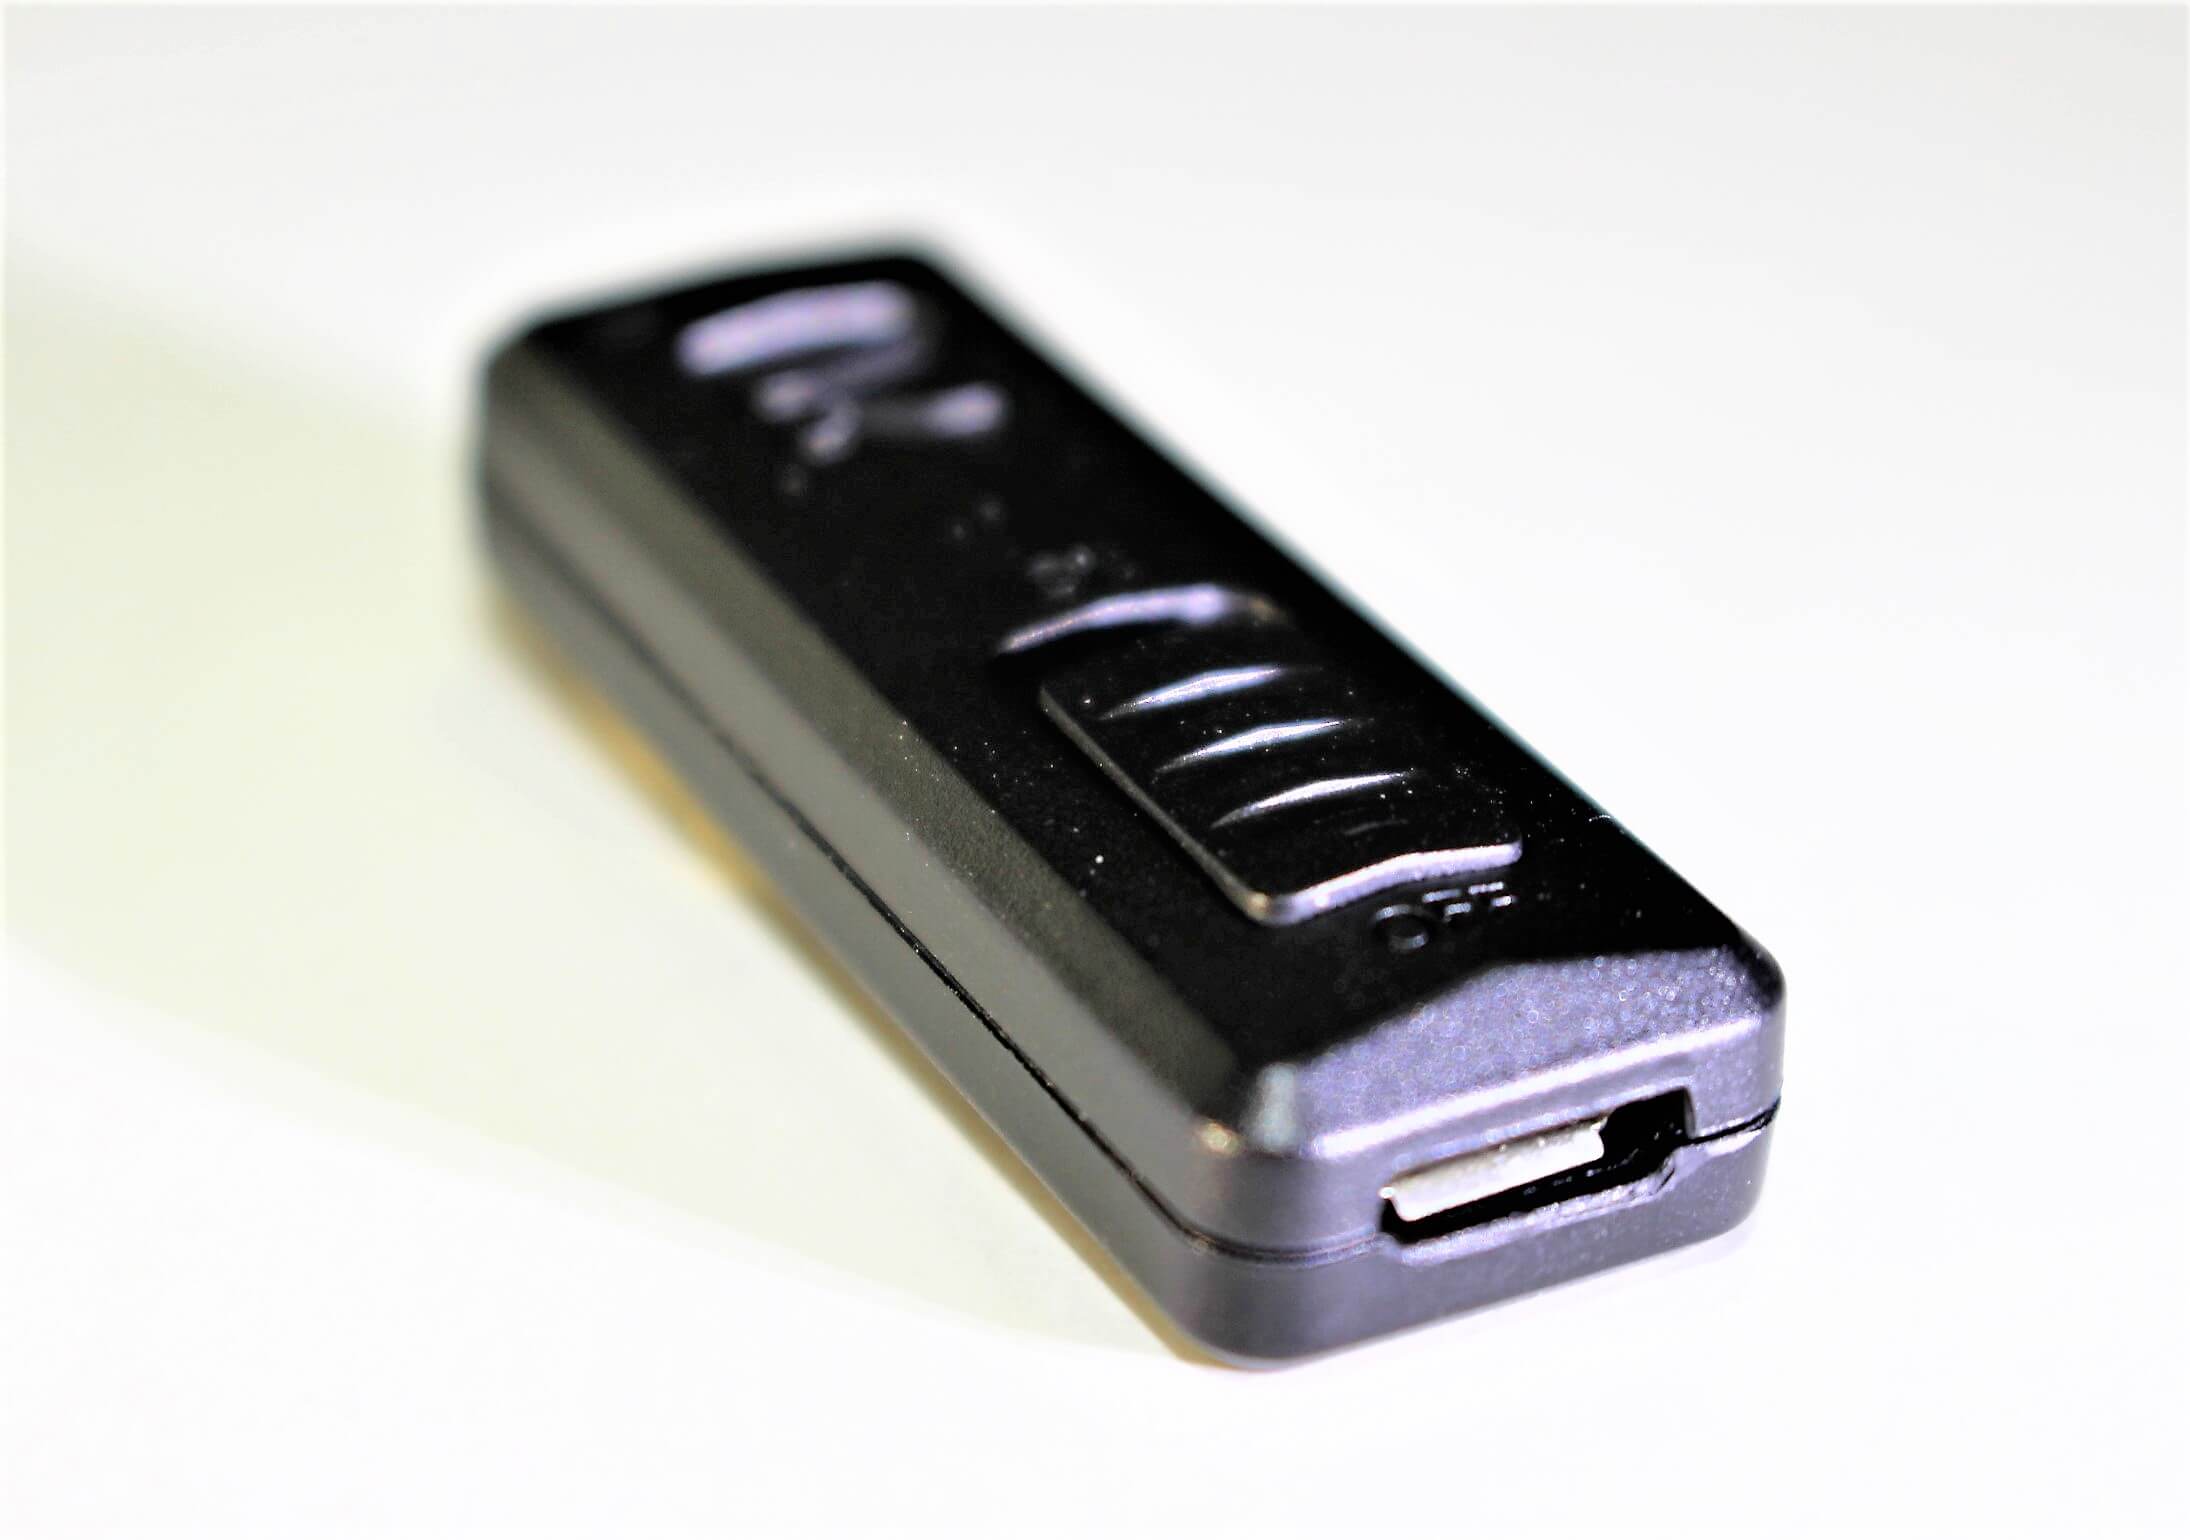
The Magnetic Mini Charger
So this is pretty cool, and is quite different than how internal charging works on most other USB rechargeable lights.

Charging (red)
Charge complete (green)
You have this small thingy with a USB port on the end, and an on/off switch on the body. It has a magnetic button on it which attaches to the corresponding side-button on the flashlight. Then, when the USB cable is attached to a USB source, it charges the 18650 battery that’s inside the light. You’ll know it’s charging by looking AT the magentic connection. The flashlight indicator will be red. You’ll know it’s finished when the indicator turns green. But… it doesn’t end there. The magnetic charger is also a key-chain light! The on/off switch enables a nice ‘warm-white’ diffused beam of just a few lumens, which is good enough to see your keys (or whatever) in the dark.

Charger attached
Mini charger
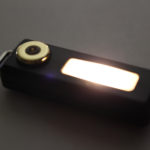
Charger lights up!
Charger illuminates
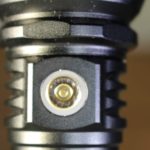
Charger connector
The battery inside the mini charger is a GJ351218, 32mAh lithium-ion. According to the manual, it charges itself, while attached to the light. I do not know if it charges by simply connecting the USB to a standard power source.
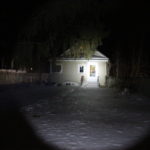
World Famous Beam Pictures
click on each image to view full size

Turbo
High

Medium
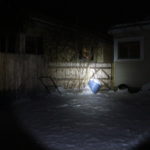
Medium - 20 ft
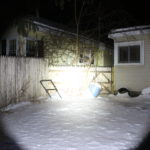
Turbo - 20 ft
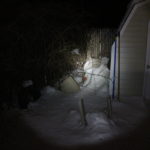
On low mode
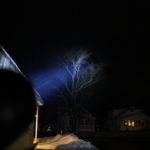
Turbo on distant tree

Low mode

Medium mode

High mode

Turbo!
Thoughts and Ramblings
I don’t have anything particularly negative to say about the Klarus XT12GT.
In comparison to the XT11S which I also reviewed, it’s taller, has a wider head, and it’s brighter! The 11S has a switch on the side… this one doesn’t.
The XT12 tail stands… but not unless it’s placed very carefully on the intended surface. Due to the slightly protruding mode switch, it’s wobbly.
The charging current is quite robust. On a well-depleted battery, it’ll charge at, or close to, 1A (1000mA).
Think you might want an XT12-GT for your own? Then I suggest you check out its page at Banggood.com
If you’d like to check it out on Amazon Prime… click here!