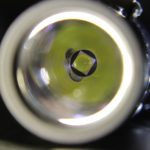
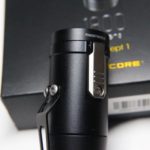
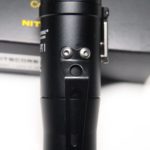
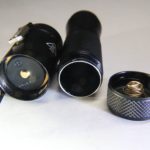
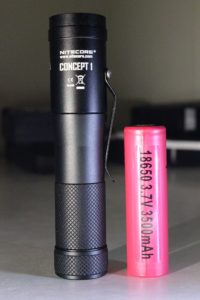
Want something new and different in an LED flashlight? Then stick around and read my review of the latest concept from Nitecore. THIS my friends, is the Nitecore Concept 1!
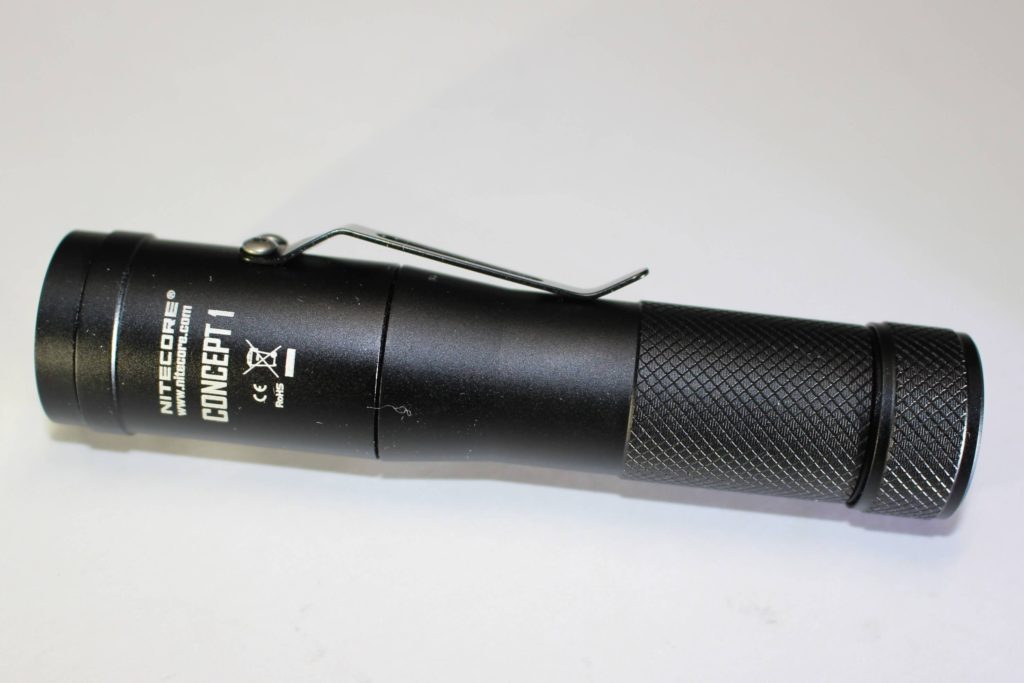
Sleek, Chic and Decidedly Different
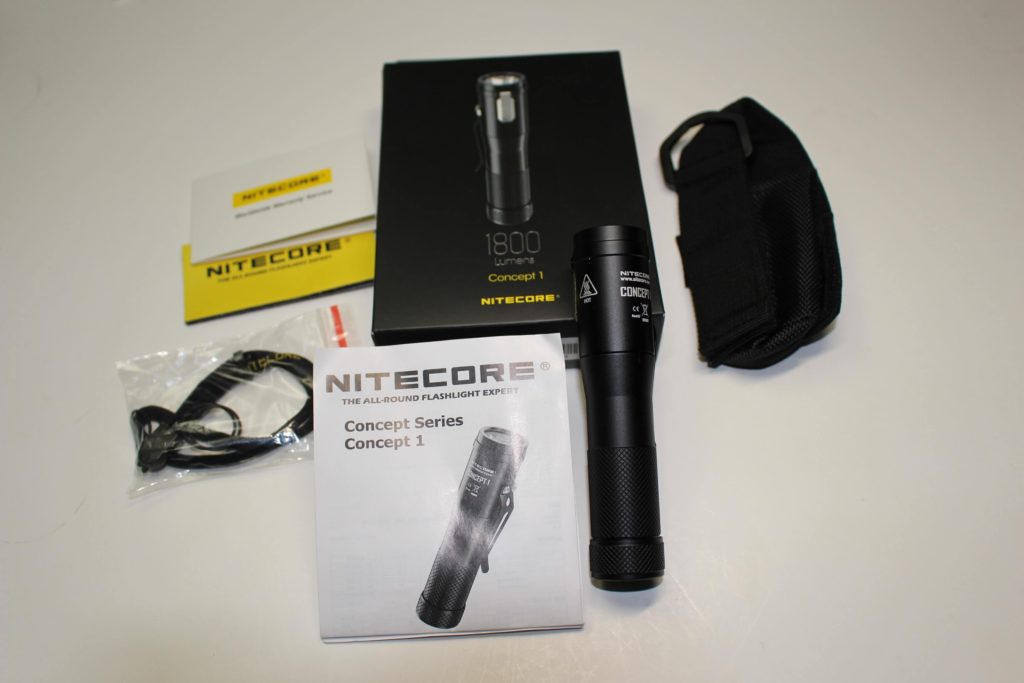
Nitecore Concept 1 Package
It’s a bit hard to make out from the picture, but the box for the Concept 1 is a complete departure from Nitecore’s standard packaging. Matte black with very little lettering, and a shiny (almost reflective) image of the light on the front of the box.
Inside, is the Concept 1, along with a user manual, warranty card, a small package containing a lanyard, and spare o-rings…and, a belt holster.
Specifications
- Weight; 3.81 ounces (including 18650 battery)
- Length; 4.4″
- LED; Cree XHP35 HD E2
- Beam Distance; 220 meters
- Impact Resistance; 1.5 meters
- Waterproof; IPX-8 (2 meters)
- Power Requirement; 1 – 3.6v-3.7v 18650 or 2 – 3v CR123 or 2 – 3.7v 16340 or 2 – 3.7v 18350
Features
- Toughened mineral-glass lens with anti-reflective coating
- Two separate operating modes; “general” and “tactical”
- Magnetic tail-cap
- Mode memory remembers previous mode setting (except strobe/SOS/beacon)
- Made from aero-grade aluminum and hard anodized with a TypeIII finish
- Integrated power circuit shows battery voltage
Modes and Output
There are five regular modes and three emergency modes.
- Ultra-low; (moonlight) 1 lumen (300 hours)
- Low; 80 lumens (15 hours)
- Medium; 300 lumens (4 hours)
- High; 810 (approx. 90 mins)
- *Turbo; 1800 lumens (approx. 30 mins)
- Strobe; SOS; flashing beacon
*Note; Turbo mode is NOT available when using either a “weak” (low amperage) 18650 battery or any ‘two-battery’ configuration. For optimal performance, Nitecore recommends using high-drain, IMR 18650 cells.
How to Operate Your Nitecore Concept 1
The side-switch is the only power option. Since accidental activation is a strong possibility with the Concept 1, they’ve made it so a “single-press” does nothing. Each method of activation must be accomplished with either a double/triple-press or a holding press.
Insert your battery positive end forward. Once the cap is tightened, the light will “blink” the battery voltage. For an 18650, it’ll blink up to four times (meaning 4 volts) then a pause, followed by a single blink to indicate .1 If the battery were at 3.5 total volts, you’d get three solid blinks, then a pause, followed by five more.
Two Operating Modes
So first things first. You have to decide which operating mode is right for you. If I recall correctly, I think “tactical” is the default setting. But in any event, here’s how you select them.
Twist the tail-cap a HALF turn. Place your finger on the switch and keep pressing it WHILE you completely tighten the cap. Right at the point when the tightened cap makes a connection, the light will BLINK. A single blink indicates “general mode”. A double-blink means you’ve entered “tactical mode”. 0
The two modes are ‘general’ and ‘tactical’. The differences between them? In ‘general’ you have instant access to TURBO, whether the light is on or off. In ‘tactical’ you have instant access to STROBE, and the option of using SOS and beacon as well.
TURBO is available in both modes, either through cycling or (momentarily) from a HOLDING press while in “ultra-low”.
STROBE (and SOS/beacon) are ONLY available in the ‘tactical’ setting.
Once You’ve Decided on Your Operating Mode
If you want to use any regular mode other ‘ultra-low’, you need to press and HOLD the switch while the light is OFF. Doing this will activate the light and begin cycling though the modes from lowest to highest. Release the switch when the mode you want has been reached. From here, mode memory will recall that level the next time you perform a HOLDING press from OFF. Remember though; you’ll need to release the switch the second you get light. If you keep holding, it’ll begin cycling.
If from the OFF position you desire “ultra-low”, DOUBLE-press the switch. This action will not affect the previously memorized mode.
If from OFF you want to use ‘turbo’, activating it will depend which operating mode you’ve set the light in. If you’ve selected the “general” mode, three clicks of the switch will get you there… even if it’s already on. Another method is to double-click to ultra-low, then press and HOLD… which gives you momentary turbo (as a burst of output).
For turbo from the “tactical” setting you have two options; either the momentary burst from ultra-low, or cycling through the modes after turning it on.
To reach strobe, you MUST have it programmed for “tactical”. Once there, you’ll need to TRIPLE-click the switch… either from OFF, or in any regular mode. A HOLDING press from strobe activates SOS. Do it a third time for “location beacon”.
One quick press of the switch turns the light off from any mode. And in case you’re wondering; due to the design of the switch, it’s VERY easy to locate it in the dark 🙂
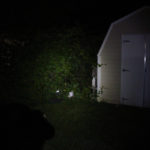
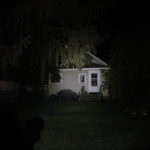
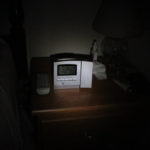
Behold the Beautiful Beam!
Wandering Thoughts
The Nightcore Concept 1 is just as the name implies. It IS a new concept! Do I like it? Yes. On a 1-10 scale, I’d give it an 8. For a letter grade; B-
What are its issues? It gets VERY hot! For a small light like this, 1800 lumens generates a lot of heat. The manual boasts “ATR” (Advanced Temperature Regulation) which is supposed to monitor the output and adjust it for the environment. That’s all well and fine, but if it’s running on turbo for more than two minutes… you won’t be able to hold onto it!
The switch is very unique and easy to use, but I fear placing the light into a pocket should 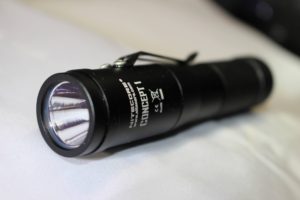 be done with the tail-cap locked-out. It’s so easy to grab the Concept 1, and not be aware you’re grasping the switch… which will of course turn the light on. Since the clip requires the light to go in, bezel up, this COULD result in temporarily blinding yourself if you’re looking at it at the same time.
This also brings me to the clip. It’s attached with hex screws, which can be annoying should they become loose. The grip of the clip also has me concerned. It’s not particularly tight, and can be removed with a light tug. This also tells me that depending on what it’s clipped to and in which angle it’s clipped… that it could fall off and not be noticed. I just wish it had a tighter grip.
The user-interface seems a bit complicated to grasp at first, and had me saying “wtf” for the first ten minutes. But, once I figured out the programming modes and what clicking the switch three times was supposed to do… it made more sense. For some experienced flashaholics, I can see getting used to having to shut the light OFF to cycle through to the next mode, being a bit of a nuisance. I’ll give Nitecore credit here for actually doing something completely different, when it comes to flashlight ingenuity.
Recommendation
The Nitecore Concept 1 is a uniquely different type of flashlight which many users might find refreshing!
Nitecore recommends you use an IMR 18650 battery. Basically I’ve found it works fine with any quality battery, either protected or unprotected. The cap screws down a little easier with flat-top cells, but should do fine with most button-tops as well. Just don’t use CHEAP batteries, which are usually bad news in themselves, but, in this case, the Concept 1 won’t work on turbo mode if you do.
This Nitecore Concept 1 was supplied for review by GearBest. If you’d like to get one with Amazon Prime click here.


