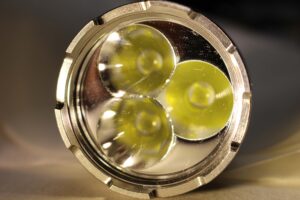
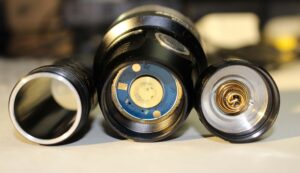
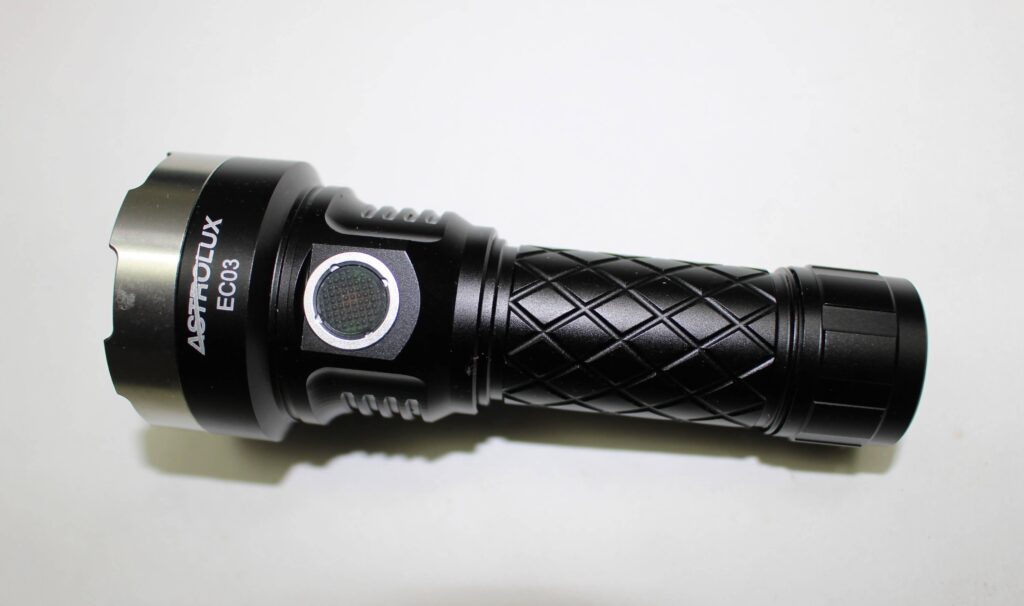
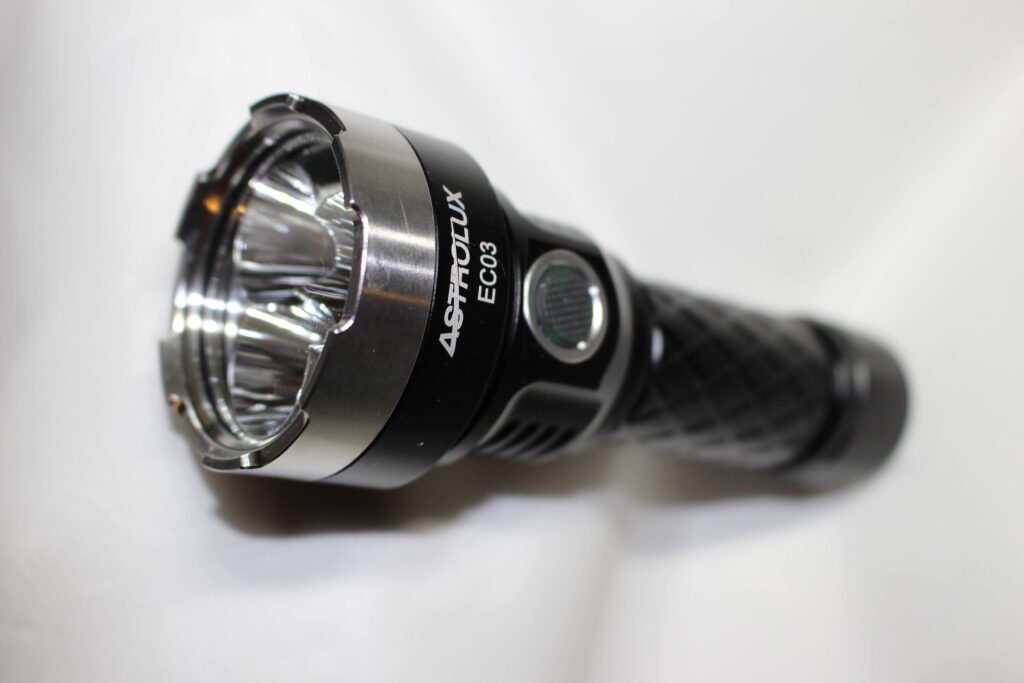
Astrolux is at it again! Here’s another in the “EC” series featuring Andúril firmware and a USB charging circuit. So without delay, let’s look closer into the bezel of the Astrolux EC03.
Box and Accessories
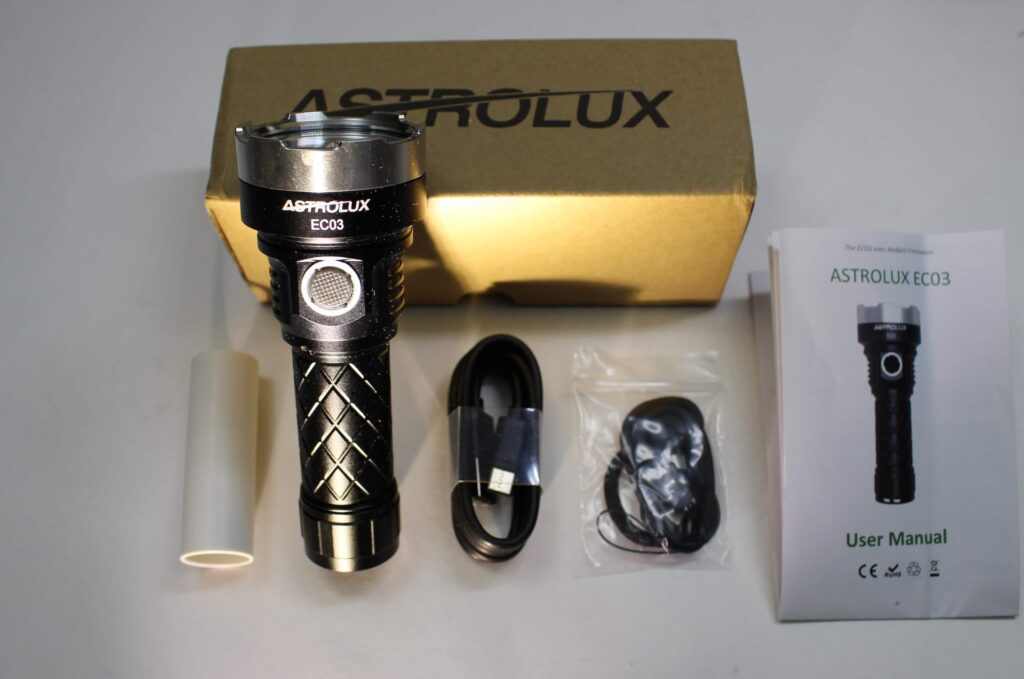
Not too much to talk about here. The flashlight, a manual, a USB-C charging cable, and a small packet containing two spare o-rings, a 18650 battery adaptor and a lanyard.
Specifications
- Length; 4.8″
- Head Width; 1.9″
- Body Width; 1.0″
- Weight w/battery; 8.72 oz
- LED; XHP50.2 (3)
- Output; 1-6700 lumens
- Body Material; hard anodized aluminum
- Beam Distance; 303 meters
- Waterproof to IPX-8
- Lens; high transmittance glass
Features
- USB Charging
- Andúril Firmware
- Two User Interfaces
- Mode Memory
- Electronic Lockout
- Five Strobe Modes
- Four Blinky Modes
Battery and Output
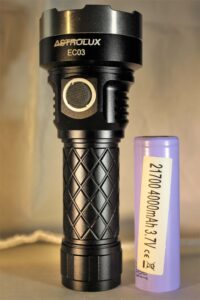
Powering the EC03 is with either one 18650 (while using adaptor tube) or one 21700 lithium battery. The latter is the recommended cell.
Output range is from 1 lumen, to 6700.
Operating the Astrolux EC03
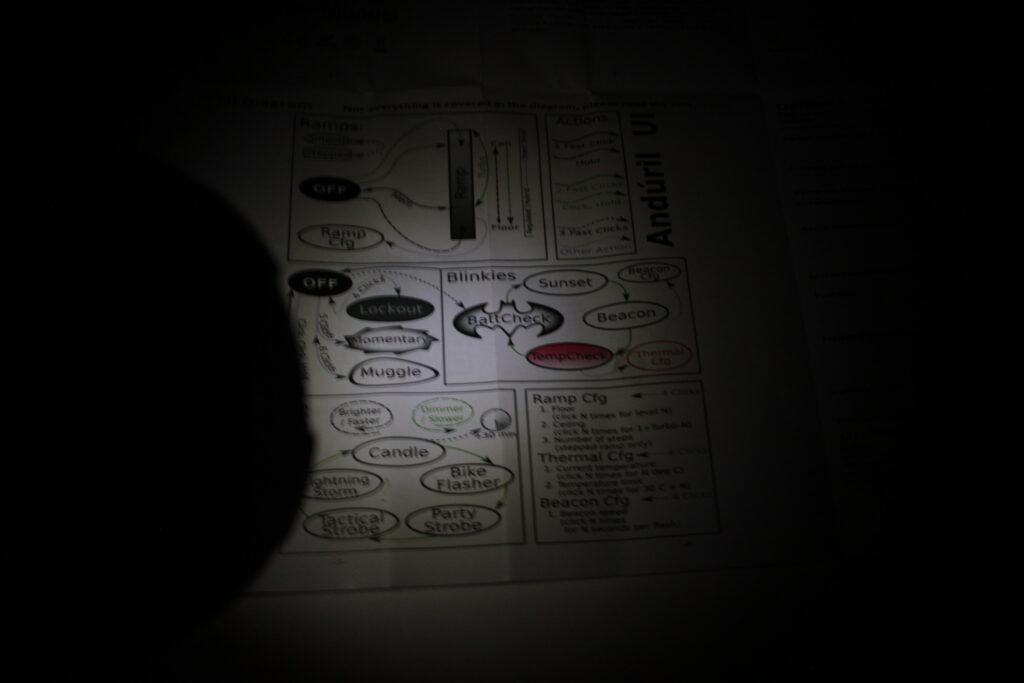
The firmware from Andúril has been featured on several reviewed lights, notably Lumintop’s FW3A. Therefore basic operation is the same.
One click turns it on…one click turns it off. Once on, press and hold. If it’s in “ramping” (which is the default) it’ll smoothly raise and lower the output. In the “step” setting, it’ll obviously raise and lower in pre-selected increments.
Every setting on the light can be adjusted to the users preference. The lowest output (floor) can be adjusted so it isn’t as dim. The highest output can also be adjusted, so it isn’t quite so bright.
As always, if the button is released, and pressed again while ramping or stepping (without much of a pause) it’ll resume in the opposite direction.
Shortcuts
- Instant “floor” mode; press and HOLD from OFF
- Instant turbo; double-click either while ON or from OFF
Switching Back & Forth
Going from “ramping” to “stepping” (and vise versa) is as easy as clicking THREE times while the light is ON. A short blink confirms the change.
Special Modes
The Strobe Set
To activate; Start with the light OFF, then click TWO times…and HOLD THE SWITCH on the THIRD click. I.E…. click, click, HOLD. You’ll get a short flash, which verifies that you’ve entered the mode. A double-click advances to the next mode
- Candle mode; simulates a candle or fireplace. A 30 min timer can also be set…for up to 4.5 hours!
- Bike flasher
- Party strobe
- Tactical strobe (adjustable frequency)
- Lighting storm; simulates lightning!
The “Blinky” Set
To activate, click three times from OFF. A double-click advances from one blinky mode to the next.
- Battery (voltage) Check
- Sunset / Goodnight; turns on low, then dims to moonlight for one hour before shutting off
- Beacon (this is adjustable for both output and “blink rate”)
- Temperature Check — blinks the current temp in degrees Celsius (can be configured for accuracy)
Wait! Another Special Set!
The following settings can be accessed by clicking a set number of times while the light if OFF.
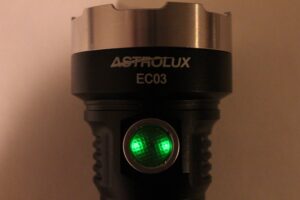
Lockout; click FOUR times, and the EC03 is now locked and will not respond to any command. The side switch blinks in green while locked out.
Momentary; intended for signaling in Morse code, or for some such other emergency, clicking FIVE times (from OFF) will engage this mode, so that only while the switch is pressed and HELD, will there be light! To disengage the mode, the tailcap needs to be loosened and retightened.
- Keep in mind whatever output the light is set to, is the level of brightness you’ll get in “momentary”
Muggle; in muggle mode, output is limited to operate between 5 and 240 lumens. It does a slow, smooth ramp in this setting, and is devoid of all blinky modes. To engage muggle, click SIX times from OFF. Click SIX again, to return to standard operation.
Configuring the “Switch Light”
The illuminated switch can be configured in any one of four settings.
From OFF, click seven times. If it’s already set to “low” (default) then after the seventh click, it’ll glow in “high”. Click seven again, and it’ll blink continuously. Another seven…and it’ll be off, and stay that way unless you click seven times again, which will return it to low. Make sense?? I prefer low, which makes it easy to find in the dark.
Charging the Battery
Nothing too complicated here. Once the USB-C cable is attached to the flashlight port, and a USB power source, the switch light will glow a bright red. GREEN will indicate the charge is finished.
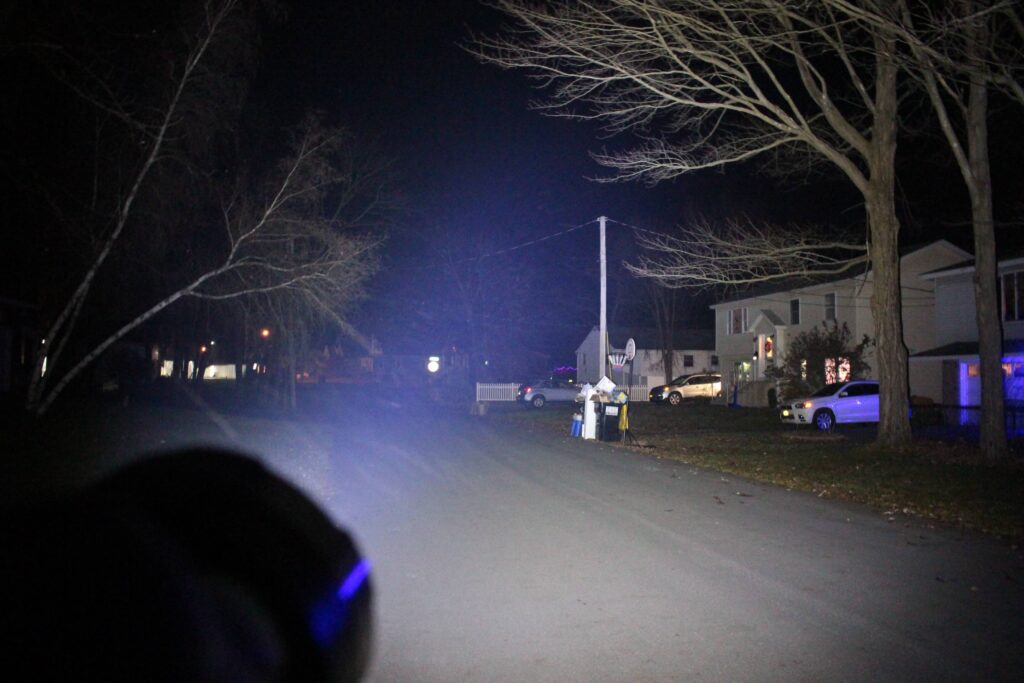
Big Bright Beam!
Putting It All Together
Like any other light with Anduril, the Astrolux EC03 has a lot to offer. As I’ve said with the others, it can be as simple or as complex as you need it to be.
In a previous review, I showcased their EC01. While both lights have the same software, the EC03 is much brighter with its three LED’s. Aside from that, and the size of the head, they’re identical.
You absolutely SHOULD use a 21700 battery in the EC03! Anything else is sheer lunacy!
Recommendation
My Astrolux EC03 was supplied for test and review from Banggood. I would suggest visiting their site if you’d like to have one, and please coupon code BGAU02 to get a great discount!
There are other tint options as well, which are slightly “warmer” than the version I have. The other options have SST40 LED’s instead of the XHP50’s.


